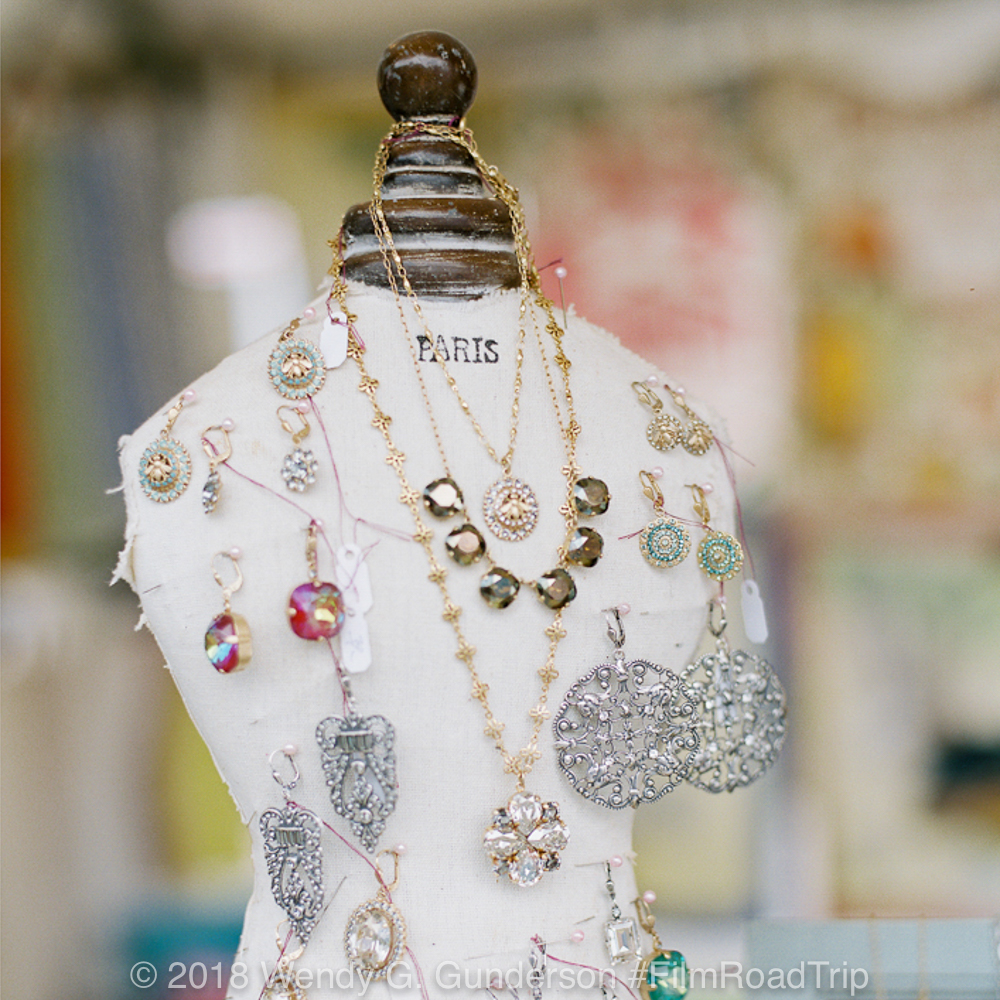
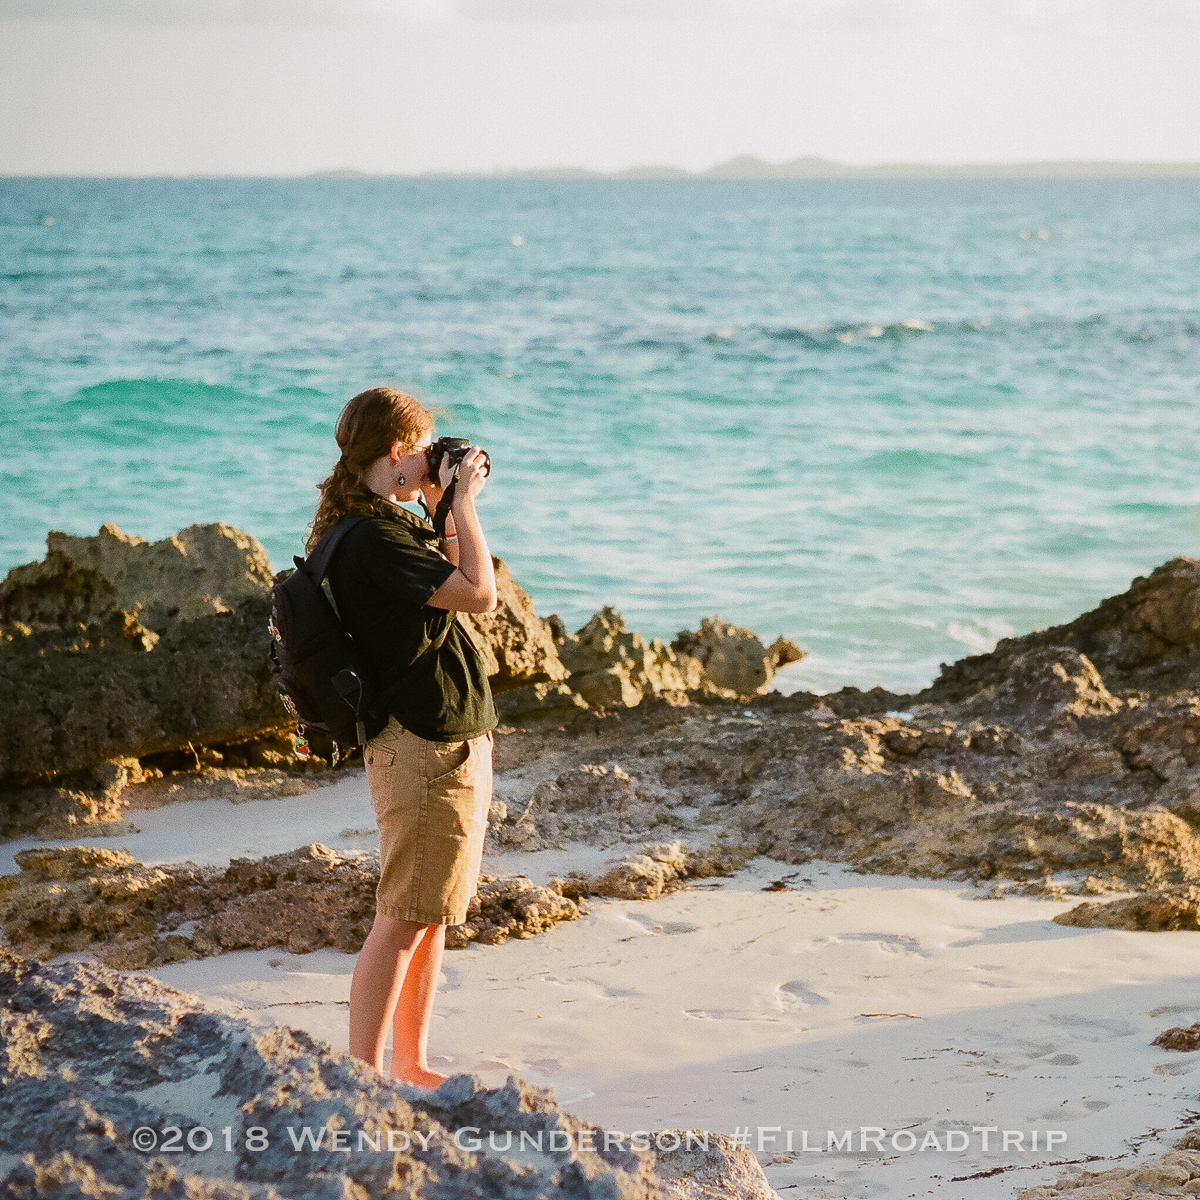
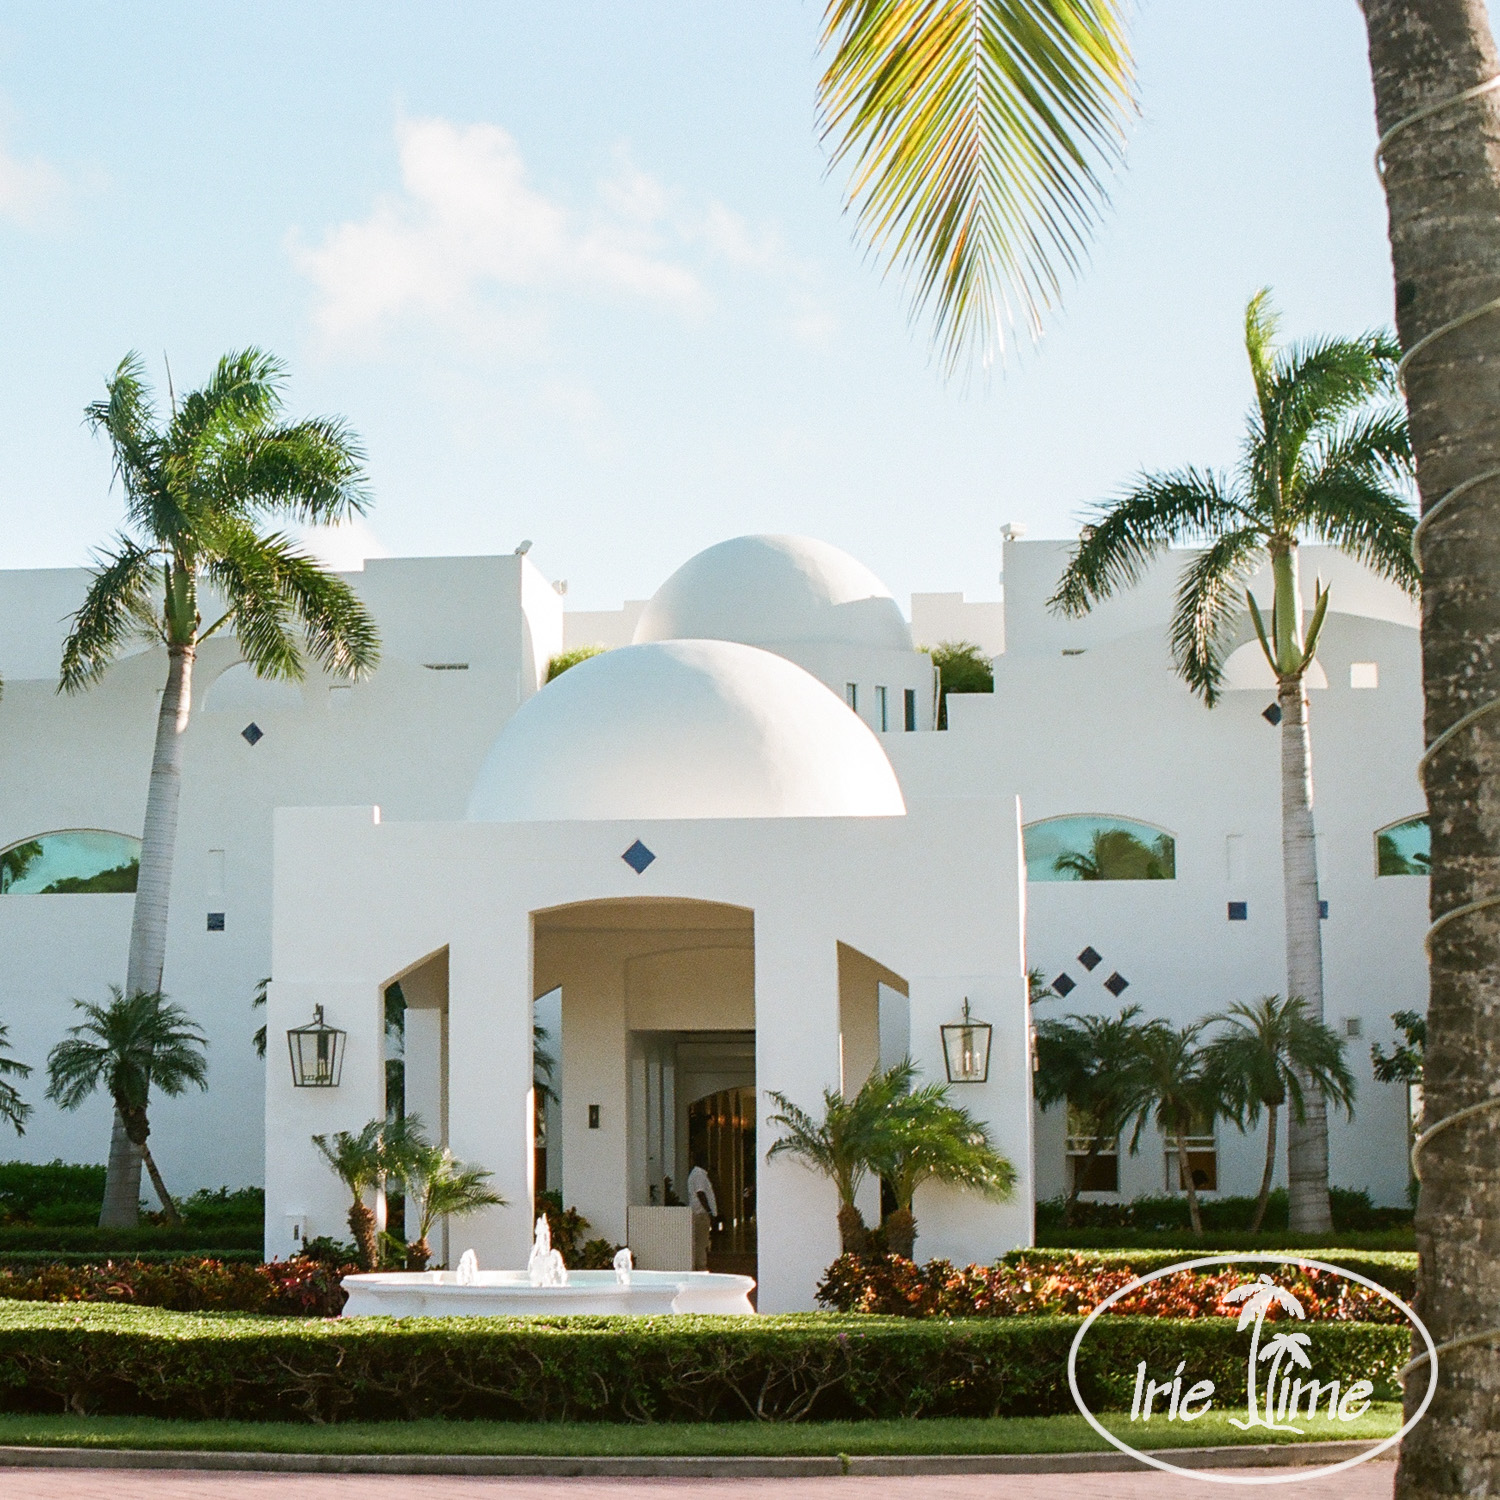
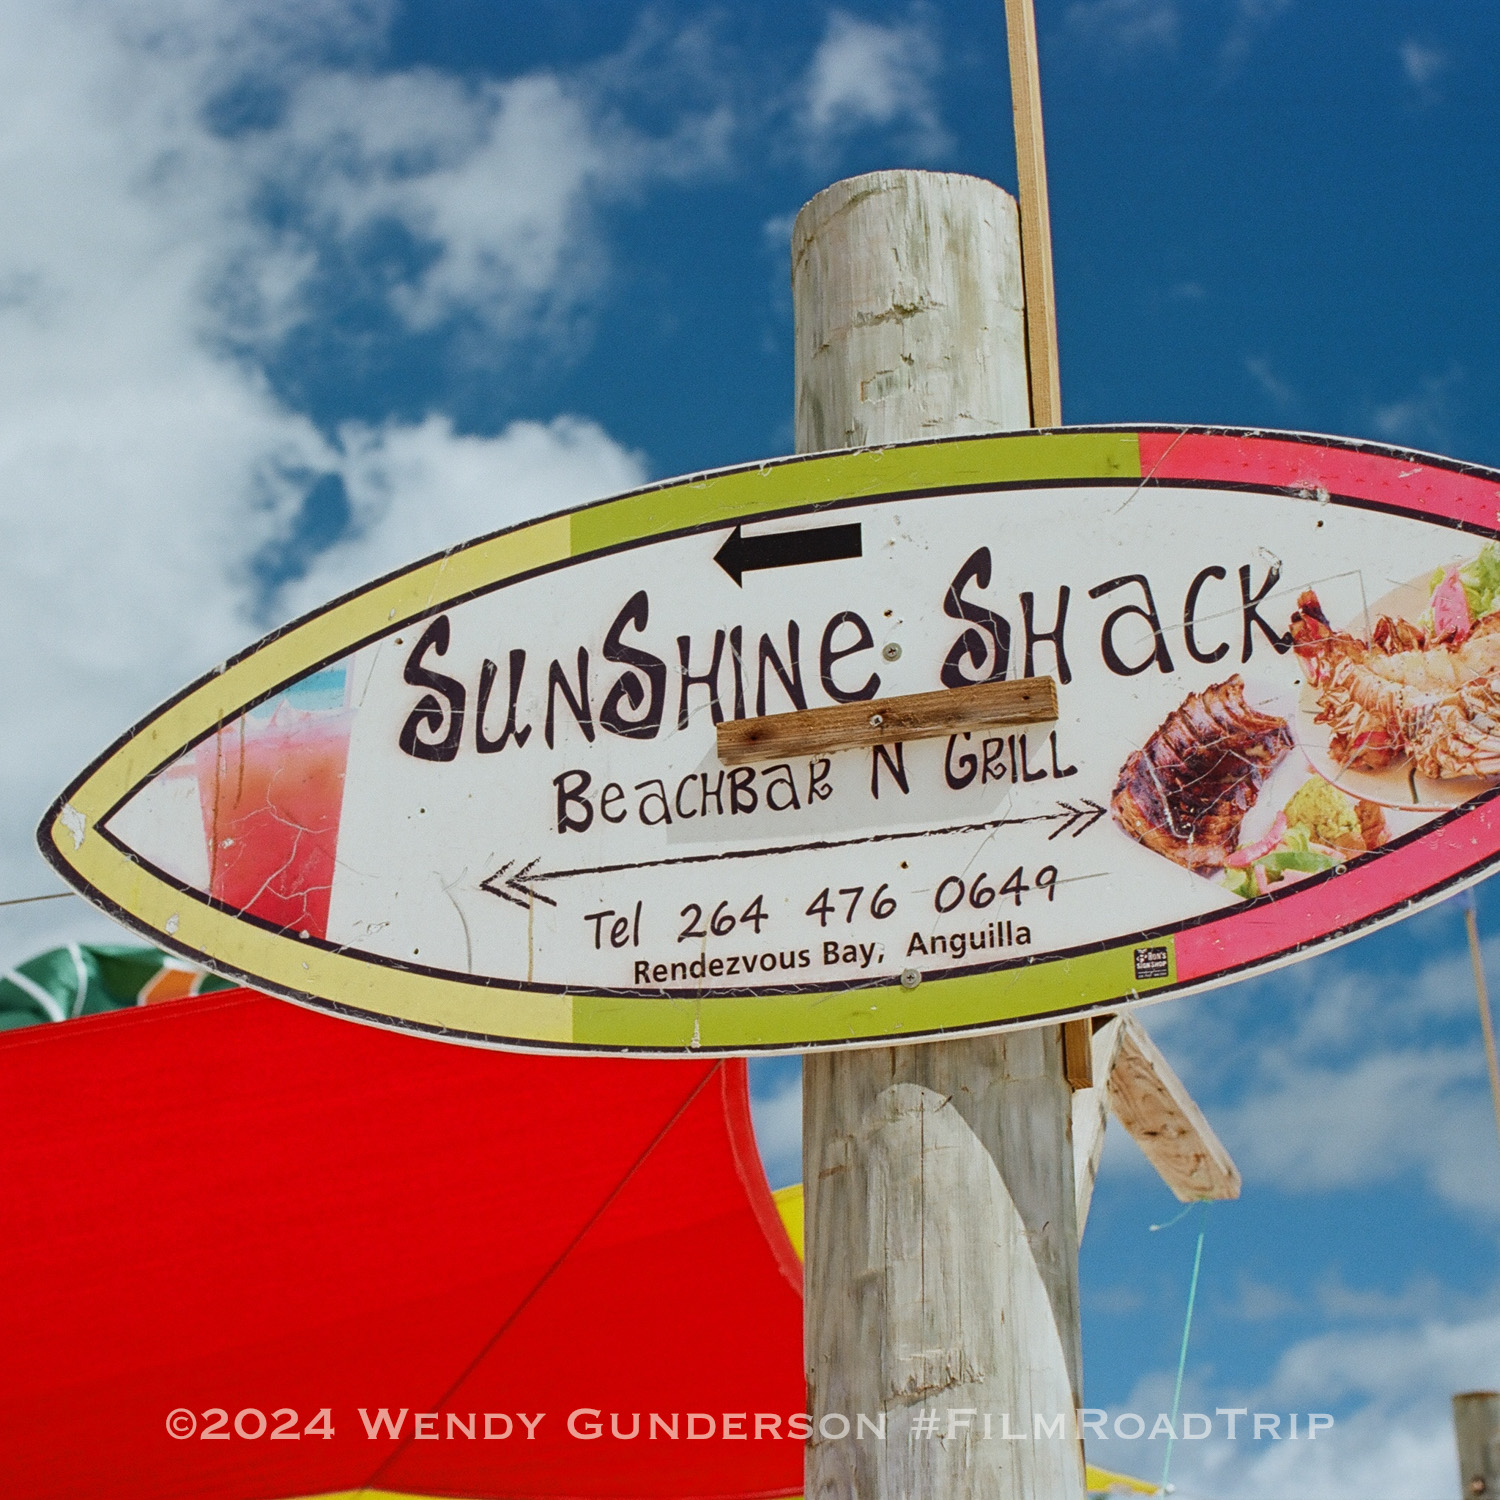
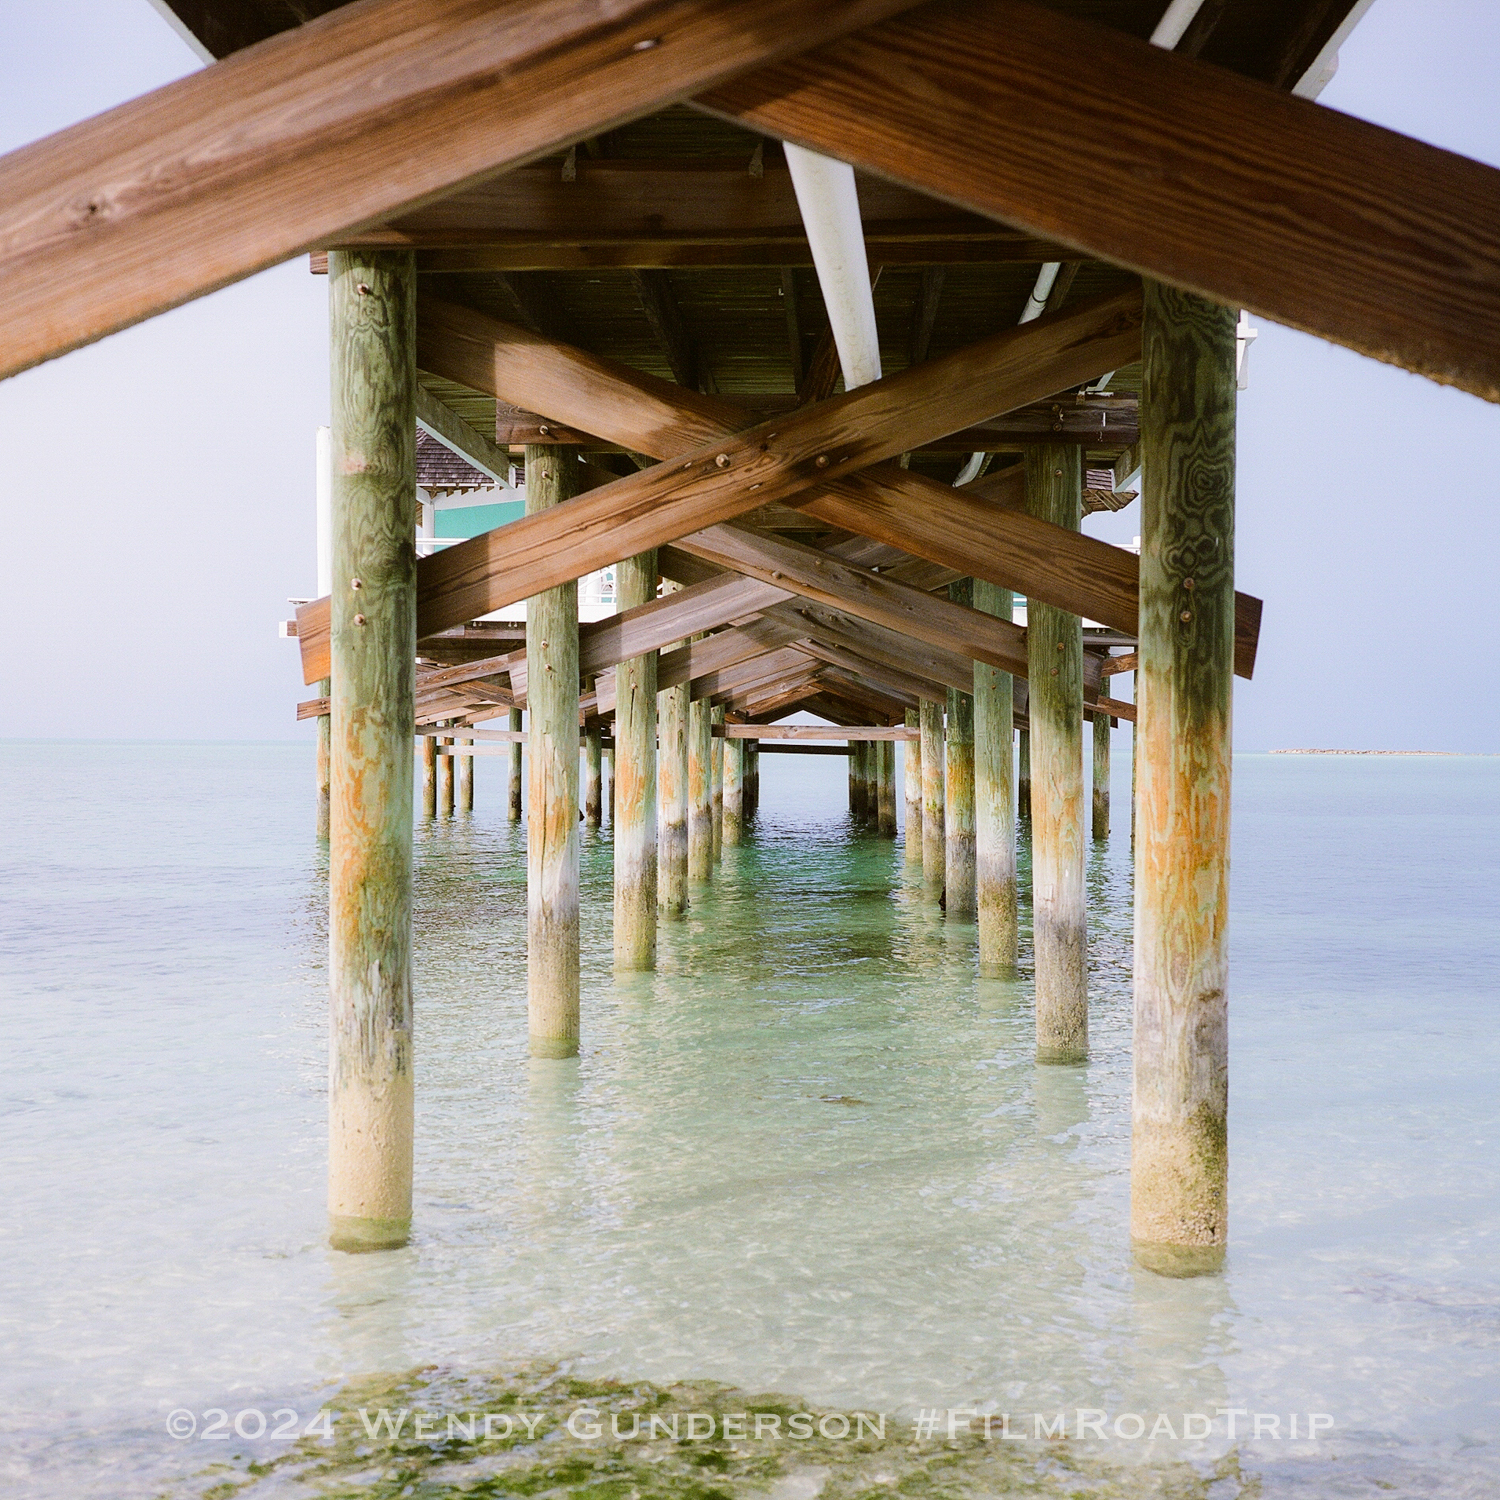
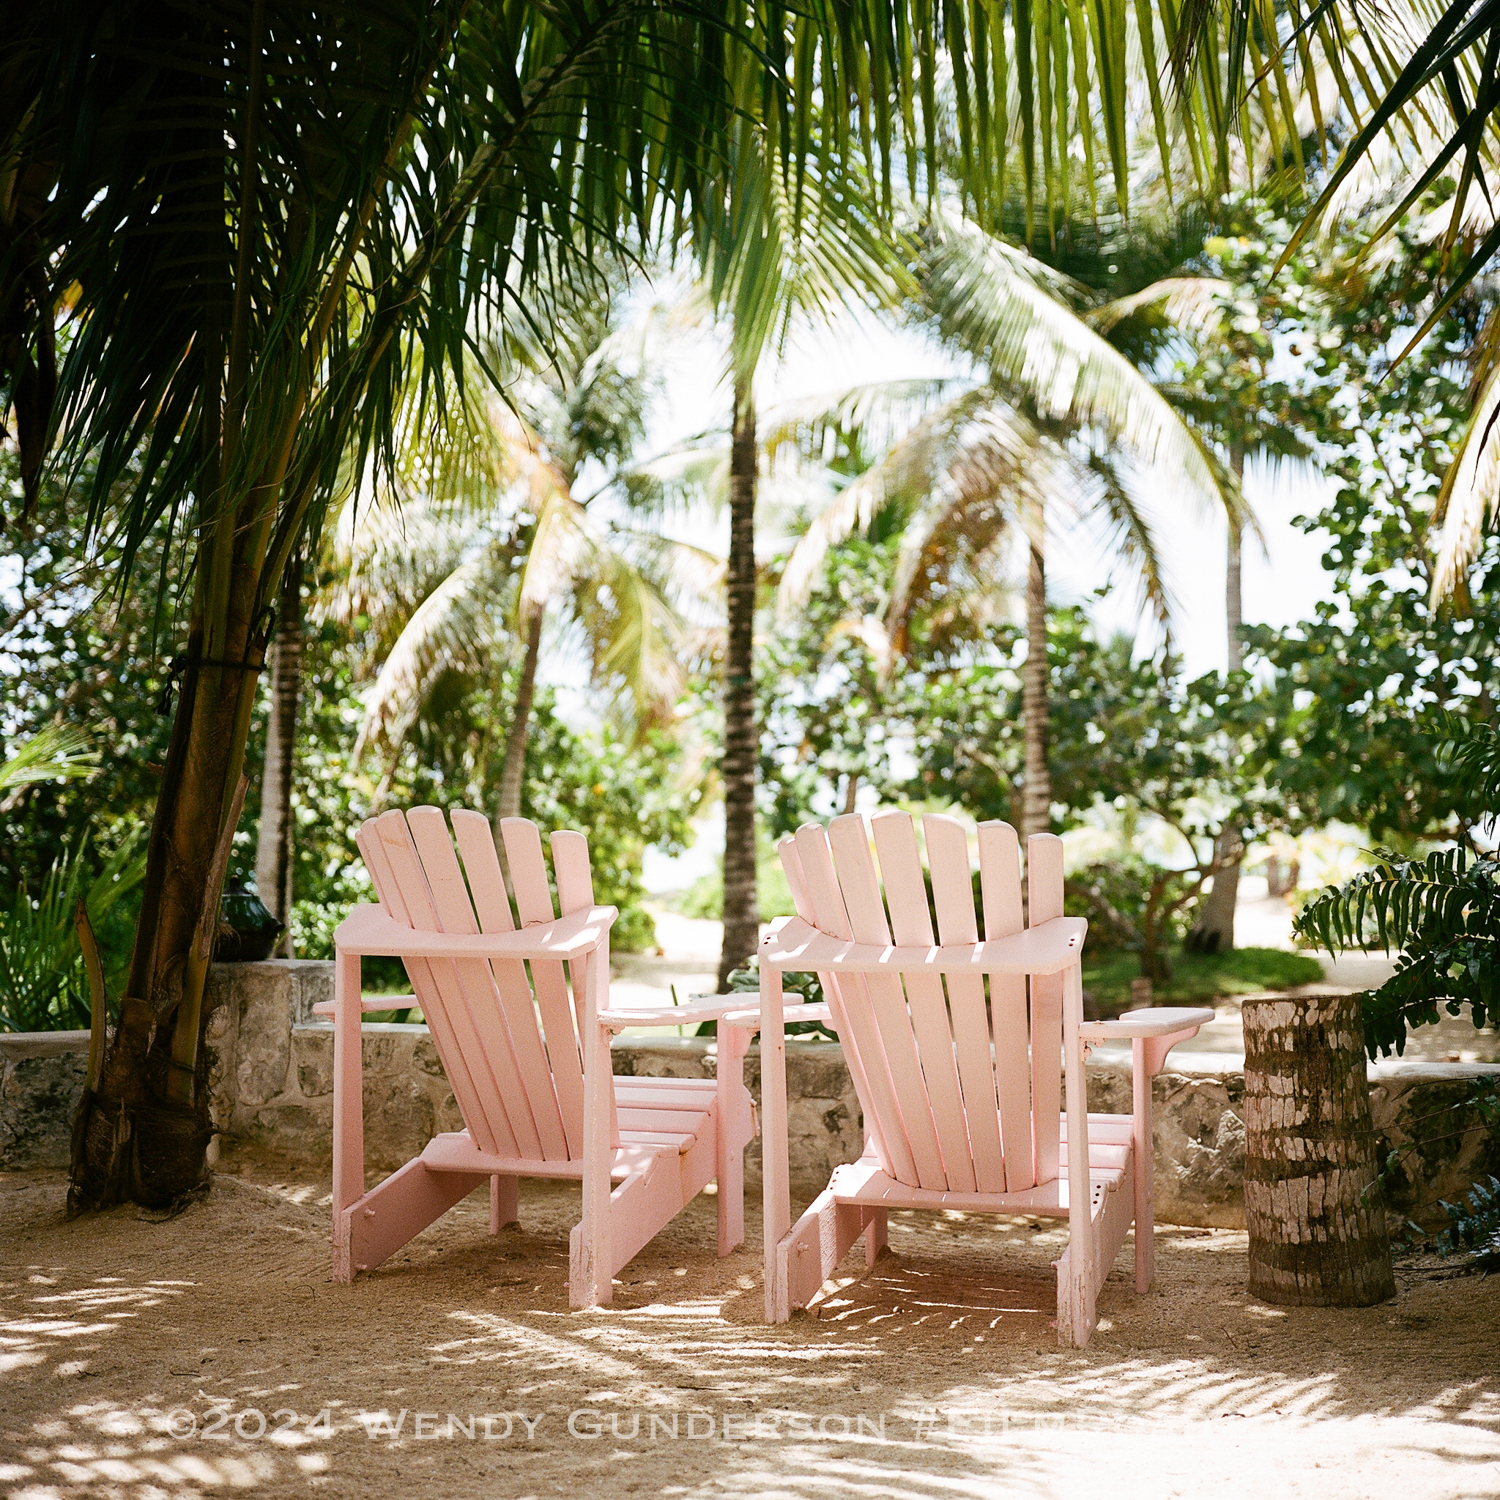
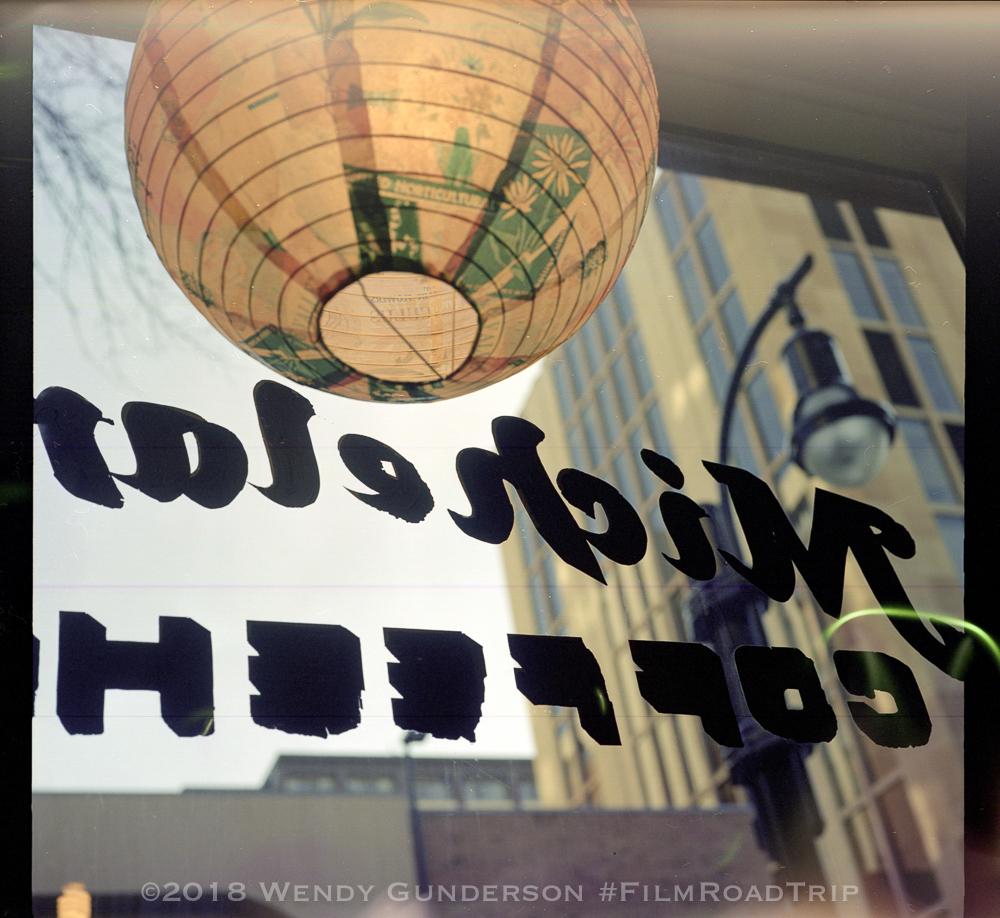
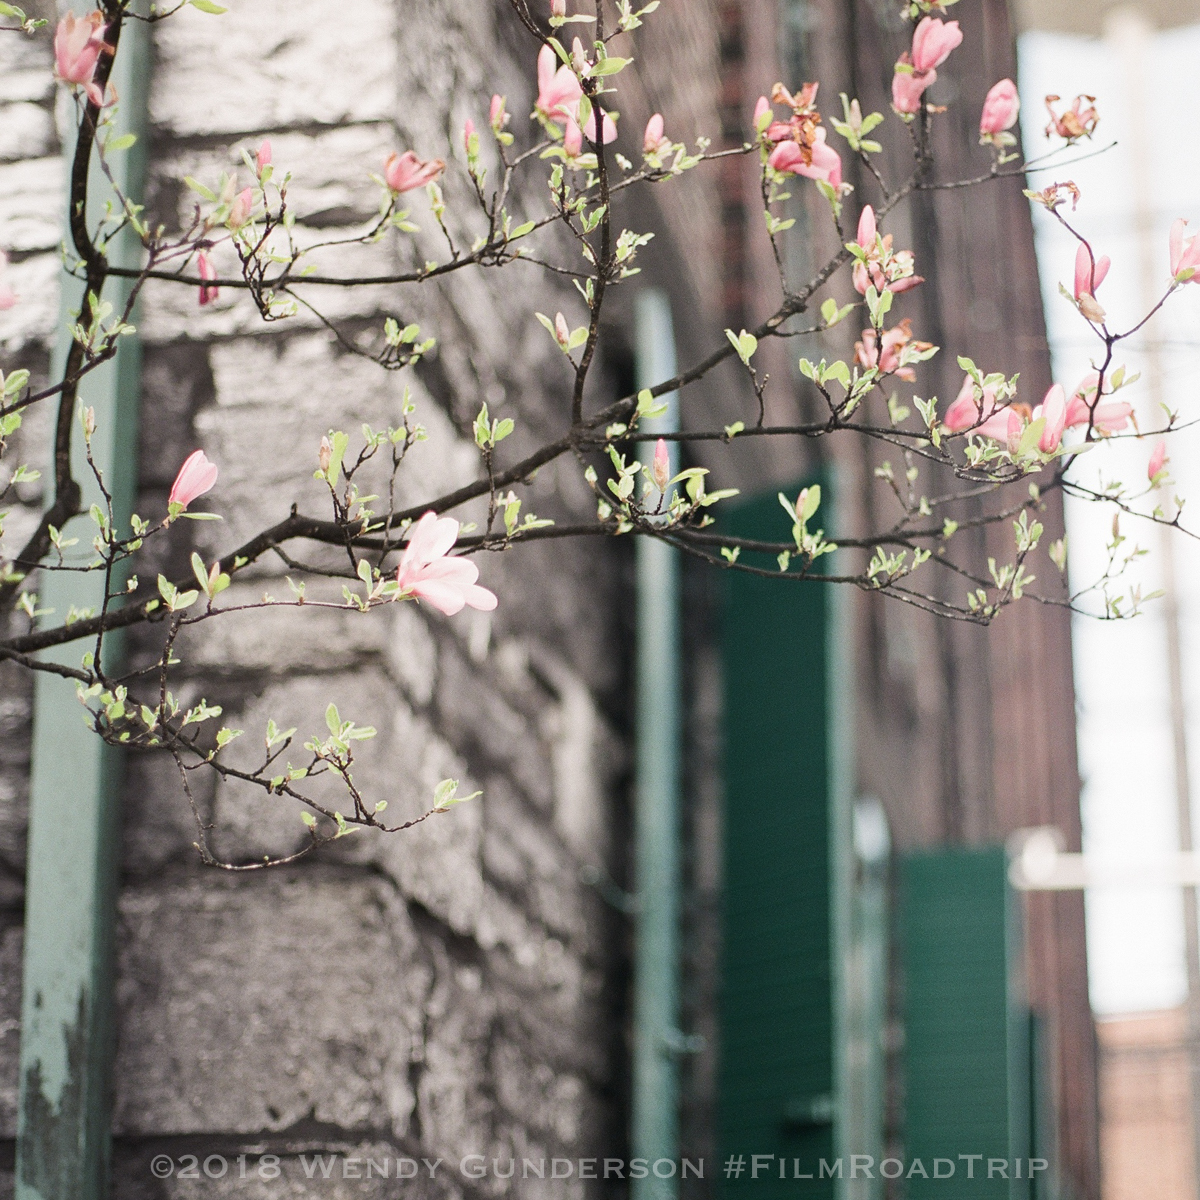
This was our 7th trip to Anguilla, and our third stay at what was known as the CuisinArt Resort, now Aurora Anguilla. For more on our stay at Aurora Anguilla, see the full post on our Caribbean travel site, My Irie Time, with loads more pictures and details. Here are a few of the film images from around the resort and along the beach.
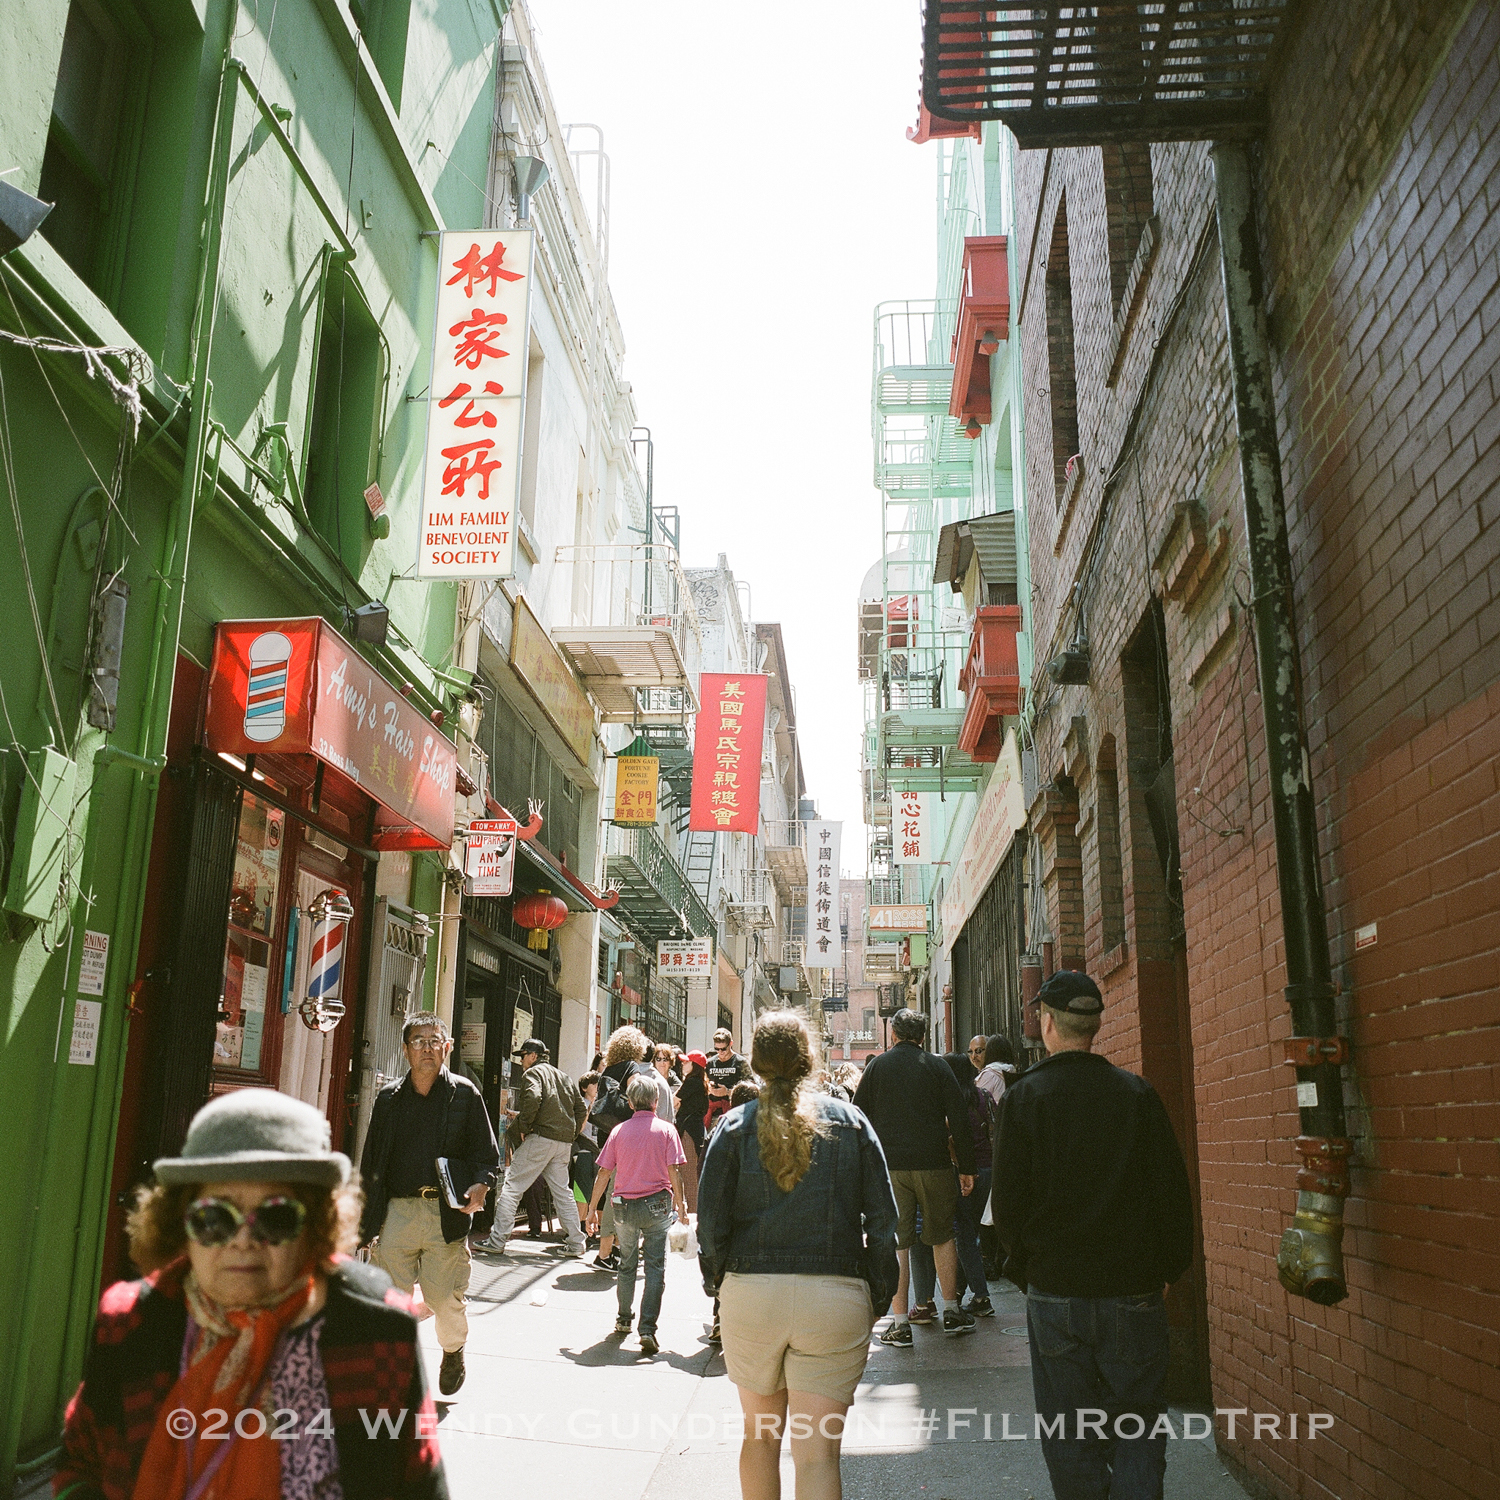
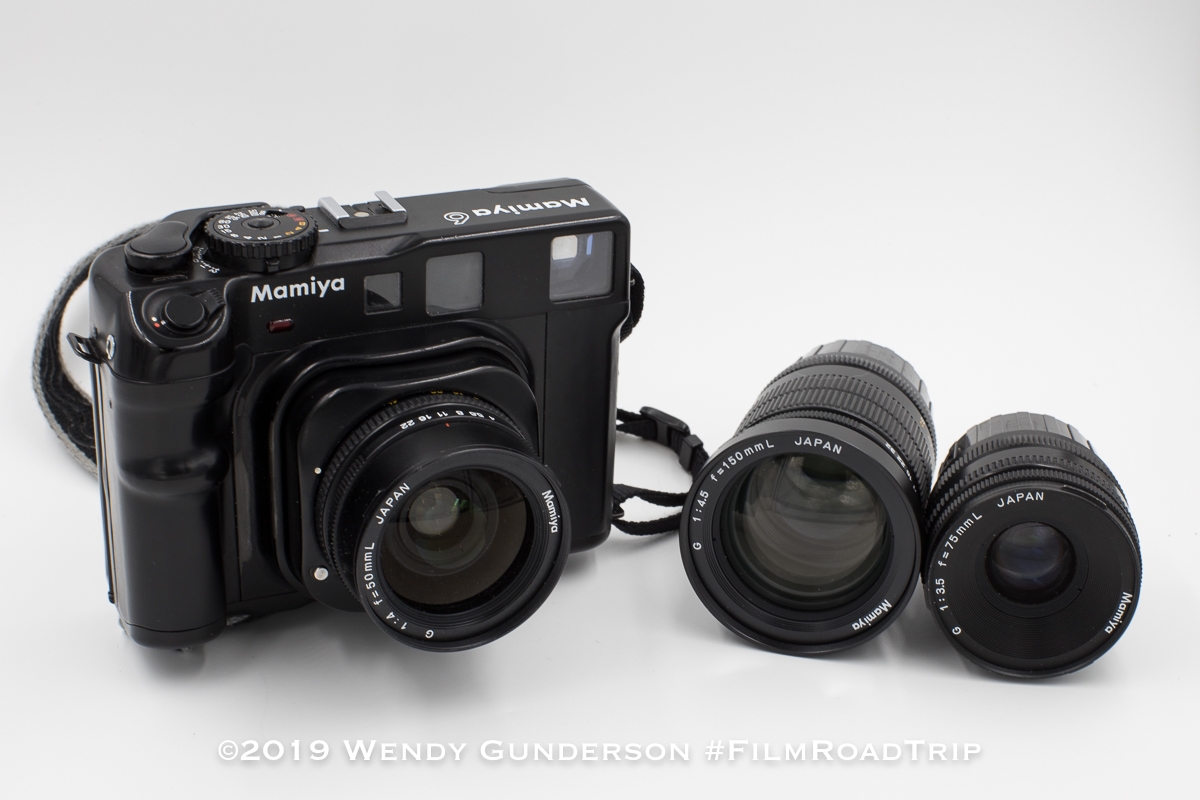
I love medium format, but medium format cameras and travel are not generally a good combination. The cameras and lenses are large and heavy. About a year ago, I determined that I was giving up on taking my Mamiya 645 Pro TL on long trips. The system is modular and breaks down nicely, but each lens adds about a pound of weight. I took it with me to San Francisco, limiting myself only to the 80mm lens, but for trips to the Caribbean where small planes and weight limitations are common, it has to be left behind. The good thing is that I have a compact alternative for shooting medium format film that is perfect for travel, the Mamiya 6.
Nevis, St. Kitts & Nevis – Mamiya 6, Mamiya 75mm f/3.5, Ektar 100
As a bit of warning, this is not a technical review. If you’re looking for all the itty bitty details, there are plenty of sites to obtain that information, like Film Shooters Collective. I write this from the perspective of someone who travels and likes to experiment with my cameras while traveling, but whose body is beginning to feel its age, and pretty much every extra ounce I pack. I will talk about how I use the camera and features I like.
San Francisco, California – Mamiya 6, Mamiya 50mm f/4, Fuji Pro 400H
Mamiya had two cameras it called the Mamiya 6 (or Mamiya Six). The older model was a folding camera dating back to the 1940’s and 50’s. The “new” Mamiya 6 was released in 1989. It is not a folding camera. Instead, the lens collapses somewhat into the body making it extremely portable. You push a small button on the bottom left of the camera and pull out the lens to extend it for use. Here is the camera with the 50mm lens, retracted and extended:
50mm lens retracted50mm lens extended
And with the 75mm lens retracted and extended. The 75mm lens is the most compact.
75mm lens retracted75mm lens extended
The Mamiya 6 came with only three lenses, the standard 75mm f/3.5, the 50mm f/4, and the 150mm f/4.5. The best of the bunch, in my opinion, is the 50mm f/4. It was the last of the three lenses I purchased, and the most expensive, but I’m glad I kept up the search to find one. The minimum focusing distance on the 50mm and 75mm lenses is 1 meter (over 3 feet). On the 150mm lens, it’s 1.8 meters (nearly 6 feet). Filter size on the 50mm and 75mm is 58mm, and on the 150mm, it’s 67mm.
Mamiya 6 with 50mm f/4 lens, 150mm f/4.5 lens, and 75mm f/3.5 lens
The camera is not small, but is easy to hold in the hand. All three lenses have electronic leaf shutters, which are so quiet, when I first started shooting this camera, I wasn’t sure if it had fired.
The camera uses 120 film and produces twelve 6x6cm (2-1/4″) square images. If you still have some rolls of 220 lying around, you can use those too, flipping the pressure plate inside the camera’s rear door. Film is easily loaded, similar to what you do when you load 35mm.
You can shoot in manual or in two aperture-priority modes, AE (automatic exposure – red dot in a circle on the dial) or AEL (AE Lock – red square in a square outline on the dial). In AE, you select the aperture by turning the lens barrel, and the camera automatically sets the shutter speed. In AEL, the camera memorizes the settings when the shutter release button is touched lightly so that even when the position of the subject or camera changes, a picture can be taken with the initial aperture setting and is not affected by changes in light. It holds the settings until the shutter is triggered or you release the button and press again. I tend to shoot in AEL mode. The light meter has not failed me yet.
The viewfinder is nice and clear. When you put on different lenses, you see the outline of what is in the field of view. When the 150mm lens is on, the image in view is pretty small and difficult to see, particularly with my aging eyes. Luckily, you can get a diopter correction lens to pop into the viewfinder (found them on eBay) to make it much easier to see that you have secured focus.
One feature I appreciate is the built-in darkslide, which prevents you from doing something stupid like trying to change a lens with film loaded. You will not be able to remove a lens with the darkslide, called a light shield curtain, open. There’s a release on the bottom of the camera which closes the curtain and allows you to change the lens. You then release the switch and you’re ready to shoot again.
The best feature of this camera is that it is compact, the perfect medium format camera for travel. With the 50mm or 75mm lens attached, it easily fits in the front pocket of my Billingham Large Hadley with room to spare for rolls of film. It measures 6 inches long by 4.5 inches wide, with a depth varying based upon the lens attached. With the 75mm lens attached, the depth is only 3 inches, and with the 50mm lens is just one-half inch more.
Billingham Large HadleyMamiya 6 with 50mm lens inside the front pocket of the Billingham Large Hadley
This was my very first rangefinder, and I have to admit that when I first purchased it, I didn’t like it. I initially had a hard time focusing, and missed a lot of shots. It didn’t help that one of my very first outings with the camera was a trip to New Orleans and things move pretty fast there! Upon returning from that trip, I was convinced that I was going to sell the camera. Thankfully, I did not give up. After I got the hang of it, this soon became one of my favorite cameras, perfect for an aperture priority shooter, and a perfect medium format camera for travel.
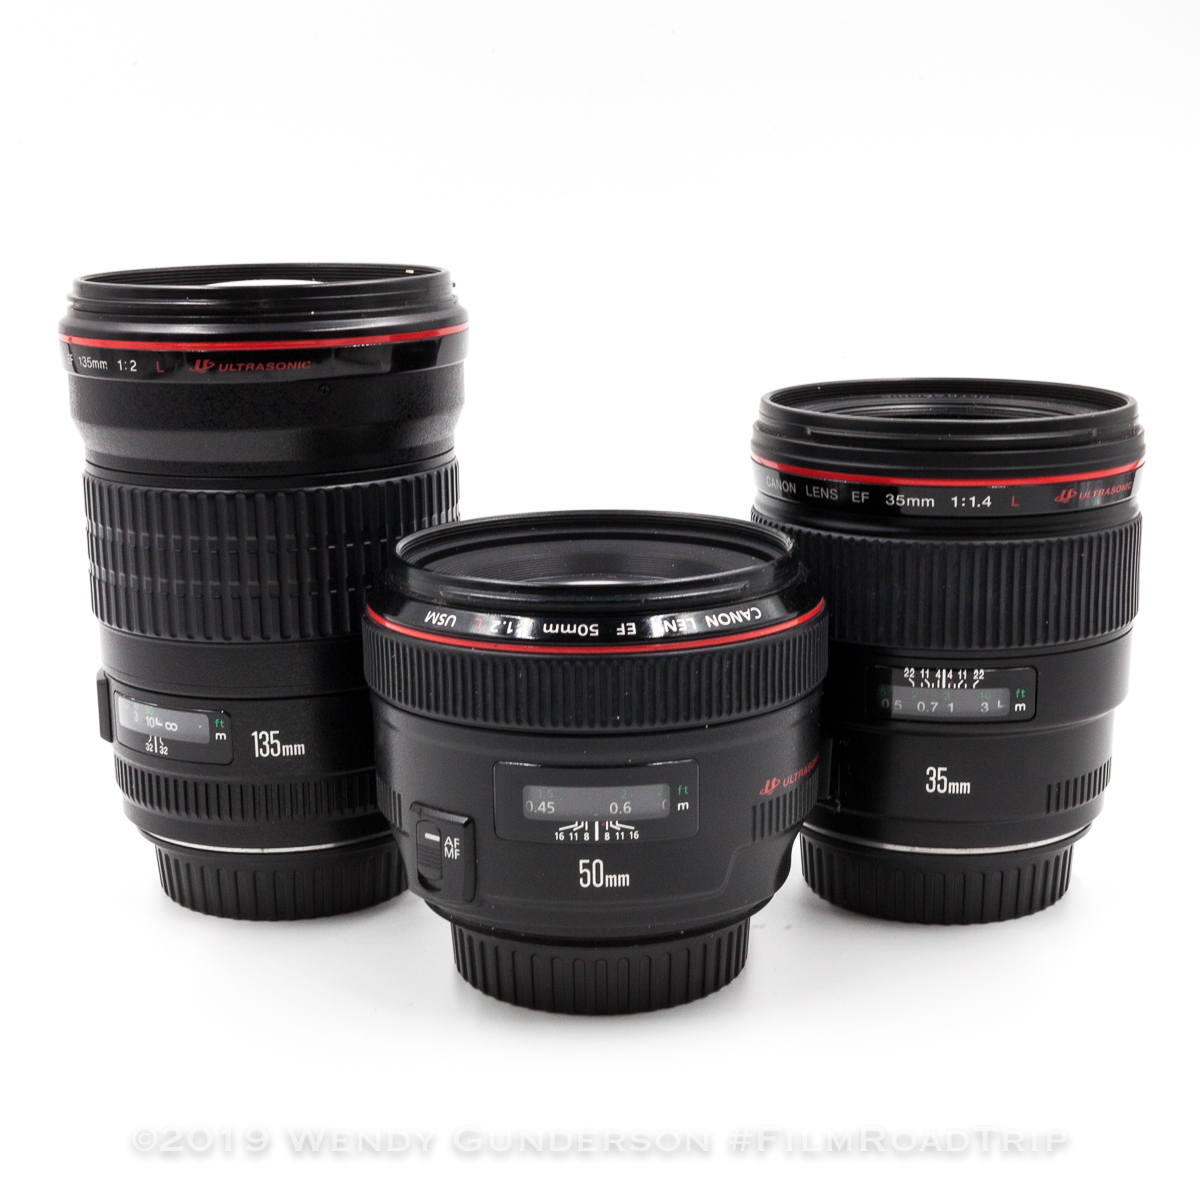
When I first heard the expression, the “Holy Trinity” of lenses, it was in reference to three Canon L prime lenses, the 35mm f/1.4, the 85mm f/1.2, and the 135mm f/2. After Googling the phrase, I see that everyone’s “Holy Trinity” is different. Some use the term to describe a series of zoom lenses, and some use it to refer to three different prime lenses. So I guess everyone has their own spin, but for me, it’s the Canon 35mm f/1.4, 50mm f/1.2, and 135mm f/2, and I’ve found it to be perfect for travel.
Canon EOS 1v, Canon 135mm f/2, Kodak Portra 800
What makes this the perfect threesome for me? First, I have new love for the 50mm with my purchase of the Canon 50mm f/1.2. I am certain there are other 50mm lenses which are sharper, but I love the look of this lens. It did not come easily because I pretty much abandoned the 50mm focal length with the purchase of my Canon 24-70mm f/2.8. When I purchased that lens, I passed my 50mm f/1.4 to my daughter to replace her 50mm f/1.8, and used the 24-70 for pretty much everything I shot.
Canon EOS 1v and Canon 50mm f/1.2, Fuji Provia RDP III
However, over time, I appreciated the image quality I was getting with prime lenses. I started with the 35mm f/1.4 and found it to be a great focal length for landscape shots. I have tested Canon’s 24mm f/1.4, and it is a wonderful lens, but I found that I rarely shot that wide except when inside cathedrals in Ireland.
Canon EOS 1v and Canon 35mm f/1.4; Kodak Portra 400
My next prime lens purchase was the Canon 200mm f/2.8. It was nice to have the reach and it was a nice price for an L lens, but it was a bit too long for my taste. I opted for the Canon 135mm f/2 and fell in love. It was gorgeous for shooting portraits and for details while traveling.
Canon EOS 1v and Canon 135mm f/2; CineStill 50D
The final piece in the puzzle was the Canon 50mm f/1.2. That is the lens which allowed me to toss aside the crutch of the Canon 24-70mm f/2.8. I still use the 24-70 but have found that I reach for the 50mm more often than not.
Canon EOS 1v, Canon 50mm f/1.2; Kodak Ektachrome E100
What about Canon’s 85mm f/1.2? I did give it a try. I rented it for our June 2017 trip to Nevis and it’s beautiful. I love the images from it. What I didn’t love was first, the price tag, and second, the weight. There is a significant difference in the weight and balance of the 50L on both my film and digital SLRs as compared to the 85L.
Canon EOS 1v and Canon 85mm f/1.2; Fuji Pro 400H
Our next big trip will be in August to London, and I expect that I will have to keep weight to a minimum. If I pitch one of the lenses (and I would have a tough time doing that), I’ll probably take only the 50L and the 135L, as those account for most of my shots while traveling and I can do pretty much everything I hope to do with those lenses.
Canon EOS 1v and Canon 50mm f/1.2; Kodak Ektar 100
What’s your “Holy Trinity” of lenses for travel? Are they prime or zoom lenses? I would love to hear everyone’s thoughts in the comments.
All film processed and scanned by the best photo lab ever, Richard Photo Lab.
Interested in Caribbean travel? Check out our sister site, My Irie Time! Want to learn more about what gear we use for travel? Take a look at what’s in our camera bag.
Since returning to film photography a few years ago, I make a point of taking at least one film camera on each trip. Part of the reason is that I love the look of film. I also love playing with my old cameras and trying different techniques. Traveling to Nevis, I packed two film cameras, the Canon 1v, which uses all the same lenses as my DSLR, and the Mamiya 645 Pro TL with the 80mm f/1.9 and the 45mm f/2.8 lenses. I decided to try some slide film, so I packed a few rolls of Fuji Velvia 100 RVP, along with my trusted stocks, Kodak Ektar 100, Fuji 400H, and Kodak Portra 400. Check out the results of our adventures in film photography on Nevis!
Velvia 100 v. Ektar 100
As to the slide film, I appreciated that there was a very small window for error in exposure. The tradeoff was incredibly vivid images. When the exposure was relatively even across the frame, Velvia is perfection. When there is a harsher difference from top to bottom, Ektar performed better, at least in some respects. For example, look at this shot of the beach. Velvia is on the left. Ektar is on the right. Both were shot at box speed. These were shot close in time, although not at exactly the same time for obvious reasons. In Photoshop, I used the color match tool to have the best comparison between the two images. Both were shot on the Mamiya 645 Pro TL.
It appears to me that the detail in the highlights has been lost on the Velvia on the top of the umbrella where it was overexposed. I do appreciate that I have a bit more shake on the Velvia image (you can see it’s sharper under the umbrella on the Ektar image), perhaps human error, or perhaps it was a bit of wind which shook the umbrella accounting in part for the difference. Regardless, I love the fine grain on the Velvia, and the depth of color is striking.
Where the exposure was more even across the frame, the Velvia was beautiful. I will definitely be shooting more slide film.
Human Error
My standby film stocks are my standby’s for a reason. They perform beautifully, even when I am not so precise on my exposures, and even when I made some grave errors. For example, I had a few rum drinks at Sunshine’s beach bar, and while changing the film out of my Pro TL, I dropped a roll into my lap. I thought all those exposures were completely lost as I fumbled to quickly roll it back onto the spool. Although there is evidence of light leak as a result of my fiddly fingers, the exposures survived. I cropped it square and applied a gradient and the shot was salvageable.
Double Exposures
I experimented with double exposures this trip, using my Canon 1v and a roll of Portra 400. On the 1v, you open the side panel and press the multi exposure button to enable multiple exposures. After you shoot the second frame it resets, so you don’t forget and end up shooting a whole roll of double exposures. This was my first try, and in the future, I will try to put the elements of the second shot just off the face.
Here are a few more film images from the trip.
All shot on Mamiya 645 Pro TL. Clockwise from top left: Portra 400, Portra 400, Ektar 100, Ektar 100, Ektar 100, Fuji 400H, Fuji 400H, Ektar 100
Overall, I was glad to bring all the extra gear to shoot film on this trip. It is fun to experiment with film photography, and even the failures are not so bad.
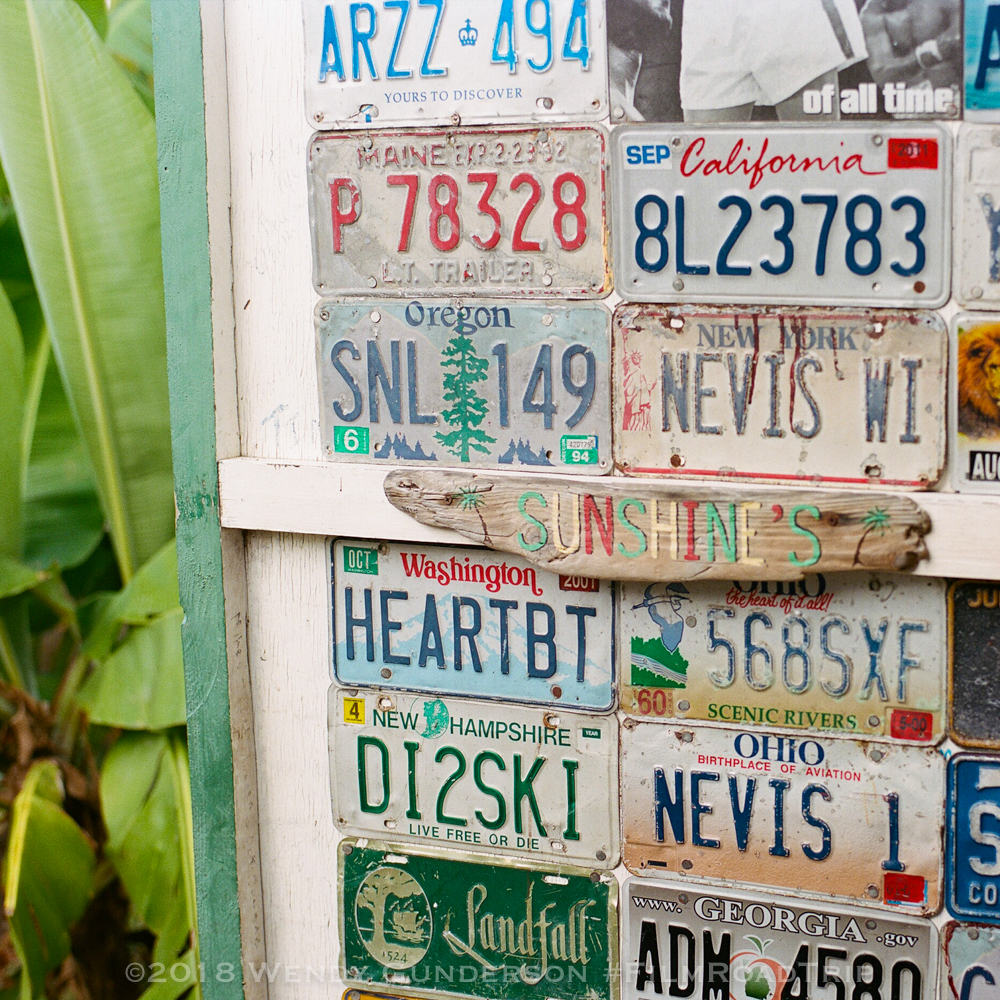
Our first stop on our 2011 trip to Nevis was Sunshine’s, a Nevis institution and home to the famous “Killer Bee.” This trip would be no different, except this time I would avoid the sting that follows consuming three of those delicious rum concoctions.
After a long day of traveling, beginning at 2:00 a.m. Nevis time, there was no question as to what we would be doing that evening. Things have changed a bit in the six years since our last visit, but Sunshine’s hospitality and the great food and drink have not.
For first timers, I would recommend that you definitely try the jerk chicken and the ribs. If you love Caribbean lobster, the lobster salad is amazing, accompanied by a mound of fresh greens and vegetables. If you’re lucky enough to be there when they have conch fritters, don’t hesitate. Order those before they run out. In addition to my “Killer Bee,” I tried the “Refreshing,” a mix of rum, ting and cranberry juice which was true to its name. It was perfect on a hot afternoon. I also noticed that added to the menu was a “Bottle of Killer Bee to Go,” a nice option for those who have to make the journey back to St. Kitts (or down Pinney’s Beach to the Four Seasons).
Working the bar this visit was Chilly, who mixed up our cocktails and shared a tale or two, along with that fantastic smile.
Comparing images from our 2011 visits to today, Sunshine’s has really expanded. There is a new deck off the main restaurant and a large outside bar. The expansion was no doubt necessary to account for the day trippers making the journey over from St. Kitts.
I remarked to Sunshine how different everything was since our last visit, showing him the photographs from our last trip. He replied, “Well, it’s time to get some new photos!” as he put his arm around me in a hug. That is the best part of visiting Sunshine’s. It’s not just the great food and drinks or the relaxing atmosphere. It is Sunshine’s genuine warmth and friendly nature which keeps us coming back again and again.
Time to mark our visit, as have so many travelers before us, by sharing a team flag, posting a photo taken with Sunshine, or marking the walls with their names. We certainly won’t be the last.
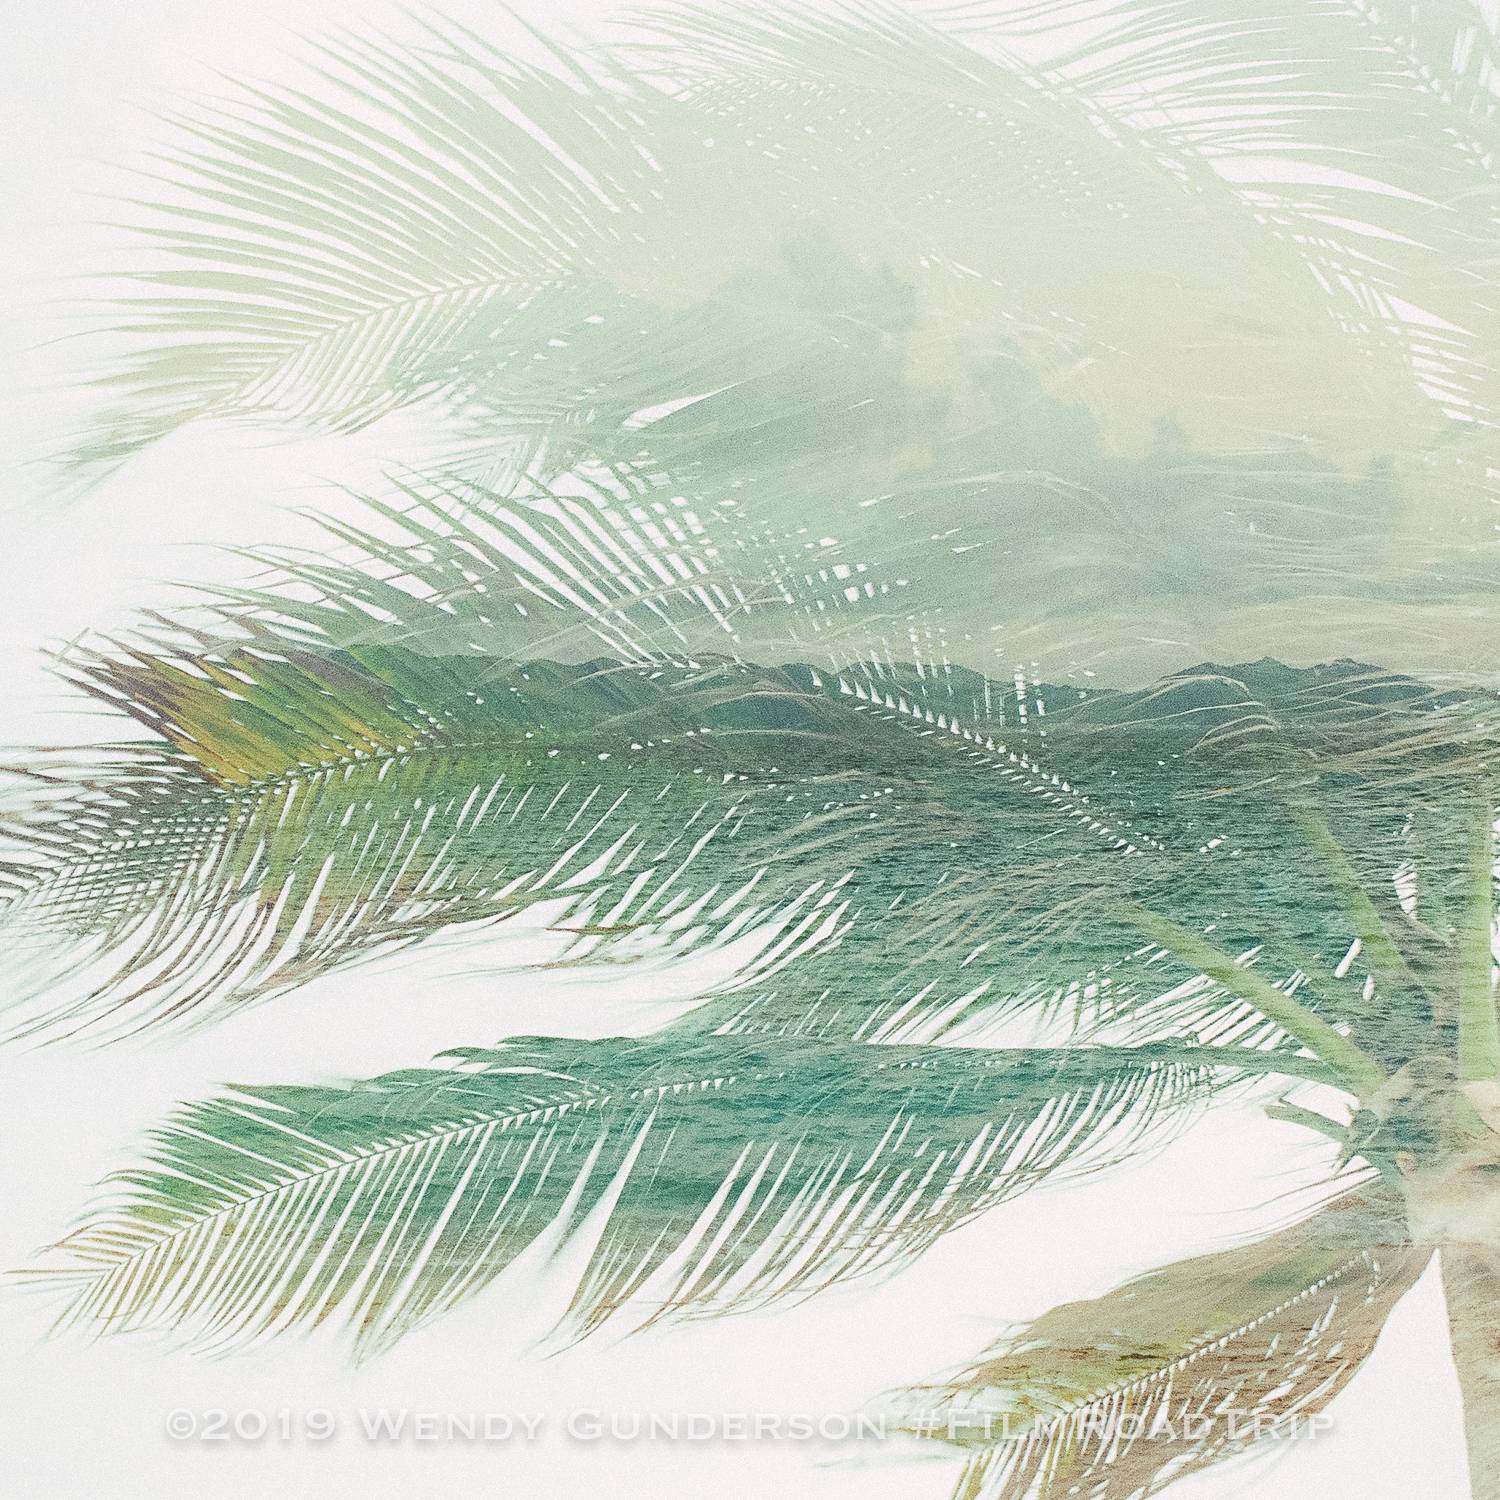
“I’ve never been to a place where the palm fronds clack together,” my husband said while sitting back in his beach chair facing the calm of Kamalame Cay. Coconut palms surrounded our chairs on what seemed to be our own personal beach. “You have,” I replied. “You have just never heard them before.” We have been to quite a few private beaches and luxury resorts in the Caribbean, but Kamalame Cay was distinctive from the rest. It was like nothing we had ever seen, or heard, before.
Mamiya 6, Mamiya 75mm f/3.5, Fuji 400H
There are no televisions. We thought we would miss that, particularly with the NBA Finals going on at the time of our visit. We didn’t. We spent more time talking, and reading, and listening, hearing those palm fronds, or the patter of a late afternoon rain. You saw more. Perhaps it was the lack of distractions. You noticed the tiny marks left by the hermit crabs as they made their way across the sandy path. You saw the tiny birds, hopping from branch to branch. The loudest sound was the sound of the seaplane taking off, bringing new guests or taking new friends home.
Mamiya Pro TL, Mamiya 80mm f/1.9. Kodak Ektar 100
The water was calm and clear. In the early mornings or late evening, it was like glass, and in those early mornings, you were treated to the sunrise from your beach chair. The water is shallow for quite a distance, perfect for those uneasy with the surf, or those who just like to walk or lounge in the water.
Mamiya Pro TL, Mamiya 80mm f/1.9, Kodak Portra 400 Mamiya Pro TL, Mamiya 80mm f/19, Kodak Portra 400
There are personal touches throughout your visit. In the morning, a basket of breakfast goodies is delivered to your door, including freshly-squeezed orange juice, coffee, pastries, yogurt and fruit. In the afternoon, you look forward to the warm cookie delivery, wanting to be there the moment it arrives. The staff was warm and caring without being intrusive.
Mamiya 6, Mamiya 75mm f/3.5, Kodak Portra 400
It took me a while to put my thoughts together to sum up our visit. I left well-rested, yet we did more activities on this trip than any before. I felt pampered, yet staff members were not present at every turn. This is not the Four Seasons, or Jumby Bay, or any of the diamond award winners we have visited before. It’s difficult to compare, because they don’t compare. It is elegant, but in an understated way. A visit to Kamalame Cay may be best described as a visit to a friend’s beautiful beach house. You are welcome and comfortable, and if you need assistance, they are already there with what you need. But you have the run of the house, literally. You can pour yourself a drink, pick a book off the shelf, and settle in where you are comfortable. You can walk barefoot, anywhere. Relax. You are home.
Mamiya 6, Mamiya 75mm f/3.5, Kodak Portra 400
Lead image: Mamiya Pro TL, Mamiya 80mm f/1.9, Fuji 400H
All photographs in this post were shot on film, using a Mamiya 6 with the 75mm f/3.5 lens, or the Mamiya ProTL with the Mamiya 80mm f/1.9 lens. Processing by Richard Photo Lab.
This post was the winner of a bronze award in the 2016 NATJA Awards for Excellence in Travel Journalism in the category of Photography: Photo Essay – Online Publication. For more information, click the image below.
NOTE: Originally published on July 10, 2016 on our sister site, My Irie Time.
Last November, on our first trip with film in eight years (#filmroadtrip: Road Test – Anguilla), we learned a lot of lessons. One of my missions on this trip was to correct at least some of the mistakes I made. So on this #FilmRoadTrip: Road Test – Barbuda & Antigua, I tweaked a few things, shot more film, and was pretty pleased with the results. As always, though, there is still room for improvement.
Canon 1v, Portra 400
Mamiya Pro TL, Portra 400
The Film Kit
Traveling with a lot of gear is not easy. I wanted to shoot both medium format and 35mm, along with my digital, but I wanted to watch the weight. I knew that on our flight to Barbuda, a small prop plane, they would be weighing everything (including us!) so I had to be mindful of the load. Here is the film gear I packed:
Mamiya 645 Pro TL
Mamiya 80mm f/1.9
Mamiya 45mm f/2.8
Mamiya Extension Tube 3-S
Canon EOS 1v, plus these lenses, which are also used on my digital camera:
I did not bring my light meter. I planned to rely on the built-in meters, having used them in the past and found them to be predictable.
Canon 1v, Portra 400
The Film
This year, I brought only two film stocks, Fuji 400H and Kodak Portra 400. They were my favorites in Anguilla, and I saw no reason to bring others. I brought more than I needed and ended up shooting 5 rolls of 35mm and 13 rolls of 120. I did not utilized lead-lined bags and did not ask for a hand check given that I was using 400 speed film. All shots were processed and scanned by Richard Photo Lab, and tweaked by me in Lightroom.
Mamiya Pro TL, Fuji 400H / Mamiya Pro TL, Portra 400
Canon 1v, Fuji 400H / Canon 1v, Portra 400
Mamiya Pro TL, Portra 400 / Mamiya Pro TL, Fuji 400H
The Road Test
This trip was to two separate islands. First was four nights on Barbuda, which we reached by three flights, the third being a small prop plane. Then we flew back to Antigua and took a boat to Jumby Bay Island. I expected lots of sunshine and lots of reflective sand and water, so circular polarizers were the rule, rather than the exception. I was limiting film shots to daylight, up to sunset. I didn’t want to pack more gear, and prefer digital for shots of the night sky.
Mamiya Pro TL, Fuji 400H
Mamiya Pro TL, Fuji 400H / Mamiya Pro TL, Fuji 400H
The Results: The Good
1. Lots more keepers!
Woo hoo! Probably my biggest accomplishment is wasting less film. When you shoot film you are VERY aware of the cost of each shot, keeping in mind the cost of the film itself, plus the cost of processing and scanning. My biggest criticism of my shots are related not to the use of film but to poor composition or execution, meaning I would have screwed up the shot even if I was shooting digital.
Canon 1v, Fuji 400H
Canon 1v, Portra 400
2. I remembered the circular polarizer.
With all the excitement of shooting film in Anguilla, I forgot some of the basics, including the need for filters, particularly the circular polarizer when confronted with all that glare. This trip, I had a circular polarizer in all the filter sizes for my lenses. This made the biggest difference between my shots on that trip versus this trip.
Mamiya Pro TL, Fuji 400H
Canon 1v, Fuji 400H
3. I cut down on the number of repeat shots.
One of my problems shooting in Anguilla was a lack of self-confidence. I was so afraid of not getting a shot that I burned a lot of film shooting the same scene. This time I was very aware of how many times I shot the same subject or angle. If I repeated this time, it was because I knew I pooched the focus or because the lighting changed and I wanted to capture it.
Canon 1v, Portra 400
Mamiya Pro TL, Fuji 400H
4. My manual focusing improved.
Although I messed up from time to time, my manual focusing improved considerably on this trip. I still need to remember to account for the super shallow depth of field when using the extension tubes, but overall, my ability to focus manually improved.
Mamiya Pro TL Fuji 400H
Mamiya Pro TL, Fuji 400H
The Results: The Bad
1. Several shots were VERY underexposed.
I remember while walking back from lunch that I noticed the aperture on my Mamiya 80mm f/1.9 was all the way up at f/22. Always check your settings. It’s easy to slide the dial on a manual focus lens and pooch a bunch of shots.
Mamiya Pro TL, Fuji 400H
2. Great shots on the wide angle lens. Too bad you forgot to pull the lens hood back.
Now I have a lot of very nice oval shots. I always put the lens hood on to avoid dinging my lens – – just have to remember to fold it back on the wide angle lens. Oh well, you’ll see those on Instagram once I crop them down to squares.
Mamiya Pro TL, Portra 400
3. One of my legs must be shorter than the other, or I don’t compensate for the slope when shooting along the beach.
My medium format shots were better owing to the crosshairs which are visible through the viewfinder. I need to watch this on the 35mm.
Canon 1v, Fuji 400H
4. A few shots were ruined due to light leaks.
It was my own fault. I forgot I had a roll of film in the camera before I packed it and I opened it up, exposing a few frames. Make sure your cameras are empty before you travel.
Canon 1v, Portra 400
5. Manual focusing is really tough when you are using an extension tube.
That depth of field is wafer thin with the 3-S extension tube on the Mamiya 80mm f/1.9. Close that aperture down!
Mamiya Pro TL, Fuji 400H
But remember, not all mistakes are that bad.
I kind of like this shot. I focused on Antigua in the distance and overexposed the shot. A mistake, but still kind of cool.
Mamiya Pro TL, Fuji 400H
NOTE: Originally published on July 7, 2015 on our sister site, My Irie Time