Tag: Portra 400

  • Double Exposures on Film

    Double Exposures on Film

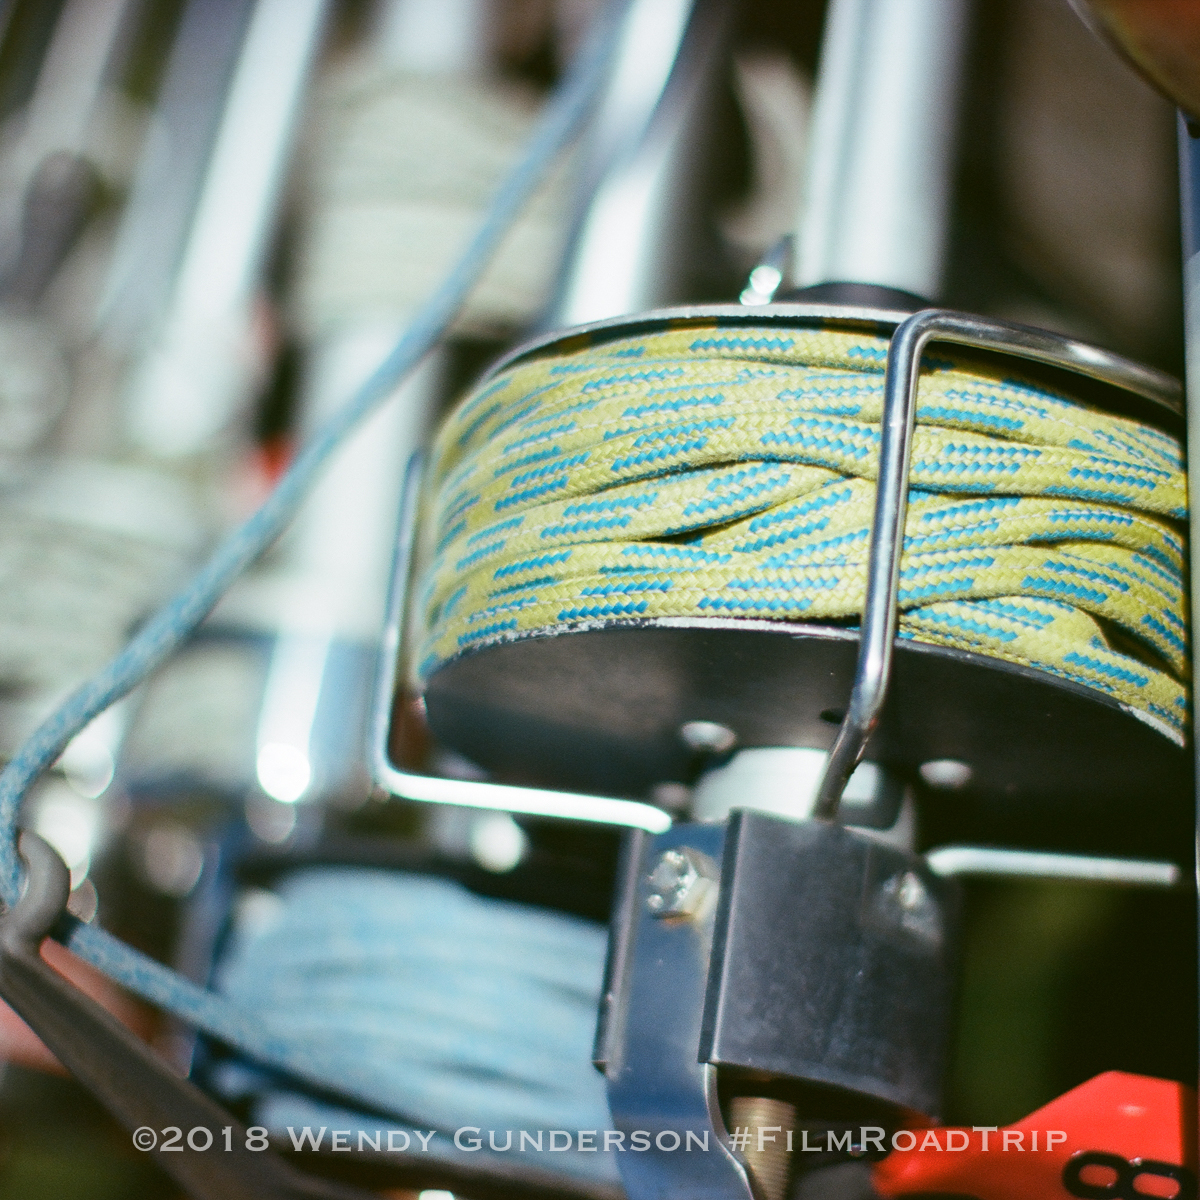
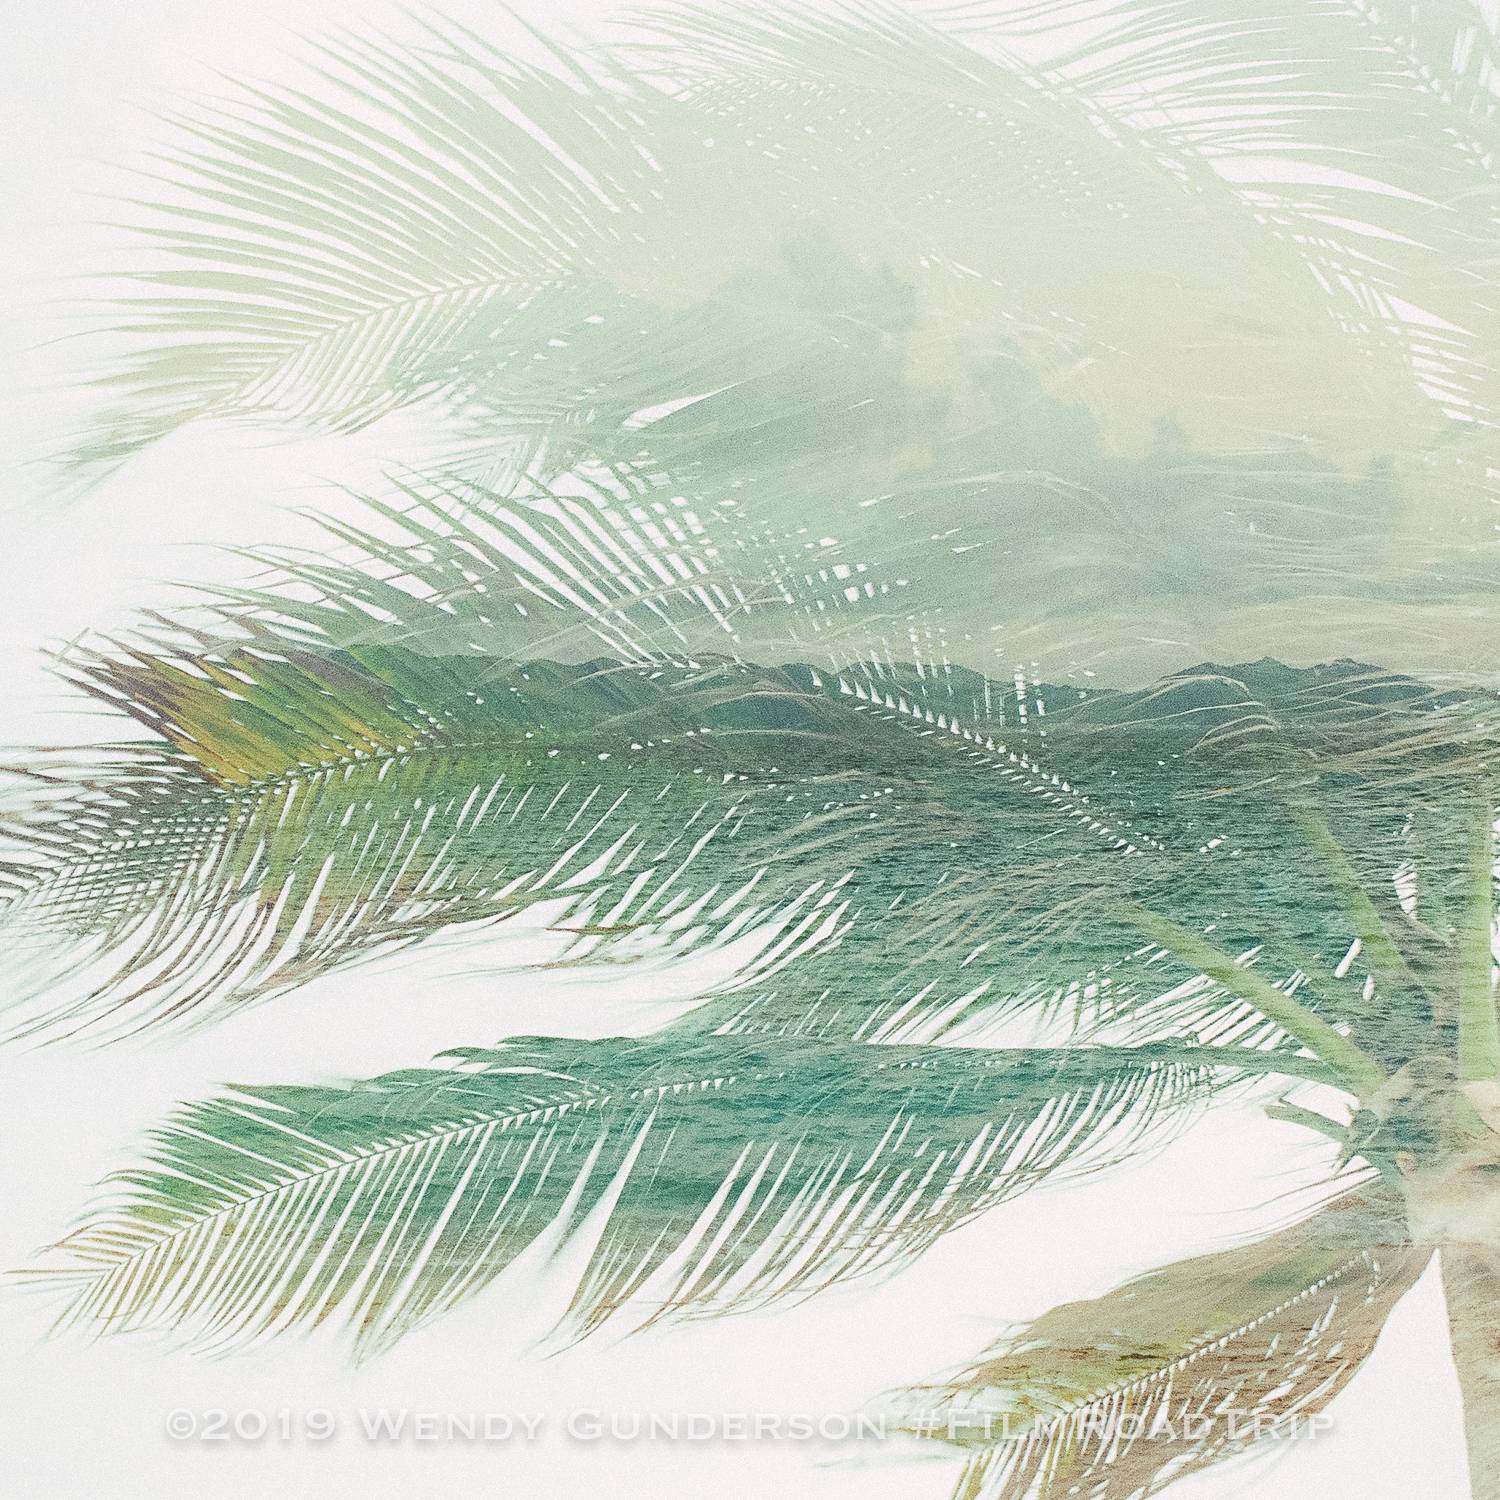
    I love shooting film, in part, because of the thrill of seeing what you captured. Unlike digital, where you have immediate feedback, you never quite know what you’ve got until you either develop your film or receive it back from your lab. With double exposures, the excitement is that much better. It’s not just a matter of what you have captured, but how you lined up the two exposures to reveal an entirely new composition. Here’s a super quick step-by-step guide on how I shoot double exposures on film.

    This image has an empty alt attribute; its file name is Anguilla-2019-Film-Road-Trip-Double-Exposures-Film-107.jpg
    Exposure #1: Mamiya 6 on my picnic table in full sun. You can see the shadow to the foreground and to the right. Exposure #2: Trees in my backyard. Shot on the Canon AE-1 Program and Fuji Velvia 100 RVP.

    When you think about a double exposure on film, you have to know the basics of how exposure works. When you take the first shot, the areas which are white or very light are fully exposed. You will not be able to see anything in this area in the second exposure because essentially the film is spent in those areas. The are fully exposed and the film has nothing more to give. What is darker in your first exposure still has potential. When you make that second exposure, what was dark in the first exposure will be where the second exposure will materialize.

    This image has an empty alt attribute; its file name is Anguilla-2019-Film-Road-Trip-Double-Exposures-Film-103.jpg
    Exposure #1: My daughter, shot from below looking up to set her profile against the sky. Exposure #2: Beautiful hibiscus found on the island of Nevis. Shot on Canon EOS 1v with Kodak Portra 400.

    Exposure #1

    For my first exposure, I look for high contrast subjects. You can shoot a skyline against a bright sky, a person’s profile against a white or light-colored background, or a dark shadow surrounded by bright sunlight. What is white or light in color will be washed out. What is darker in the image is your canvas for your second exposure. It’s not necessary to have an object in silhouette or high contrast, but I like this look. Double exposures can also be effective without a silhouette, but the final product will have more of each exposure retained. When you make the first exposure you have to keep in mind what is fully exposed and what is left for your second exposure.

    This image has an empty alt attribute; its file name is Anguilla-2019-Film-Road-Trip-Double-Exposures-Film-115.jpg
    Exposure #1: Villas and palm trees at Belmond Cap Juluca, Anguilla. Exposure #2: Maunday’s Bay , Anguilla. Both shot at sunset. Shot on Canon EOS 1v with Kodak Portra 800.

    Exposure #2

    For your second exposure, you are looking to fill those dark spaces from your first exposure. Anything white or light in the second exposure will likely be blown out in the final image. The challenge is placing the second exposure when the first exposure is only in your memory.

    This image has an empty alt attribute; its file name is 2019-03-23_0005.jpg
    Exposure #1 is the camera, my Mamiya 6. Exposure #2 is the pile of film. Bottom photo is the final product. If I did it again, I would eliminate the rolls of film which are predominantly white as the shape and detail of the camera is lost in the lower left. Shot on Canon AE-1 Program with Fuji Velvia 100 RVP.

    What settings should I use?

    Depending upon the sensitivity and latitude of your film, you may have to make adjustments to your exposures to make sure that your final image appears as you like. With slide film, the exposure latitude is pretty tight, so consider underexposing so that the final image is not completely blown out. I would suggest doubling your speed or stopping down a full stop for each exposure. I have had success with shooting at box speed with most of the color negative film stocks used, but it takes some experimentation and the need to make adjustments will vary depending upon the circumstances and what you desire in the final image.

    This image has an empty alt attribute; its file name is Anguilla-2019-Film-Road-Trip-Double-Exposures-Film-119.jpg
    Exposure #1: Palm tree in full sun. Exposure #2: Beach and ocean along Maunday’s Bay, Anguilla. Shot on Canon EOS 1v with Kodak Portra 800.

    I should point out that although commonly called “double exposures,” a more accurate name is “multiple exposures.” You are not limited to two exposures on each frame, although you should keep in mind that the more you shoot on a single frame, the more potential for overexposure and losing details.

    This image has an empty alt attribute; its file name is Anguilla-2019-Film-Road-Trip-Double-Exposures-Film-117.jpg
    Exposure #1: Palm tree at Belmond Cap Juluca, Anguilla. Exposure #2: Sailboat on Maunday’s Bay, Anguilla. Shot on Canon EOS 1v with Fuji Provia RDP III.

    Are all film cameras capable of double exposures?

    No, although some which don’t have the feature have some workarounds to allow for double exposures. For example, my Canon EOS 1v is very easy when it comes to doing double exposures. You open the side door, push the multiple exposure button (it looks like two photos stacked upon one another), rotate the camera’s dial to the number exposures desired, and start shooting. It automatically resets to normal shooting mode when the multiple exposure is complete.

    This image has an empty alt attribute; its file name is Anguilla-2019-Film-Road-Trip-Double-Exposures-Film-203.jpg
    Canon EOS 1v

    On my Mamiya 645 Pro TL, there is a switch on the side of the camera which has two positions. Switch the camera from the unlabeled normal position (the white box) to “MULTI.” In this position, the film will not advance, but the shutter will be recocked, allowing for multiple exposures. You have to manually return the switch to the normal position and advance the film to exit the multiple exposure mode.

    This image has an empty alt attribute; its file name is 2019-03-23_0006.jpg
    Mamiya 645 Pro TL: Left photo shows the position of the multiple exposure switch with the grip removed; Right photo shows the position of the switch on the Mamiya WG401 Power Drive Grip.

    With my Canon AE-1 Program, it was not designed to offer double exposures as a feature, but I have been able to create a workaround. After you shoot the first exposure, press and hold in the rewind button on the bottom, and move the advance lever forward, but don’t release it. Then release the rewind button and allow the advance lever to return to its normal position. Then fire the second exposure and advance normally.

    This image has an empty alt attribute; its file name is Anguilla-2019-Film-Road-Trip-Double-Exposures-Film-204.jpg
    Canon AE-1 Program

    I haven’t found a workaround for my Mamiya 6, so if anyone has any ideas, I would be glad to give it a try!

    This image has an empty alt attribute; its file name is Anguilla-2019-Film-Road-Trip-Double-Exposures-Film-105.jpg
    Exposure #1: My daughter’s profile, taken from a low angle to have the sky as a background to fully expose the area behind her face. Exposure #2: Palm berries on the island of Nevis. Shot on Canon EOS 1v with Kodak Portra 400.

    I’ve had failures as often as successes, but I find double exposures to be loads of fun and I will continue to try them in the future. Give it a chance and you’ll be hooked!

    Postscript: One more from the island of Grenada, shot on Fuji Provia 100F RDP-III, and developed with my own sous vide:

    This post originally appeared on our Caribbean travel website, My Irie Time. Give it a look for more posts on our travels through the islands.

  • One Moose, Four Films

    One Moose, Four Films

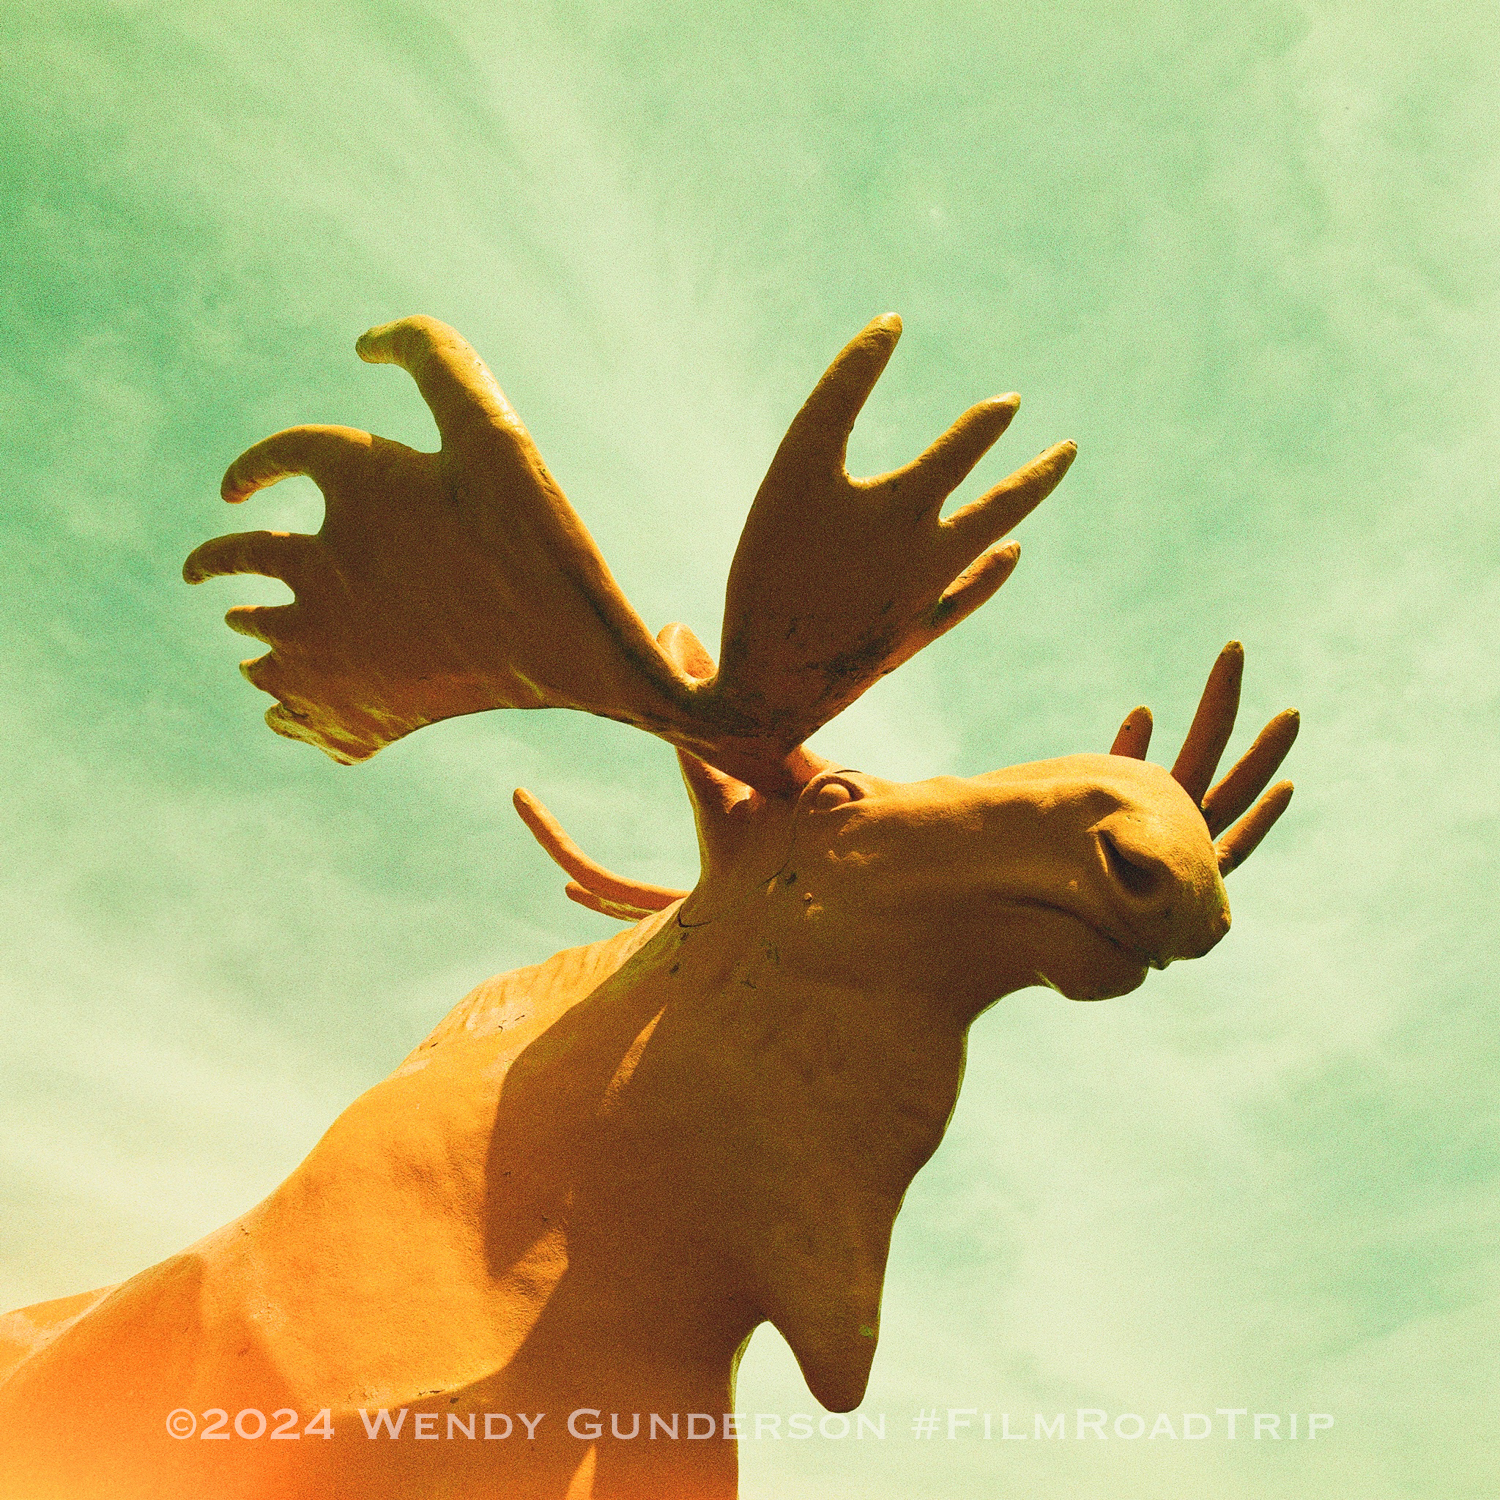
    You’re in Black River Falls, Wisconsin, home to the famous Orange Moose, and you have a few cameras and different film stocks with you.  What would you do?  Shoot the moose on four different films, of course.

    Located just off Interstate 94, the Orange Moose stands approximately 15 feet tall, near a restaurant conveniently called the “Orange Moose Bar and Grill,” although it’s not entirely clear which came first, the restaurant or the moose.  The story goes that the great moose was won in a dice game, and was originally brown in color.  After the owner’s death, the moose made its way to the highway oasis and acquired its orange paint.

    Armed with a Mamiya 645 ProTL and Mamiya 6, I set out to capture the moose on four film stocks, Kodak Ektar 100, Kodak Portra 160, Fuji Pro 400H, and Lomography X-Pro 200 (processed C-41). All film was processed by Richard Photo Lab. Take a look at the results:

    The two square images were taken on the Mamiya 6 with the Mamiya 50mm f/4 lens.  The remaining two were shot on the Mamiya 645 Pro TL with the Mamiya 80mm f/1.9 lens.  To add a twist, one of the rolls shot on the Mamiya 645 Pro TL with a roll of 35mm, shot using the Mamiya 135 insert. Have you made your guesses?  Let’s see how you did.

    Let’s start with the easiest, the Lomography X-Pro 200, shot on the Mamiya 6.  This can be processed with E-6 or C-41 per the label. This roll was processed C-41, and certainly produced the citrusy tones promised by the folks at Lomography.

    The other image shot on the Mamiya 6 was shot on Kodak Ektar 100.  It brought vibrant colors and was closest to the color of the moose as I remembered it.

    The next two were shot on the Mamiya 645 Pro TL.  The image in the upper right hand corner above was shot on the Mamiya 645 Pro TL using the Mamiya 135 insert with a 35mm roll of Kodak Portra 160.  Great for skin tones.  Not so great for an orange moose.

    The last shot on the Mamiya 645 Pro TL was a 120 roll of Fuji Pro 400H.  This film loves greens and blues, but doesn’t embrace orange like the Ektar, although the sky looks great.

    The road takes us to more stops around Wisconsin and Minnesota this month, so stay tuned.

    SaveSave

    SaveSave

    SaveSave

    SaveSave

    SaveSave

    SaveSave

    SaveSave

    SaveSave

  • #FilmRoadTrip – Anguilla

    #FilmRoadTrip – Anguilla

    Canon 1v, Canon 135mm f/2, Fuji 400H

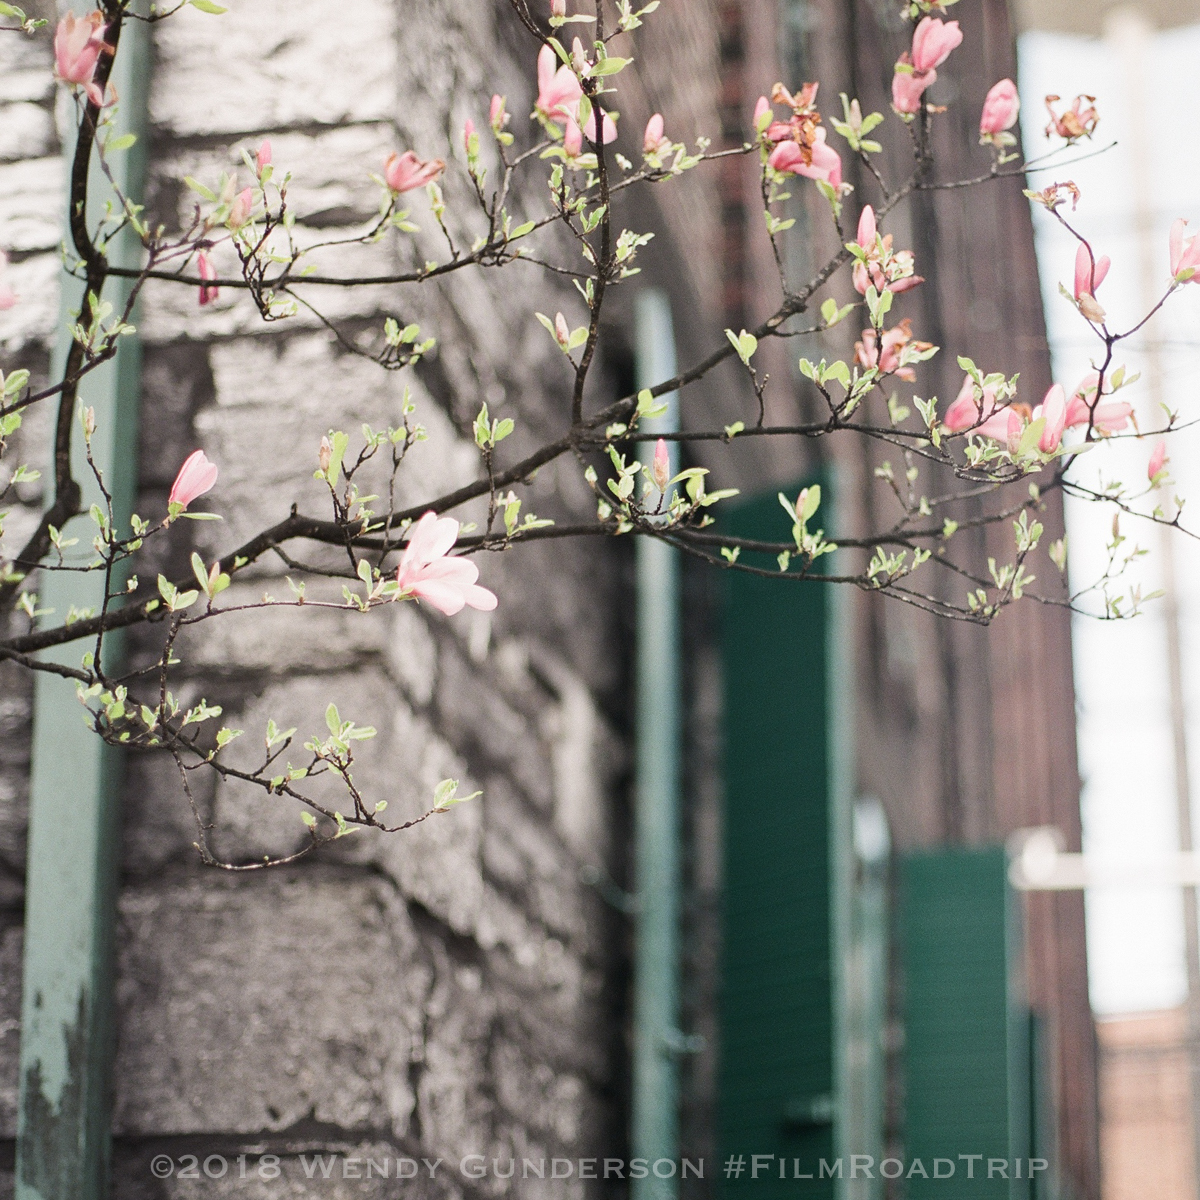
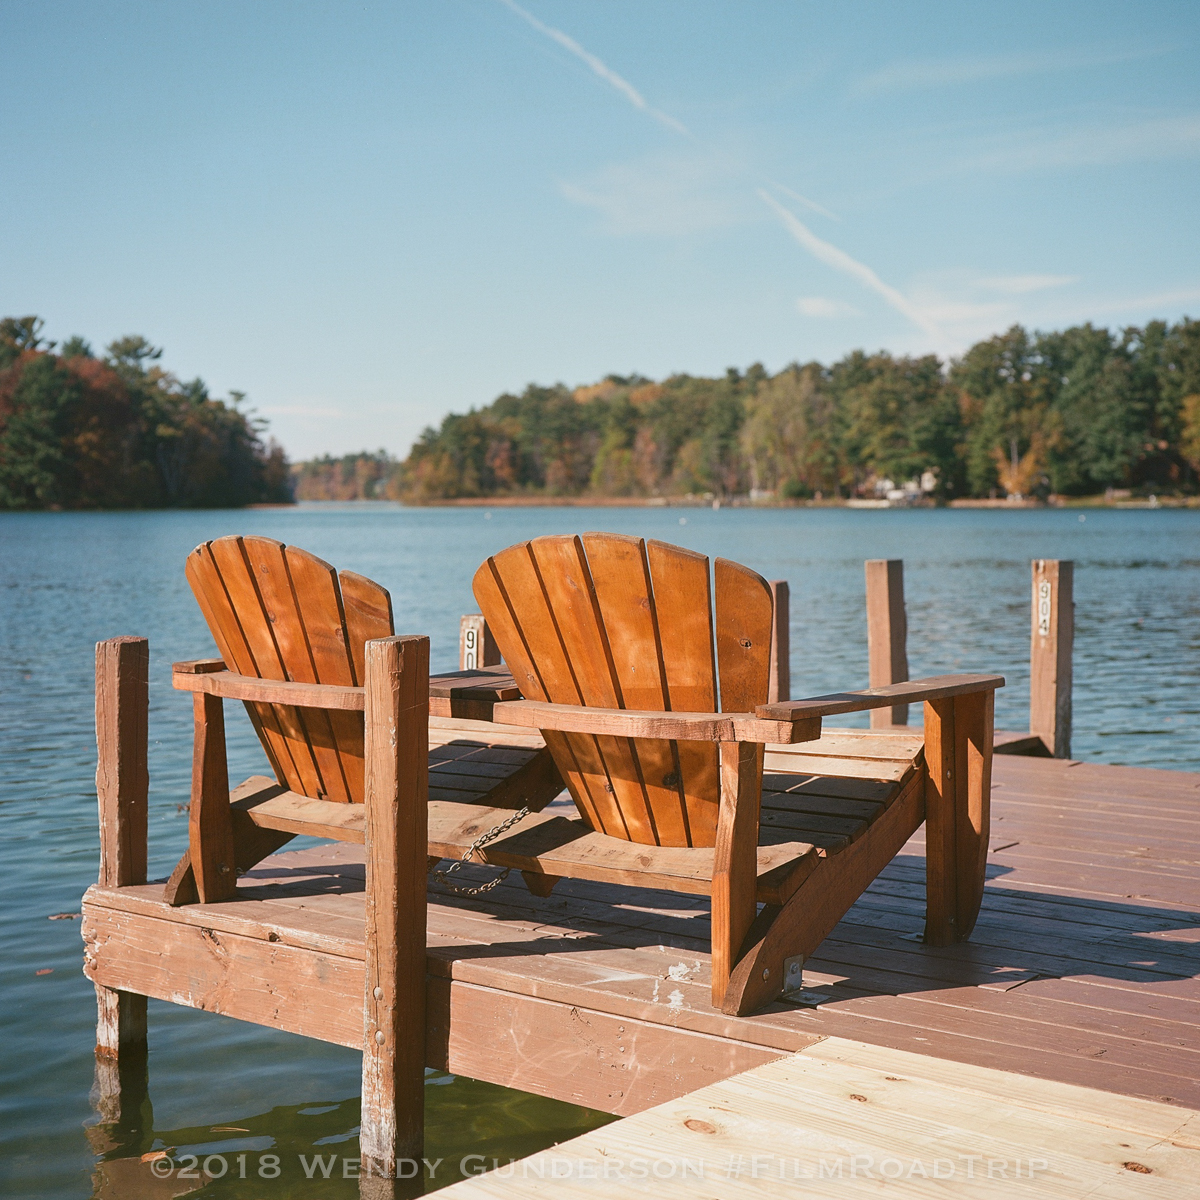
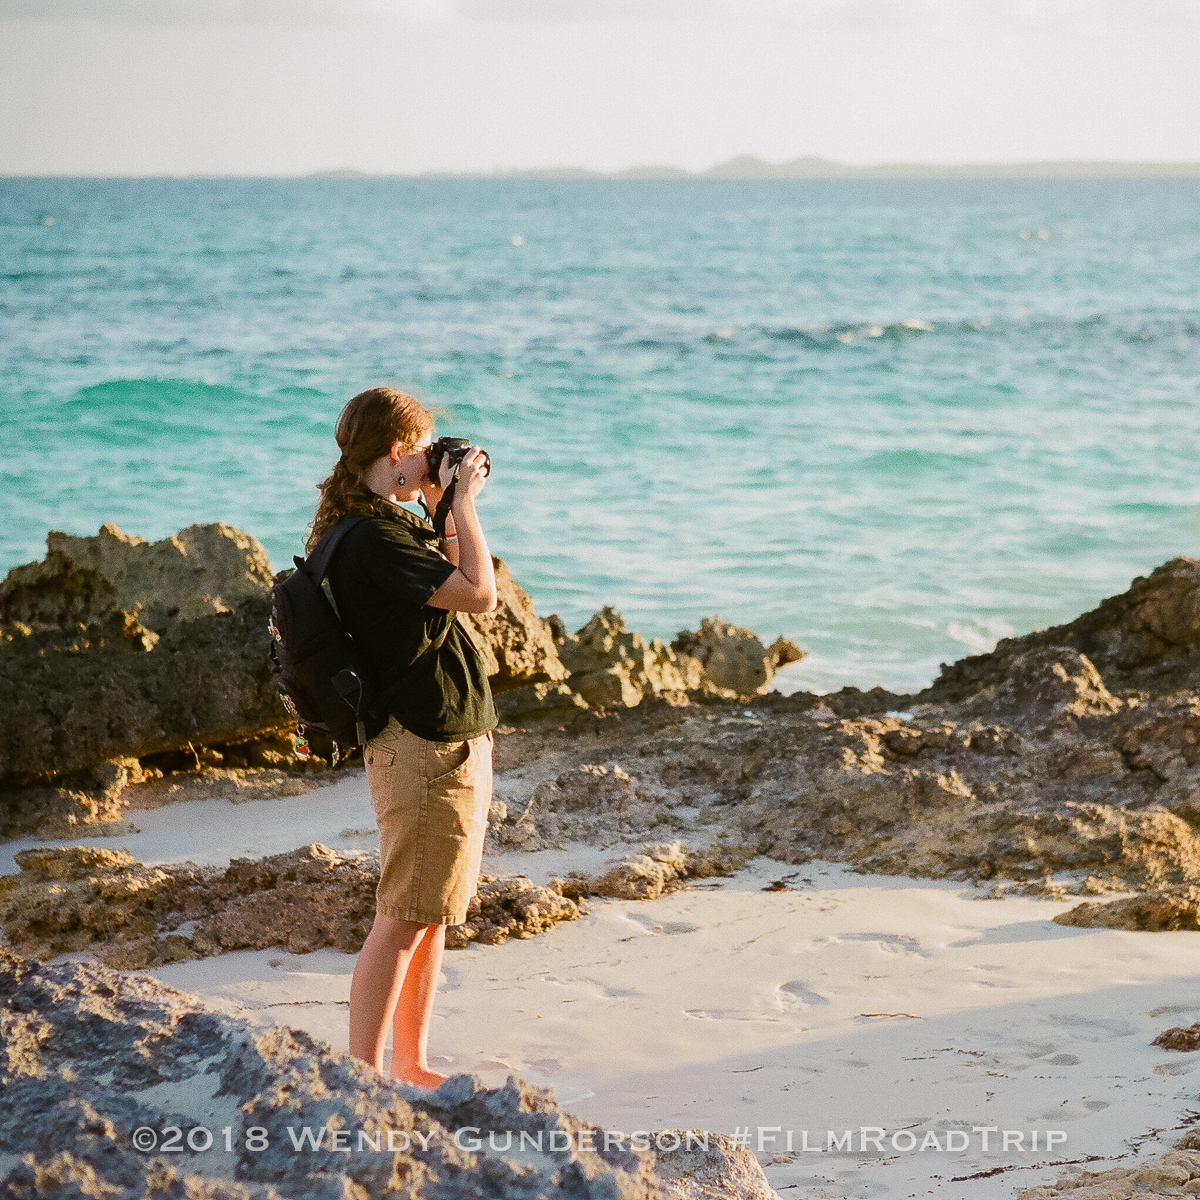
    We took the film on the road and the results are back.  We took the film cameras to Anguilla, the Canon 1V and the Mamiya Pro TL.  We took a variety of film stocks, Fuji 400H, Kodak Portra 400, Porta 160, and Ektar 100.  We experimented and burned a lot of film.  Many lessons were learned.  Here are my impressions of our efforts and the results.

    1.  Digital has ruined me for film – shooting the same scene again and again.  I am so accustomed to shooting RAW and shooting multiple images to try to nail the shot that I wasted a lot of film.  For example, I had the sense when shooting a sunset on Rendezvous Bay that I was not getting the exposure right.  In digital, I shoot and adjust, and reshoot, and repeat until I feel comfortable.   What I need to do is more thinking and less shooting.  I found that I went from one mistake to another and never really nailed the shot.  In the end, my favorite shots were the ones where I took one shot, and my least favorite were the ones where I somehow knew I wasn’t nailing it, but just couldn’t nail it, despite many, many efforts.

    Canon 1v, Canon 135mm f/2, Fuji 400H

    2.  Digital has ruined me for film – part two – settling for OK because I can fix it in post.  I was so excited to get out and shoot film that I found myself forgetting the basics.  Errors in digital can be corrected.  If I shoot RAW, and I always do, I can correct most mistakes in exposure. It promotes laziness.  I can take the sunset shot without using my ND filter on digital and recover a lot in post.  Do it with film, and I lose a ton of color.   I need to strive more for perfection.  Fewer shots and better shots.

    Mamiya Pro TL, Mamiya 80mm f/1.9, Fuji 400H

    3.  Manual focusing is tough, especially when you have impatient subjects who want to get to the beach.  I have been spoiled by my autofocus cameras.  I took both an autofocus (Canon 1V) and a manual focus film camera (Mamiya Pro TL with 80/1.9 and 45/2.8).  I used the Mamiya with the 80mm lens on our Christmas card photo shoot.  It’s really tough focusing manually with any accuracy when the subjects are accustomed to getting in an out of a shot quickly.

    Mamiya Pro TL, Mamiya 80mm f/1.9, Portra 400

    4.  My favorite film stocks were Fuji 400H and Portra 400.  I went through my film scans to pick my favorites, not aware of what film stocks they were shot on.  I just got my negatives back from Richard Photo Lab, and of 23 favorites, 7 were shot on Portra 400 and 16 were shot on Fuji 400H.  Ektar 100 and Portra 160 did not make the cut.

    Canon 1v, Canon 135mm f/2, Fuji 400H

    5.  I will travel with film again.  It was not difficult to travel with film, especially with the Canon 1V.  It uses all the same lenses (and filters) that I use on my Canon 5D Mark II, so it was hardly adding anything to my bag.  Traveling with film was easy.  I kept it in my carryon to avoid the high x-rays of the checked luggage.  I never asked for handchecking by TSA given that my film ISOs ranged from 100 to 400  and there was no compromise of the film, having gone through scanners three times.

    As for my mistakes in exposures, I could spend more time on my shots and think more while shooting. I didn’t use my Sekonic meter, relying upon the meter in the camera for ease of use. I was not mindful of my need for my filters, circular polarizer and ND filters, and I will be more aware of that next time.  I will take more time for my shots, and will shoot less. 

    Canon 1v, Canon 24-70mm f/2.8, Fuji 400H

    Despite all the failures, I will travel with film again.  A mistake is not tragic if you learn from it.  I plan to keep the film thing going.  It was worth the extra gear just for the portraits alone.  The skin of my teenagers looked so much better on film than digital.  I shot our Christmas card photo in both, and I preferred the film hands down. Even the shots of silly things, like signs along the way, I loved the look of my film shots far more than digital.  The digital versions looked sharper, almost to the point of being too sharp, if that’s possible.  I can see why people love film, how it brings across more of the feeling of the scene, rather that the technically perfect reality of the situation.  Sometimes I need a little less reality, and a little more feeling, particularly when the snow starts to fall here and I look back on my shots of my favorite island.

    Canon 1v, Canon 135mm f/2, Fuji 400H

    Canon 1v, Canon 135mm f/2, Fuji 400H

    Mamiya Pro TL, Mamiya 80mm f/1.9, Fuji 400H

    Canon 1v, Canon 135mm f/2, Fuji 400H

    Canon 1v, Canon 135mm f/2, Fuji 400H

    Canon 1v, Canon 135mm f/2, Fuji 400H

    Canon 1v, Canon 135mm f/2, Fuji 400H

    Mamiya Pro TL, Mamiya 80mm f/1.9, Fuji 400H

    Mamiya Pro TL, Mamiya 80mm f/1.9, Fuji 400H

    Mamiya Pro TL, Mamiya 80mm f/1.9, Fuji 400H

    Mamiya Pro TL, Mamiya 80mm f/1.9, Portra 400

    Mamiya Pro TL, Mamiya 80mm f/1.9, Portra 400

    Mamiya Pro TL, Mamiya 80mm f/1.9, Portra 400

    Mamiya Pro TL, Mamiya 80mm f/1.9, Fuji 400H

    Canon 1v, Canon 135mm f/2, Fuji 400H

    Mamiya Pro TL, Mamiya 80mm f/1.9, Fuji 400H