Tag: Mamiya 645 ProTL

  • Double Exposures on Film

    Double Exposures on Film

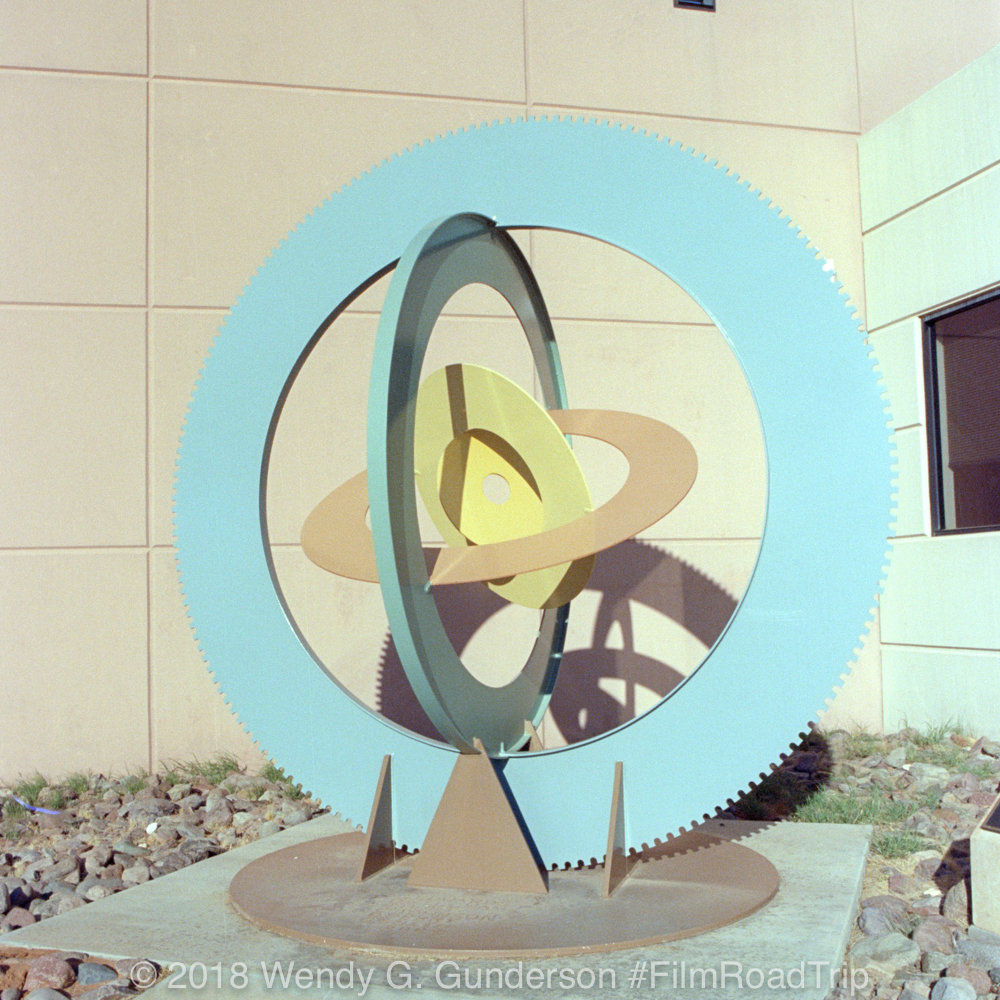
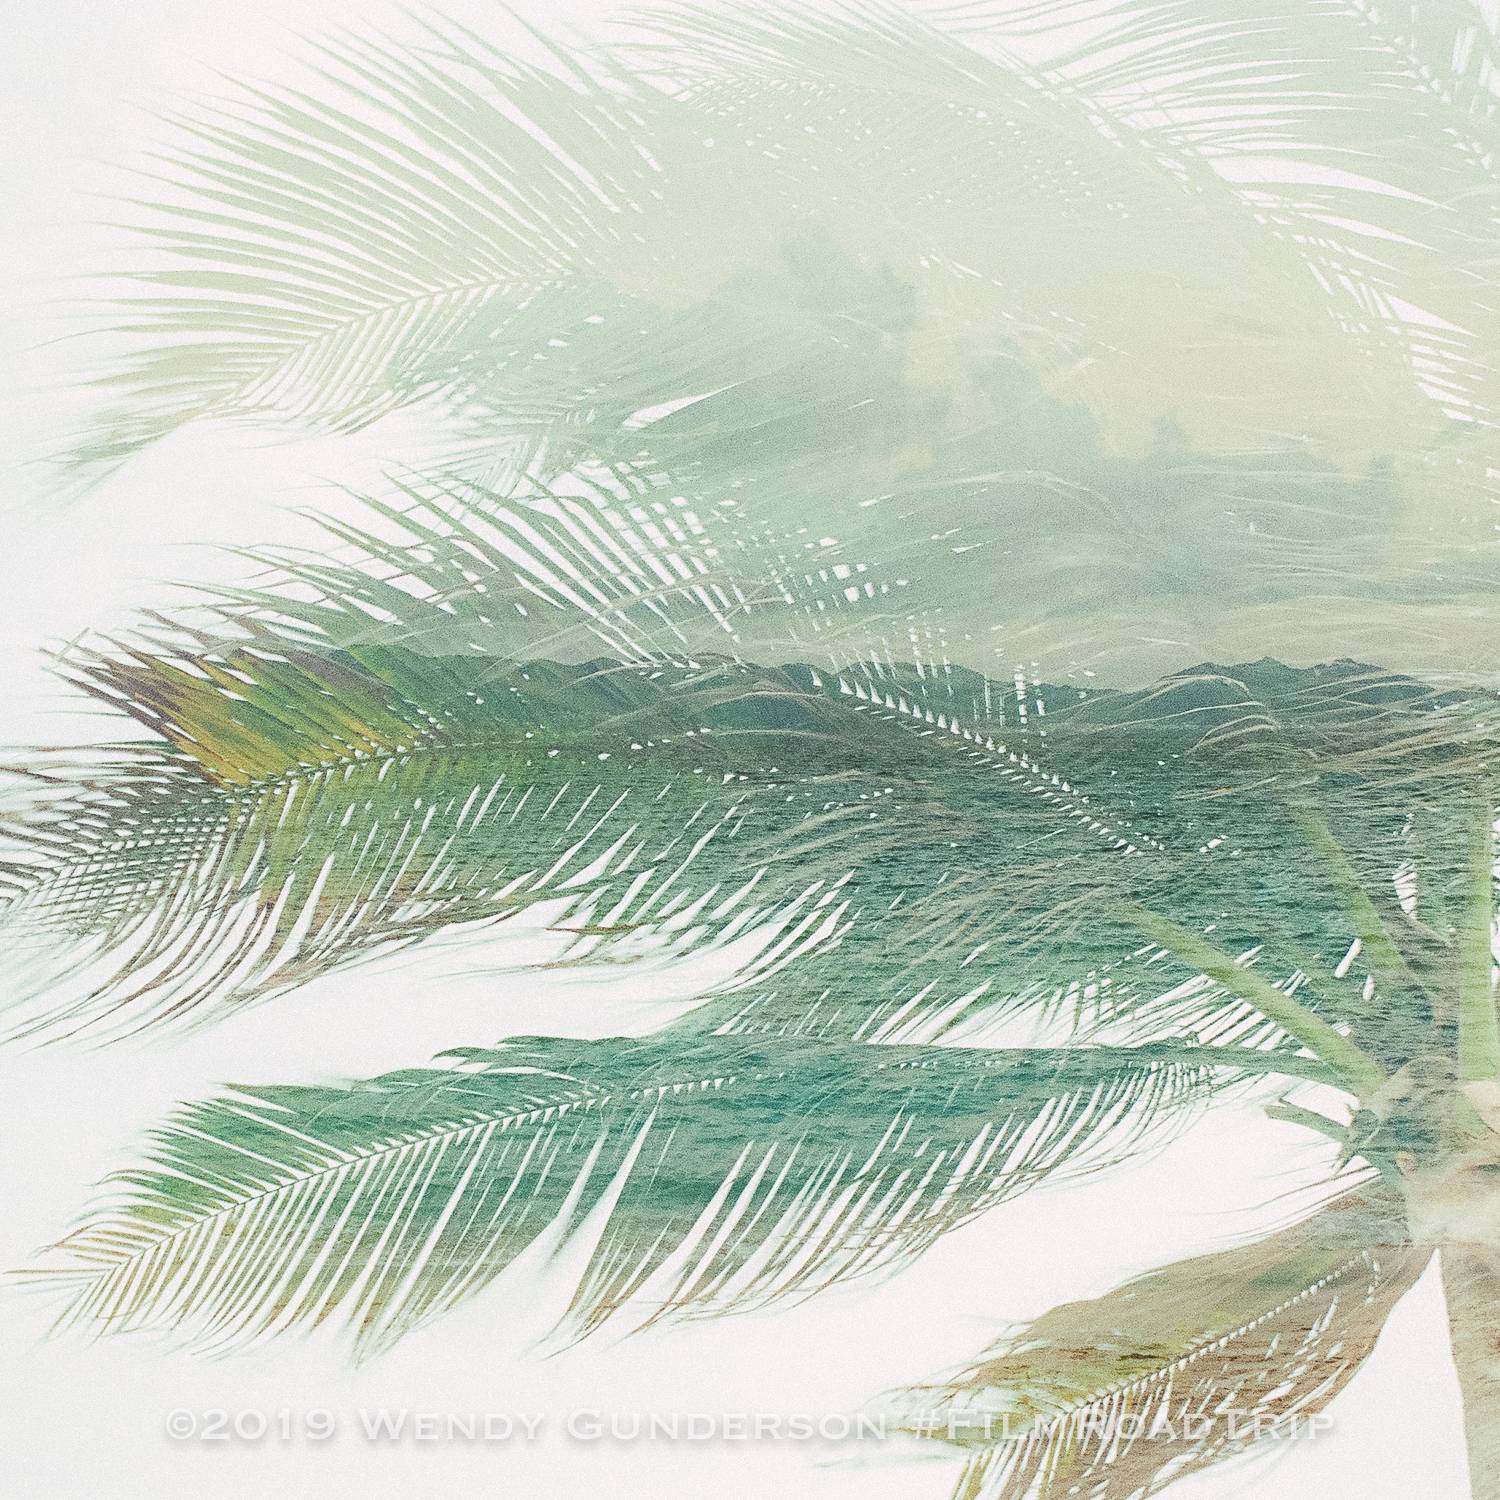
    I love shooting film, in part, because of the thrill of seeing what you captured. Unlike digital, where you have immediate feedback, you never quite know what you’ve got until you either develop your film or receive it back from your lab. With double exposures, the excitement is that much better. It’s not just a matter of what you have captured, but how you lined up the two exposures to reveal an entirely new composition. Here’s a super quick step-by-step guide on how I shoot double exposures on film.

    This image has an empty alt attribute; its file name is Anguilla-2019-Film-Road-Trip-Double-Exposures-Film-107.jpg
    Exposure #1: Mamiya 6 on my picnic table in full sun. You can see the shadow to the foreground and to the right. Exposure #2: Trees in my backyard. Shot on the Canon AE-1 Program and Fuji Velvia 100 RVP.

    When you think about a double exposure on film, you have to know the basics of how exposure works. When you take the first shot, the areas which are white or very light are fully exposed. You will not be able to see anything in this area in the second exposure because essentially the film is spent in those areas. The are fully exposed and the film has nothing more to give. What is darker in your first exposure still has potential. When you make that second exposure, what was dark in the first exposure will be where the second exposure will materialize.

    This image has an empty alt attribute; its file name is Anguilla-2019-Film-Road-Trip-Double-Exposures-Film-103.jpg
    Exposure #1: My daughter, shot from below looking up to set her profile against the sky. Exposure #2: Beautiful hibiscus found on the island of Nevis. Shot on Canon EOS 1v with Kodak Portra 400.

    Exposure #1

    For my first exposure, I look for high contrast subjects. You can shoot a skyline against a bright sky, a person’s profile against a white or light-colored background, or a dark shadow surrounded by bright sunlight. What is white or light in color will be washed out. What is darker in the image is your canvas for your second exposure. It’s not necessary to have an object in silhouette or high contrast, but I like this look. Double exposures can also be effective without a silhouette, but the final product will have more of each exposure retained. When you make the first exposure you have to keep in mind what is fully exposed and what is left for your second exposure.

    This image has an empty alt attribute; its file name is Anguilla-2019-Film-Road-Trip-Double-Exposures-Film-115.jpg
    Exposure #1: Villas and palm trees at Belmond Cap Juluca, Anguilla. Exposure #2: Maunday’s Bay , Anguilla. Both shot at sunset. Shot on Canon EOS 1v with Kodak Portra 800.

    Exposure #2

    For your second exposure, you are looking to fill those dark spaces from your first exposure. Anything white or light in the second exposure will likely be blown out in the final image. The challenge is placing the second exposure when the first exposure is only in your memory.

    This image has an empty alt attribute; its file name is 2019-03-23_0005.jpg
    Exposure #1 is the camera, my Mamiya 6. Exposure #2 is the pile of film. Bottom photo is the final product. If I did it again, I would eliminate the rolls of film which are predominantly white as the shape and detail of the camera is lost in the lower left. Shot on Canon AE-1 Program with Fuji Velvia 100 RVP.

    What settings should I use?

    Depending upon the sensitivity and latitude of your film, you may have to make adjustments to your exposures to make sure that your final image appears as you like. With slide film, the exposure latitude is pretty tight, so consider underexposing so that the final image is not completely blown out. I would suggest doubling your speed or stopping down a full stop for each exposure. I have had success with shooting at box speed with most of the color negative film stocks used, but it takes some experimentation and the need to make adjustments will vary depending upon the circumstances and what you desire in the final image.

    This image has an empty alt attribute; its file name is Anguilla-2019-Film-Road-Trip-Double-Exposures-Film-119.jpg
    Exposure #1: Palm tree in full sun. Exposure #2: Beach and ocean along Maunday’s Bay, Anguilla. Shot on Canon EOS 1v with Kodak Portra 800.

    I should point out that although commonly called “double exposures,” a more accurate name is “multiple exposures.” You are not limited to two exposures on each frame, although you should keep in mind that the more you shoot on a single frame, the more potential for overexposure and losing details.

    This image has an empty alt attribute; its file name is Anguilla-2019-Film-Road-Trip-Double-Exposures-Film-117.jpg
    Exposure #1: Palm tree at Belmond Cap Juluca, Anguilla. Exposure #2: Sailboat on Maunday’s Bay, Anguilla. Shot on Canon EOS 1v with Fuji Provia RDP III.

    Are all film cameras capable of double exposures?

    No, although some which don’t have the feature have some workarounds to allow for double exposures. For example, my Canon EOS 1v is very easy when it comes to doing double exposures. You open the side door, push the multiple exposure button (it looks like two photos stacked upon one another), rotate the camera’s dial to the number exposures desired, and start shooting. It automatically resets to normal shooting mode when the multiple exposure is complete.

    This image has an empty alt attribute; its file name is Anguilla-2019-Film-Road-Trip-Double-Exposures-Film-203.jpg
    Canon EOS 1v

    On my Mamiya 645 Pro TL, there is a switch on the side of the camera which has two positions. Switch the camera from the unlabeled normal position (the white box) to “MULTI.” In this position, the film will not advance, but the shutter will be recocked, allowing for multiple exposures. You have to manually return the switch to the normal position and advance the film to exit the multiple exposure mode.

    This image has an empty alt attribute; its file name is 2019-03-23_0006.jpg
    Mamiya 645 Pro TL: Left photo shows the position of the multiple exposure switch with the grip removed; Right photo shows the position of the switch on the Mamiya WG401 Power Drive Grip.

    With my Canon AE-1 Program, it was not designed to offer double exposures as a feature, but I have been able to create a workaround. After you shoot the first exposure, press and hold in the rewind button on the bottom, and move the advance lever forward, but don’t release it. Then release the rewind button and allow the advance lever to return to its normal position. Then fire the second exposure and advance normally.

    This image has an empty alt attribute; its file name is Anguilla-2019-Film-Road-Trip-Double-Exposures-Film-204.jpg
    Canon AE-1 Program

    I haven’t found a workaround for my Mamiya 6, so if anyone has any ideas, I would be glad to give it a try!

    This image has an empty alt attribute; its file name is Anguilla-2019-Film-Road-Trip-Double-Exposures-Film-105.jpg
    Exposure #1: My daughter’s profile, taken from a low angle to have the sky as a background to fully expose the area behind her face. Exposure #2: Palm berries on the island of Nevis. Shot on Canon EOS 1v with Kodak Portra 400.

    I’ve had failures as often as successes, but I find double exposures to be loads of fun and I will continue to try them in the future. Give it a chance and you’ll be hooked!

    Postscript: One more from the island of Grenada, shot on Fuji Provia 100F RDP-III, and developed with my own sous vide:

    This post originally appeared on our Caribbean travel website, My Irie Time. Give it a look for more posts on our travels through the islands.

  • Travel Photography: Why I Shoot Film

    Travel Photography: Why I Shoot Film

    I am oftentimes asked why I shoot film.  In 2007, I went from a film SLR, a Canon Elan 7n, to a digital SLR, the Canon 40D.  I held out for quite a while.  I was comfortable shooting film, but at that time, it looked as if film was in its last days, and it was either go digital or go home.  So I made the switch.

    Mamiya 645 ProTL, Fuji Pro 400H

    I loved the instant feedback of digital.  Digital told me right away when I pooched a shot, and gave me a chance to try again.  I was able to experiment with digital where I had not felt comfortable experimenting with film.  When you know the cost of every click of the shutter, you hesitate.  With digital, I could try all sorts of new things with no cost for the effort.

    So why go back?  I got to the point where my images looked like everyone else’s.  There was nothing unique about them. I also felt like I relied upon that instant feedback and the ability to click to my heart’s content.  I felt that I was losing touch with putting an image together.  They became more “snapshots,” and less “images” or “photographs.”  Film was the answer.

    Codrington, Barbuda, Antigua & Barbuda
    Canon 1v, Kodak Portra 400

    Film forced me to think about the images again.  You stop the “spray and pray” habit, and think about each frame.  With 15 shots on a 120 roll on my Mamiya 645 ProTL (12 on my Mamiya 6), and the cost associated with the film and development, each shot had meaning.  Each shot was worth taking the time to make it right, to think about the composition, the light, and how to make the image better.

    Film photography was also seeing a resurgence and although some film stocks were being discontinued, others were appearing. There was a renewed interest in film, and the market was responding.

    Kamalame Cay, Andros, Bahamas, shot on Mamiya 6, Mamiya 75mm f/3.5, Fuji 400H
    Mamiya 6, Fuji 400H

    There was a downside in the resurgence of film  Film cameras, which used to sell for pennies or be given away, were now selling for hundreds of dollars.  Luckily, I never disposed of my old film cameras.  I first reached for my Canon Elan 7N, and later upgraded to the Canon 1v, a camera I had admired for a long time, but could not afford before. Even with the price increases, I could now dip into medium format, which was far beyond my means back in the days of film.  I purchased the Mamiya 645 Pro TL with the fastest medium format lens available, the Mamiya 80mm f/1.9, and later purchased the Mamiya 6 rangefinder.

    Smokey's at the Cove, Anguilla, shot on Canon 1v, Ektar 100
    Canon 1v, Ektar 100

    What about the weight of the equipment?  Some people understand the differences between the digital images and film images, but still question the return to film photography for travel.  Granted, it’s not easy to take the Mamiya 645 ProTL along on trips.  Although it breaks down into parts easily for packing, the weight of the lenses creates the struggle.  However, if you travel with high-quality lenses for digital cameras, you are no stranger to lugging around a heavy camera bag.  If you choose to travel with both digital and film as I do, you can use the same lenses on the Canon 1v as you use on your Canon DSLR, in which case you are only adding the weight of the 1v body.  I bring one roller bag with everything which I leave at our house or hotel, and then take out the camera and lenses I intend to use for each outing, so I’m not carrying the entire kit around throughout the entire trip.

    Dune Preserve, Anguilla, shot on Canon 1v, Canon 135mm f/2, Fuji 400H
    Canon 1v, Fuji 400H

    What about traveling with the film itself? Before 2007, when I traveled with film, I used a lead-lined bag for my film.  I have been told that since 911, if they see a bag on x-ray where they cannot visualize the contents, they jack up the power of their scanner, which could cause damage. Whether that’s true or not, I don’t know, but since then, I travel with film in my carry-on without a lead bag.  Undeveloped film below ISO 800 is generally considered safe when passing through airport x-ray machines.  However, you have to avoid too many scans.  So think about how many countries you will be entering along the way and double that for the return trip.  I have never had trouble with my film (100-400 speed) passing through 4 x-ray machines.

    If you have a higher speed film, instant film, or will exceed the number of scans (generally regarded as safe up to 5 scans), you may request hand-checking of your film.  My daughter has traveled with Instax film and has had no difficulty having the film hand-inspected. Place the film in a clear plastic bag, having removed canisters and outer packaging. If you will have too many stops along the way on your trip, you should consider getting the film processed at one of your destinations. After a trip, I mark unused rolls so they don’t see air travel again.

    Do not pack film in your checked bag.  The x-ray scanners on checked bags are higher intensity and can damage film.

    Kamalame Cay, Andros, Bahamas, shot on Mamiya 6, Mamiya 75mm f/3.5, Kodak Portra 400
    Mamiya 6, Kodak Portra 400

    With all the hassles, why travel with film?  For me, I love the feel of the film cameras and lenses. They are solidly built and beautifully machined.  I love that I don’t know exactly what I captured until the film comes back from the lab.  It makes me focus more on what I’m doing.  When I get the film back, I can see the differences.  Film handles the light better.  There are no ghastly blown out areas of the image. The images are more beautiful to me.  Digital may show more detail, but technical perfection is not necessarily beautiful.  Do I want to see every grain of sand on magnification, or every pore on someone’s face?  Nope.  I want to get the sense of the place.  I want to capture how I felt when I was there, and that’s what I get from film.

    We recently updated our film site, Film Road Trip, and will feature more film photography articles.  The site is not limited to Caribbean travel, and with four domestic trips already planned for 2018, you’ll see us posting there more frequently. Take a look!

  • Favorite Film Stocks

    Favorite Film Stocks

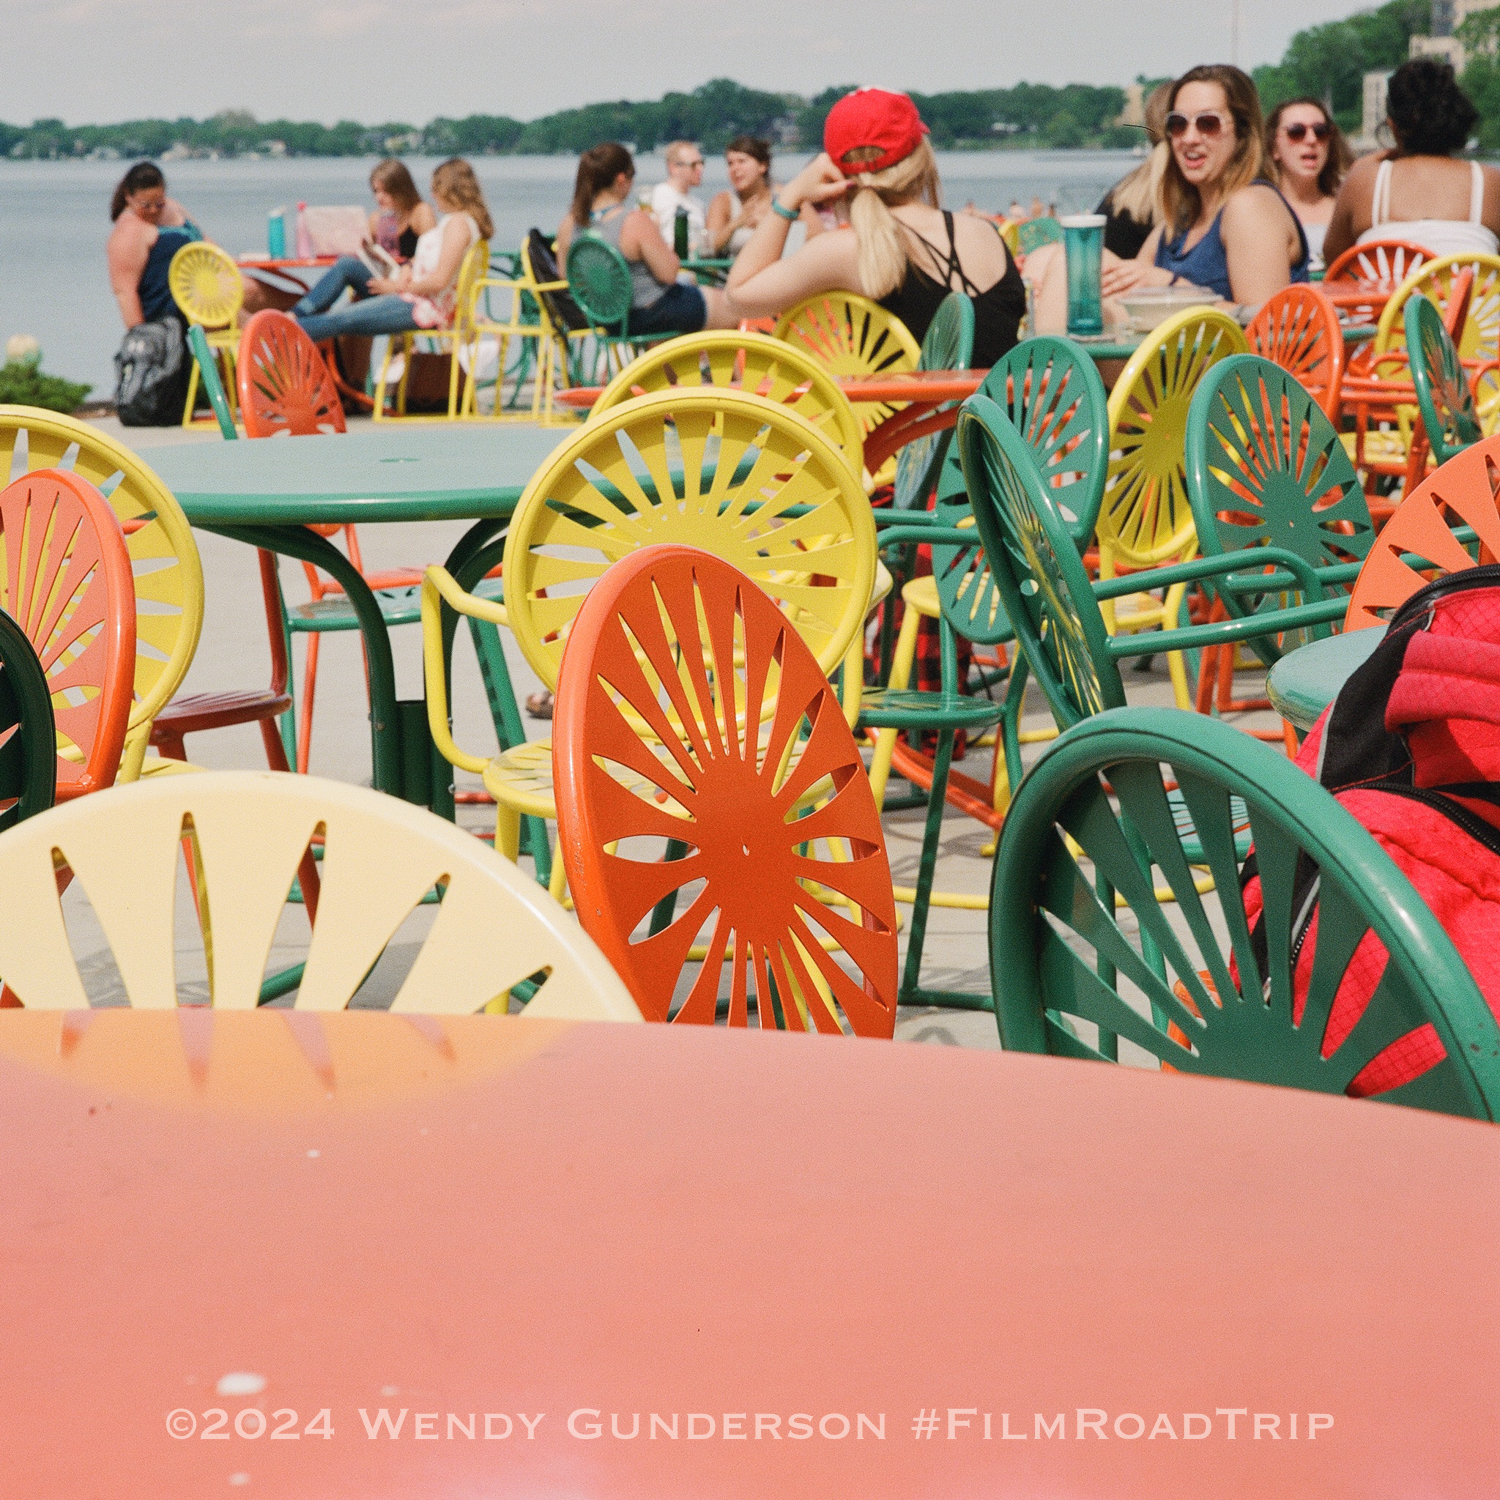
    A few years back, I returned to film photography, and now shoot both digital and film while traveling.  With a lot of hits and misses, I’ve come to find that several film stocks have emerged as my favorites, reliable from trip to trip, and perfect for the way I shoot. Although I will continue to experiment, these film stocks have proven their worth and will be in my bag on every trip, or as long as the manufacturers continue to produce them!

    Kodak Portra 400

    Portra 400 is clearly my favorite of all film stocks. I used to shoot Portra NC and VC back in my pre-digital days, but the new Portra is so much better than it was before. It handles skin tones well, and accurately captures colors, with a wide latitude for exposure variances.  I tend to shoot it at 320, and love the bright, colorful look.  Some have commented that the colors are a bit warm, but I find it suits what I shoot well.

    Mamiya Pro TL, Mamiya 80mm f/1.9, Portra 400
    Canon 1v, Portra 400
    Mamiya 6, Mamiya 75mm f/3.5, Fuji 400H

    Fuji 400H

    When I am shooting scenes with loads of greens and blues, I love Fuji 400H.  The greens and blues are a bit cooler than on Portra 400. For images of mountains and trees, or where those colors are prominent, it is perfection. It’s also flattering to skin tones, making it a favorite of wedding and portrait photographers.

    Mamiya 6, Mamiya 75mm f/3.5, Fuji 400H
    Canon 1v, Canon 24-70mm f/2.8, Fuji 400H
    Canon 1v, Canon 135mm f/2, Fuji 400H

    Ektar 100

    I love Ektar’s ability to capture the vivid colors of the Caribbean.  It is super saturated with a fine grain, and I use it at box speed. The only down side is that skin tones on caucasians look a bit ruddy, so I avoid using it for portraits.  However, when it comes to landscapes, it’s stunning.

    Mamiya 645 Pro TL, Kodak Ektar 100
    Canon 1v, Ektar 100
    Canon 1v, Canon 135mm f/2, Ektar 100

    Other Stocks

    I just started experimenting with Fuji Velvia 100 on our trip to Nevis in June of 2017. Velvia 100 is slide film, meaning it is a “positive” rather than a “negative.”  The colors are vivid and the grain is super fine.  The only down side is that I have to pretty much nail my exposures, and the scene has to be consistently lit, not too contrasty.  You can see a side-by-side comparison of shots on Ektar 100 and Velvia 100 here.  It does not have the room for error I have with Ektar 100, but the color from Velvia is amazing.  I still need more experimentation to see if it will work for me. The trouble is that with all the beautiful sunshine in the Caribbean, you tend to get a lot of contrast in scenes.

    Mamiya 645 Pro TL, Velvia 100
    Mamiya 645 Pro TL, Velvia 100

    On our next trip to Kentucky, I will be shooting some Kodak Portra 800 for the first time.  Stay tuned!

    All processing and scanning by Richard Photo Lab

    NOTE: Originally published on February 4, 2018 on our sister site, My Irie Time

    Get Spare Cards and Readers Steady up your Shots Get a Tripod Protect your Gear Get Bags and Cases Dont forget that Lens Select a Spare Camera Check out all of the Photo Gear youll need.

    SaveSave

    SaveSave

  • #FilmRoadTrip – Andros, Bahamas

    #FilmRoadTrip – Andros, Bahamas

    Kamalame Cay

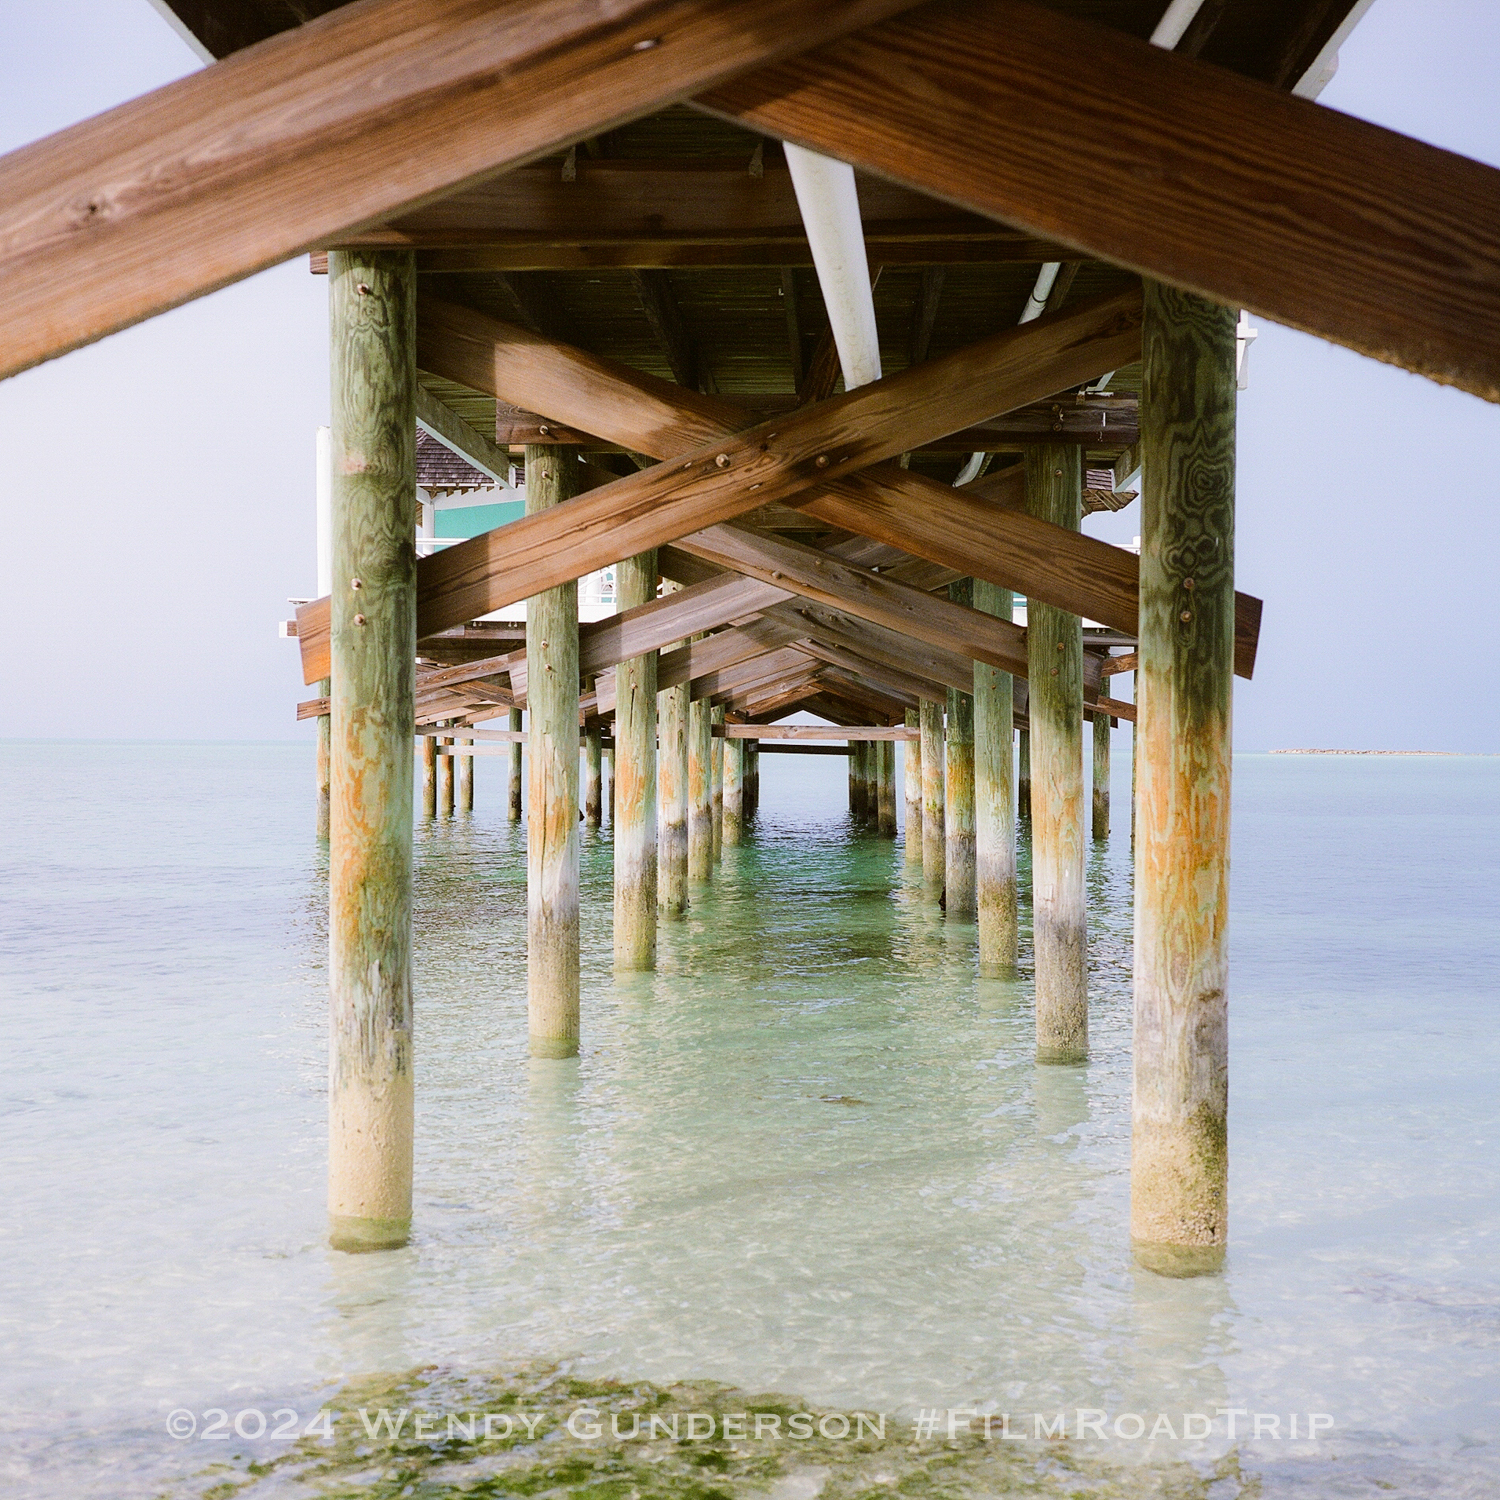
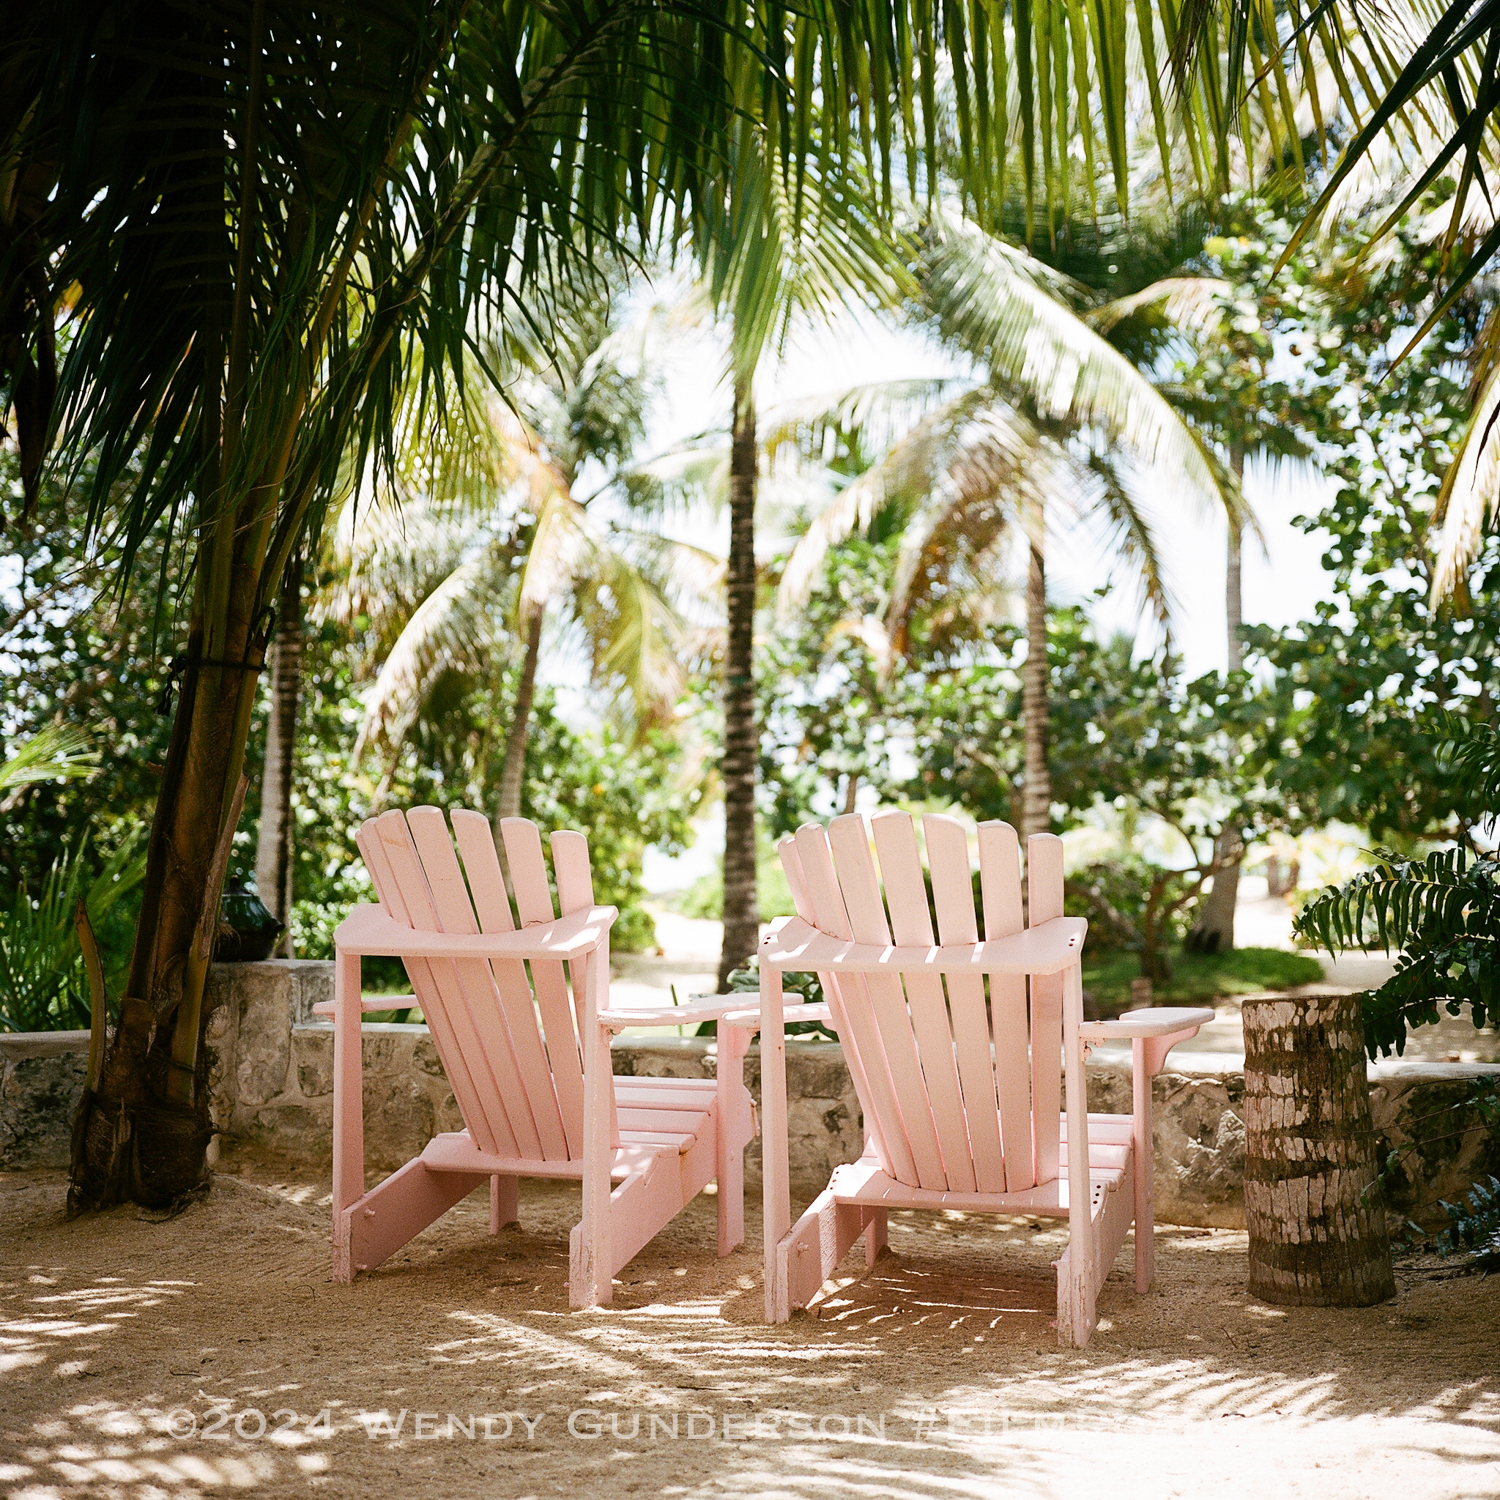
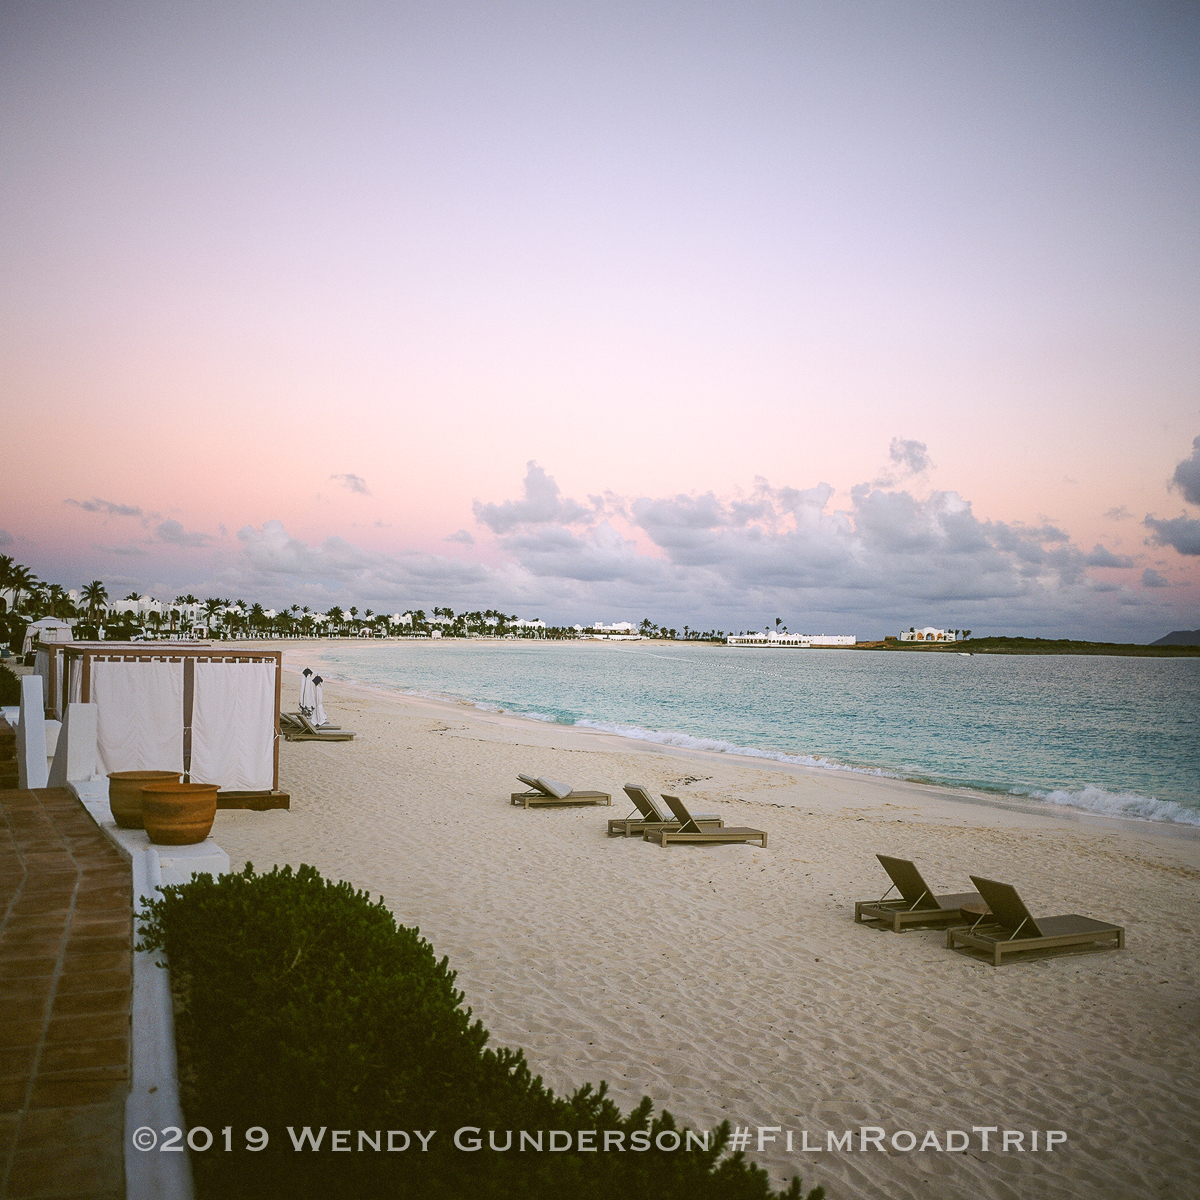
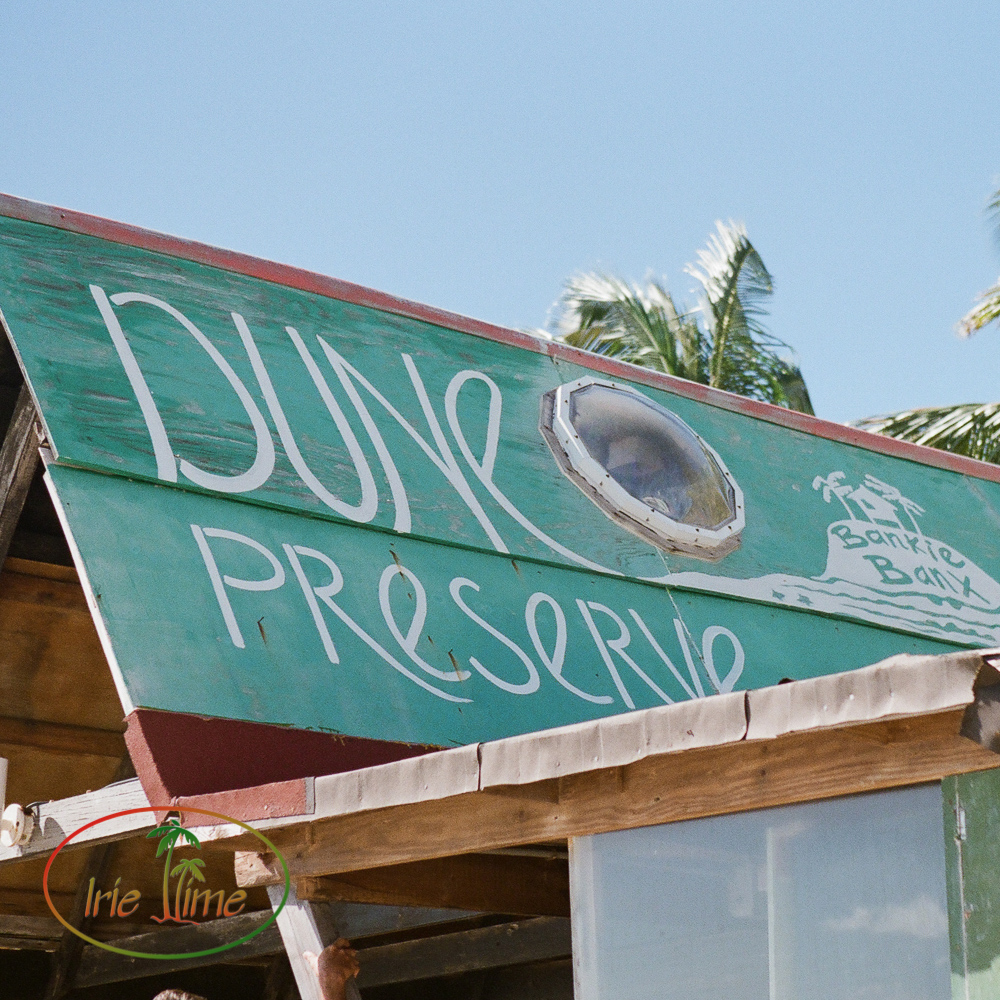
    “I’ve never been to a place where the palm fronds clack together,” my husband said while sitting back in his beach chair facing the calm of Kamalame Cay.  Coconut palms surrounded our chairs on what seemed to be our own personal beach.  “You have,” I replied.  “You have just never heard them before.”  We have been to quite a few private beaches and luxury resorts in the Caribbean, but Kamalame Cay was distinctive from the rest.  It was like nothing we had ever seen, or heard, before.

    Kamalame Cay Mamiya 6, Mamiya 75mm f/3.5, Fuji 400H

    There are no televisions.  We thought we would miss that, particularly with the NBA Finals going on at the time of our visit.  We didn’t. We spent more time talking, and reading, and listening, hearing those palm fronds, or the patter of a late afternoon rain.  You saw more.  Perhaps it was the lack of distractions.  You noticed the tiny marks left by the hermit crabs as they made their way across the sandy  path.  You saw the tiny birds, hopping from branch to branch.  The loudest sound was the sound of the seaplane taking off, bringing new guests or taking new friends home.

    Mamiya Pro TL, Mamiya 80mm f/1.9. Kodak Ektar 100 Mamiya Pro TL, Mamiya 80mm f/1.9. Kodak Ektar 100

    The water was calm and clear.  In the early mornings or late evening, it was like glass, and in those early mornings, you were treated to the sunrise from your beach chair.  The water is shallow for quite a distance, perfect for those uneasy with the surf, or those who just like to walk or lounge in the water.

    Kamalame Cay Mamiya Pro TL, Mamiya 80mm f/1.9, Kodak Portra 400Kamalame Cay Mamiya Pro TL, Mamiya 80mm f/19, Kodak Portra 400

    There are personal touches throughout your visit.  In the morning, a basket of breakfast goodies is delivered to your door, including freshly-squeezed orange juice, coffee, pastries, yogurt and fruit.  In the afternoon, you look forward to the warm cookie delivery, wanting to be there the moment it arrives.  The staff was warm and caring without being intrusive.

    Kamalame Cay Mamiya 6, Mamiya 75mm f/3.5, Kodak Portra 400

    It took me a while to put my thoughts together to sum up our visit.  I left well-rested, yet we did more activities on this trip than any before.  I felt pampered, yet staff members were not present at every turn.  This is not the Four Seasons, or Jumby Bay, or any of the diamond award winners we have visited before. It’s difficult to compare, because they don’t compare. It is elegant, but in an understated way.  A visit to Kamalame Cay may be best described as a visit to a friend’s beautiful beach house.  You are welcome and comfortable, and if you need assistance, they are already there with what you need.  But you have the run of the house, literally.  You can pour yourself a drink, pick a book off the shelf, and settle in where you are comfortable. You can walk barefoot, anywhere.  Relax. You are home.

    Kamalame Cay Tour Mamiya 6, Mamiya 75mm f/3.5, Kodak Portra 400

    Lead image: Mamiya Pro TL, Mamiya 80mm f/1.9, Fuji 400H

    All photographs in this post were shot on film, using a Mamiya 6 with the 75mm f/3.5 lens, or the Mamiya ProTL with the Mamiya 80mm f/1.9 lens. Processing by Richard Photo Lab.

    This post was the winner of a bronze award in the 2016 NATJA Awards for Excellence in Travel Journalism in the category of Photography: Photo Essay – Online Publication.  For more information, click the image below.


    NOTE: Originally published on July 10, 2016 on our sister site, My Irie Time.

    SaveSave

  • #FilmRoad Trip – Antigua & Barbuda

    #FilmRoad Trip – Antigua & Barbuda

    Last November, on our first trip with film in eight years (#filmroadtrip: Road Test – Anguilla), we learned a lot of lessons. One of my missions on this trip was to correct at least some of the mistakes I made.  So on this #FilmRoadTrip: Road Test – Barbuda & Antigua, I tweaked a few things, shot more film, and was pretty pleased with the results.  As always, though, there is still room for improvement.

    Canon 1v, Portra 400
    Canon 1v, Portra 400

    Canon 1v, Portra 400
    Canon 1v, Portra 400

    Mamiya Pro TL, Portra 400
    Mamiya Pro TL, Portra 400

    The Film Kit

    Traveling with a lot of gear is not easy.  I wanted to shoot both medium format and 35mm, along with my digital, but I wanted to watch the weight.  I knew that on our flight to Barbuda, a small prop plane, they would be weighing everything (including us!) so I had to be mindful of the load.  Here is the film gear I packed:

    Mamiya 645 Pro TL

    Mamiya 80mm f/1.9

    Mamiya 45mm f/2.8

    Mamiya Extension Tube 3-S

    Canon EOS 1v, plus these lenses, which are also used on my digital camera:

    Canon 24-70 f/2.8 L

    Canon 135mm f/2 L

    Canon 35mm f/1.4 L

    Canon EF 1.4x III Extender

    Circular Polarizers for all lenses

    I did not bring my light meter.  I planned to rely on the built-in meters, having used them in the past and found them to be predictable.

    Canon 1v, Portra 400
    Canon 1v, Portra 400

    Canon 1v, Portra 400
    Canon 1v, Portra 400

    The Film

    This year, I brought only two film stocks, Fuji 400H and Kodak Portra 400. They were my favorites in Anguilla, and I saw no reason to bring others.  I brought more than I needed and ended up shooting 5 rolls of 35mm and 13 rolls of 120.  I did not utilized lead-lined bags and did not ask for a hand check given that I was using 400 speed film.  All shots were processed and scanned by Richard Photo Lab, and tweaked by me in Lightroom.

    hammock time
    Mamiya Pro TL, Fuji 400H  /  Mamiya Pro TL, Portra 400


    Canon 1v, Fuji 400H Canon 1v, Portra 400
    Canon 1v, Fuji 400H   /  Canon 1v, Portra 400


    beach time 2
    Mamiya Pro TL, Portra 400   /   Mamiya Pro TL, Fuji 400H

    The Road Test

    This trip was to two separate islands.  First was four nights on Barbuda, which we reached by three flights, the third being a small prop plane. Then we flew back to Antigua and took a boat to Jumby Bay Island.  I expected lots of sunshine and lots of reflective sand and water, so circular polarizers were the rule, rather than the exception.  I was limiting film shots to daylight, up to sunset.  I didn’t want to pack more gear, and prefer digital for shots of the night sky.

    Mamiya Pro TL, Fuji 400H
    Mamiya Pro TL, Fuji 400H

    Mamiya Pro TL, Fuji 400H Mamiya Pro TL, Fuji 400H
    Mamiya Pro TL, Fuji 400H    /   Mamiya Pro TL, Fuji 400H

    The Results:  The Good

    1.  Lots more keepers!

    Woo hoo!  Probably my biggest accomplishment is wasting less film.  When you shoot film you are VERY aware of the cost of each shot, keeping in mind the cost of the film itself, plus the cost of processing and scanning.  My biggest criticism of my shots are related not to the use of film but to poor composition or execution, meaning I would have screwed up the shot even if I was shooting digital.

    Canon 1v, Portra 400
    Canon 1v, Fuji 400H

    Canon 1v, Portra 400
    Canon 1v, Portra 400

    2. I remembered the circular polarizer.  

    With all the excitement of shooting film in Anguilla, I forgot some of the basics, including the need for filters, particularly the circular polarizer when confronted with all that glare.  This trip, I had a circular polarizer in all the filter sizes for my lenses.  This made the biggest difference between my shots on that trip versus this trip.

    Mamiya Pro TL, Fuji 400H
    Mamiya Pro TL, Fuji 400H

    Barbuda Beach-38
    Canon 1v, Fuji 400H

    3.  I cut down on the number of repeat shots.  

    One of my problems shooting in Anguilla was a lack of self-confidence.  I was so afraid of not getting a shot that I burned a lot of film shooting the same scene.  This time I was very aware of how many times I shot the same subject or angle.  If I repeated this time, it was because I knew I pooched the focus or because the lighting changed and I wanted to capture it.

    Canon 1v, Portra 400
    Canon 1v, Portra 400

    Mamiya Pro TL, Fuji 400H
    Mamiya Pro TL, Fuji 400H

    4.  My manual focusing improved.

    Although I messed up from time to time, my manual focusing improved considerably on this trip.  I still need to remember to account for the super shallow depth of field when using the extension tubes, but overall, my ability to focus manually improved.

    Mamiya Pro TL Fuji 400H
    Mamiya Pro TL Fuji 400H

    Mamiya Pro TL Fuji 400H
    Mamiya Pro TL, Fuji 400H

    The Results: The Bad

    1.  Several shots were VERY underexposed.

    I remember while walking back from lunch that I noticed the aperture on my Mamiya 80mm f/1.9 was all the way up at f/22. Always check your settings. It’s easy to slide the dial on a manual focus lens and pooch a bunch of shots.

    Film Mistakes-1-4
    Mamiya Pro TL, Fuji 400H

    2.  Great shots on the wide angle lens.  Too bad you forgot to pull the lens hood back.

    Now I have a lot of very nice oval shots. I always put the lens hood on to avoid dinging my lens – – just have to remember to fold it back on the wide angle lens.  Oh well, you’ll see those on Instagram once I crop them down to squares.

    Mamiya Pro TL Portra 400
    Mamiya Pro TL, Portra 400

    3.  One of my legs must be shorter than the other, or  I don’t compensate for the slope when shooting along the beach.

    My medium format shots were better owing to the crosshairs which are visible through the viewfinder.  I need to watch this on the 35mm.

    Fuji 400H 35mm
    Canon 1v, Fuji 400H

    4.  A few shots were ruined due to light leaks.

    It was my own fault.  I forgot I had a roll of film in the camera before I packed it and I opened it up, exposing a few frames.  Make sure your cameras are empty before you travel.

    Portra 400 35mm
    Canon 1v, Portra 400

    5.  Manual focusing is really tough when you are using an extension tube.

    That depth of field is wafer thin with the 3-S extension tube on the Mamiya 80mm f/1.9.  Close that aperture down!

    Mamiya Pro TL Fuji 400H
    Mamiya Pro TL, Fuji 400H

    Mamiya Pro TL, Fuji 400H
    Mamiya Pro TL, Fuji 400H

    But remember, not all mistakes are that bad.

    I kind of like this shot.  I focused on Antigua in the distance and overexposed the shot.  A mistake, but still kind of cool.

    Mamiya Pro TL, Fuji 400H
    Mamiya Pro TL, Fuji 400H

    NOTE: Originally published on July 7, 2015 on our sister site, My Irie Time

    SaveSave

    SaveSave

  • #FilmRoadTrip – Anguilla

    #FilmRoadTrip – Anguilla

    Canon 1v, Canon 135mm f/2, Fuji 400H

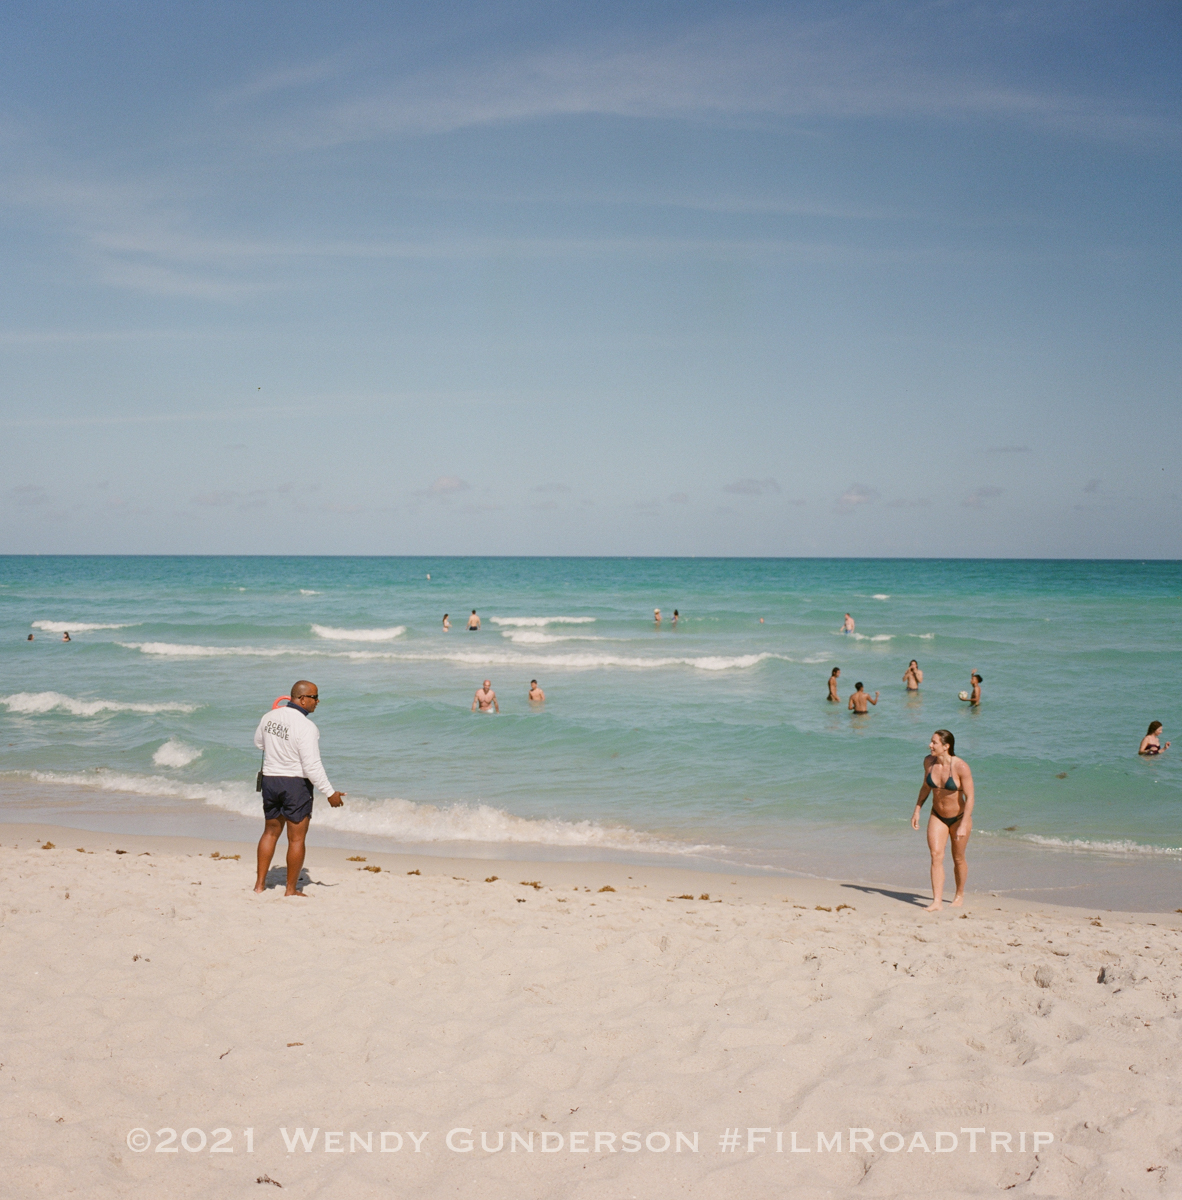
    We took the film on the road and the results are back.  We took the film cameras to Anguilla, the Canon 1V and the Mamiya Pro TL.  We took a variety of film stocks, Fuji 400H, Kodak Portra 400, Porta 160, and Ektar 100.  We experimented and burned a lot of film.  Many lessons were learned.  Here are my impressions of our efforts and the results.

    1.  Digital has ruined me for film – shooting the same scene again and again.  I am so accustomed to shooting RAW and shooting multiple images to try to nail the shot that I wasted a lot of film.  For example, I had the sense when shooting a sunset on Rendezvous Bay that I was not getting the exposure right.  In digital, I shoot and adjust, and reshoot, and repeat until I feel comfortable.   What I need to do is more thinking and less shooting.  I found that I went from one mistake to another and never really nailed the shot.  In the end, my favorite shots were the ones where I took one shot, and my least favorite were the ones where I somehow knew I wasn’t nailing it, but just couldn’t nail it, despite many, many efforts.

    Canon 1v, Canon 135mm f/2, Fuji 400H

    2.  Digital has ruined me for film – part two – settling for OK because I can fix it in post.  I was so excited to get out and shoot film that I found myself forgetting the basics.  Errors in digital can be corrected.  If I shoot RAW, and I always do, I can correct most mistakes in exposure. It promotes laziness.  I can take the sunset shot without using my ND filter on digital and recover a lot in post.  Do it with film, and I lose a ton of color.   I need to strive more for perfection.  Fewer shots and better shots.

    Mamiya Pro TL, Mamiya 80mm f/1.9, Fuji 400H

    3.  Manual focusing is tough, especially when you have impatient subjects who want to get to the beach.  I have been spoiled by my autofocus cameras.  I took both an autofocus (Canon 1V) and a manual focus film camera (Mamiya Pro TL with 80/1.9 and 45/2.8).  I used the Mamiya with the 80mm lens on our Christmas card photo shoot.  It’s really tough focusing manually with any accuracy when the subjects are accustomed to getting in an out of a shot quickly.

    Mamiya Pro TL, Mamiya 80mm f/1.9, Portra 400

    4.  My favorite film stocks were Fuji 400H and Portra 400.  I went through my film scans to pick my favorites, not aware of what film stocks they were shot on.  I just got my negatives back from Richard Photo Lab, and of 23 favorites, 7 were shot on Portra 400 and 16 were shot on Fuji 400H.  Ektar 100 and Portra 160 did not make the cut.

    Canon 1v, Canon 135mm f/2, Fuji 400H

    5.  I will travel with film again.  It was not difficult to travel with film, especially with the Canon 1V.  It uses all the same lenses (and filters) that I use on my Canon 5D Mark II, so it was hardly adding anything to my bag.  Traveling with film was easy.  I kept it in my carryon to avoid the high x-rays of the checked luggage.  I never asked for handchecking by TSA given that my film ISOs ranged from 100 to 400  and there was no compromise of the film, having gone through scanners three times.

    As for my mistakes in exposures, I could spend more time on my shots and think more while shooting. I didn’t use my Sekonic meter, relying upon the meter in the camera for ease of use. I was not mindful of my need for my filters, circular polarizer and ND filters, and I will be more aware of that next time.  I will take more time for my shots, and will shoot less. 

    Canon 1v, Canon 24-70mm f/2.8, Fuji 400H

    Despite all the failures, I will travel with film again.  A mistake is not tragic if you learn from it.  I plan to keep the film thing going.  It was worth the extra gear just for the portraits alone.  The skin of my teenagers looked so much better on film than digital.  I shot our Christmas card photo in both, and I preferred the film hands down. Even the shots of silly things, like signs along the way, I loved the look of my film shots far more than digital.  The digital versions looked sharper, almost to the point of being too sharp, if that’s possible.  I can see why people love film, how it brings across more of the feeling of the scene, rather that the technically perfect reality of the situation.  Sometimes I need a little less reality, and a little more feeling, particularly when the snow starts to fall here and I look back on my shots of my favorite island.

    Canon 1v, Canon 135mm f/2, Fuji 400H

    Canon 1v, Canon 135mm f/2, Fuji 400H

    Mamiya Pro TL, Mamiya 80mm f/1.9, Fuji 400H

    Canon 1v, Canon 135mm f/2, Fuji 400H

    Canon 1v, Canon 135mm f/2, Fuji 400H

    Canon 1v, Canon 135mm f/2, Fuji 400H

    Canon 1v, Canon 135mm f/2, Fuji 400H

    Mamiya Pro TL, Mamiya 80mm f/1.9, Fuji 400H

    Mamiya Pro TL, Mamiya 80mm f/1.9, Fuji 400H

    Mamiya Pro TL, Mamiya 80mm f/1.9, Fuji 400H

    Mamiya Pro TL, Mamiya 80mm f/1.9, Portra 400

    Mamiya Pro TL, Mamiya 80mm f/1.9, Portra 400

    Mamiya Pro TL, Mamiya 80mm f/1.9, Portra 400

    Mamiya Pro TL, Mamiya 80mm f/1.9, Fuji 400H

    Canon 1v, Canon 135mm f/2, Fuji 400H

    Mamiya Pro TL, Mamiya 80mm f/1.9, Fuji 400H