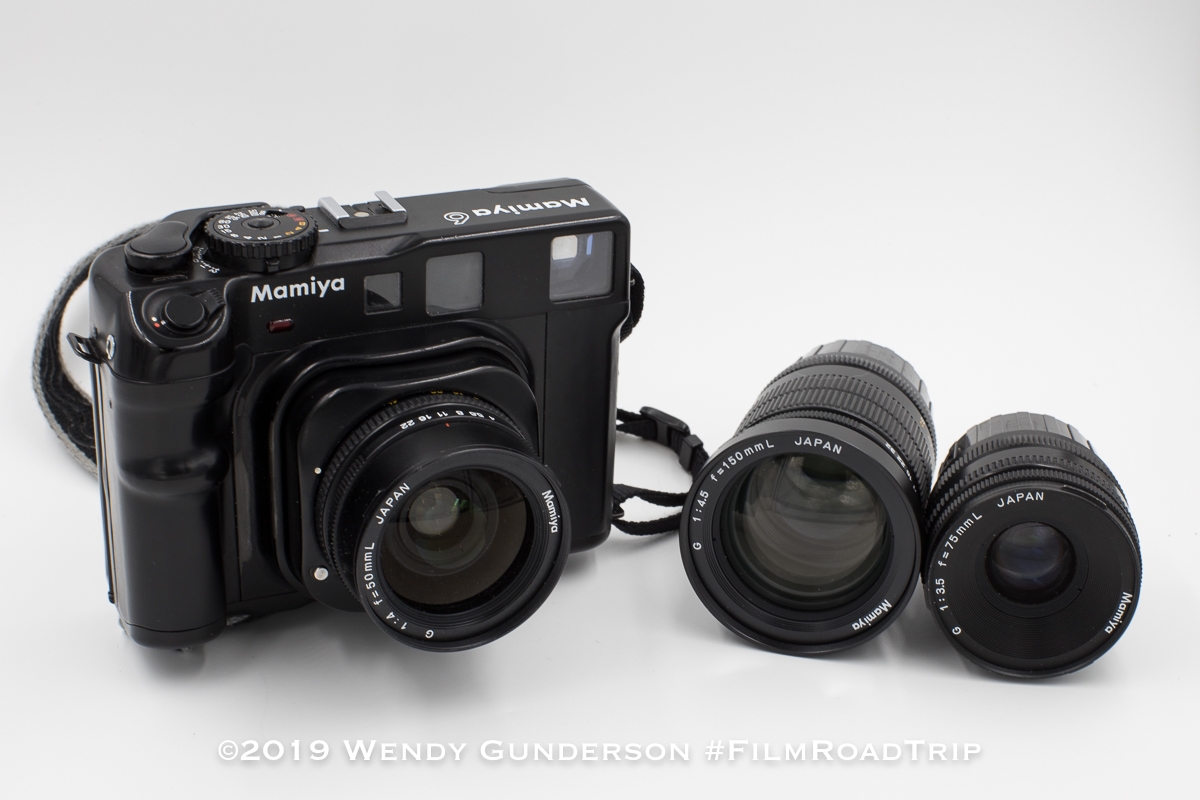
Tag: Canon 1v

  • Colors of Old San Juan

    Colors of Old San Juan

    From the blue-toned pavers to the rainbow of colors which adorn the building exteriors, Old San Juan, Puerto Rico is a alive with color. Come with us as we explore the streets of Old San Juan.

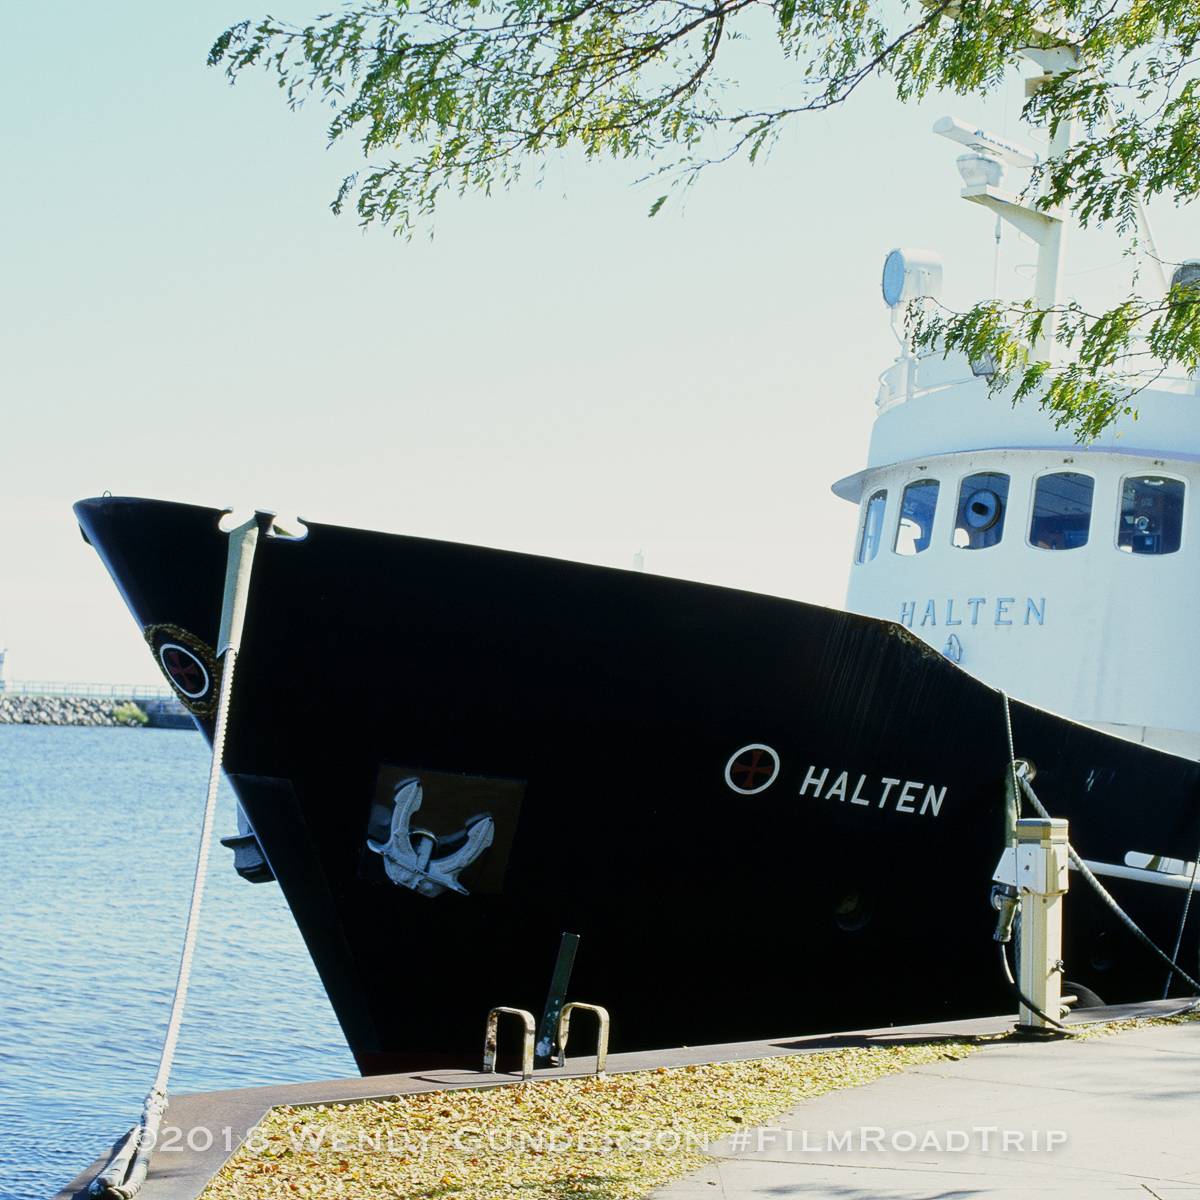
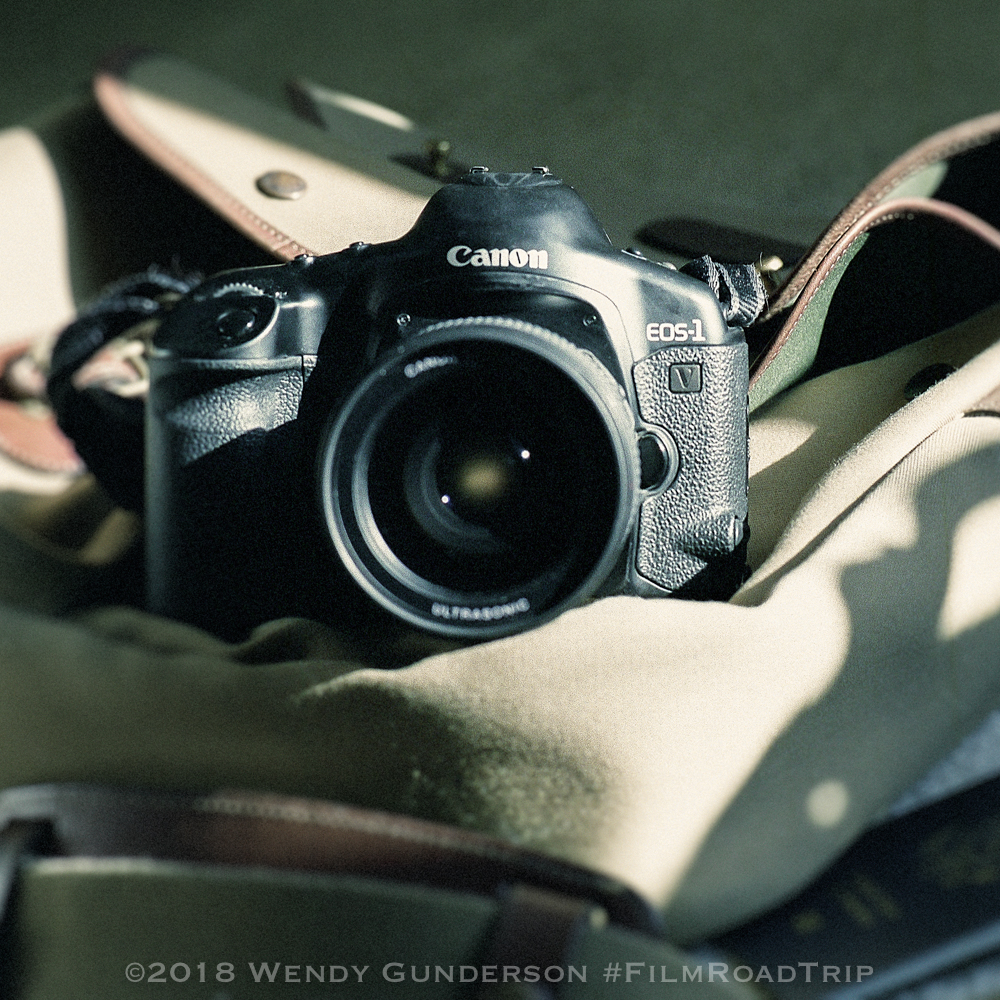
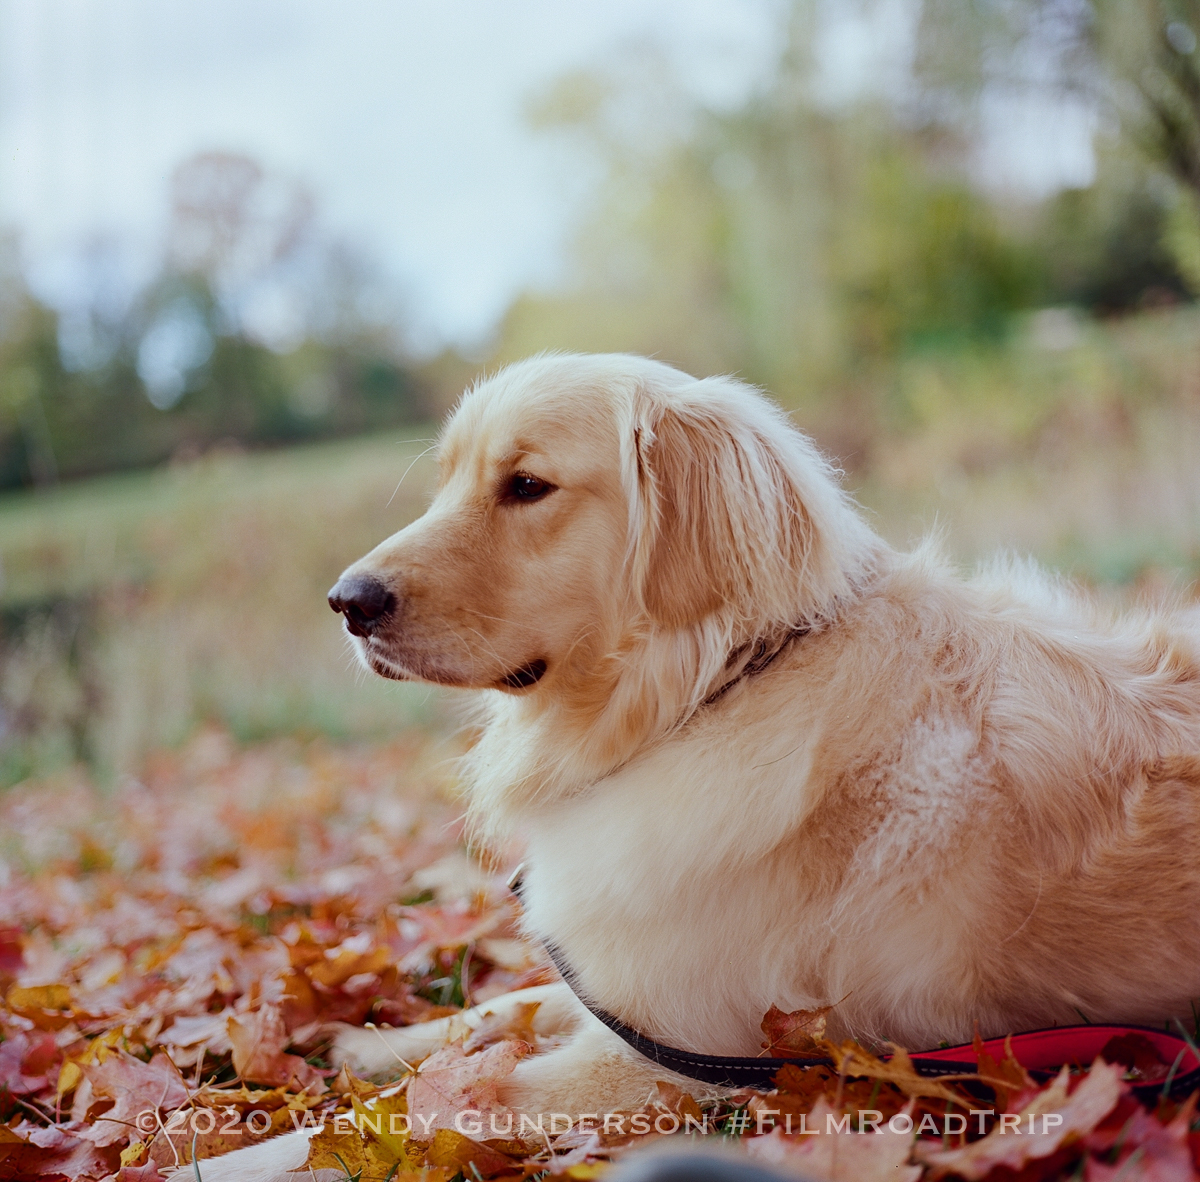
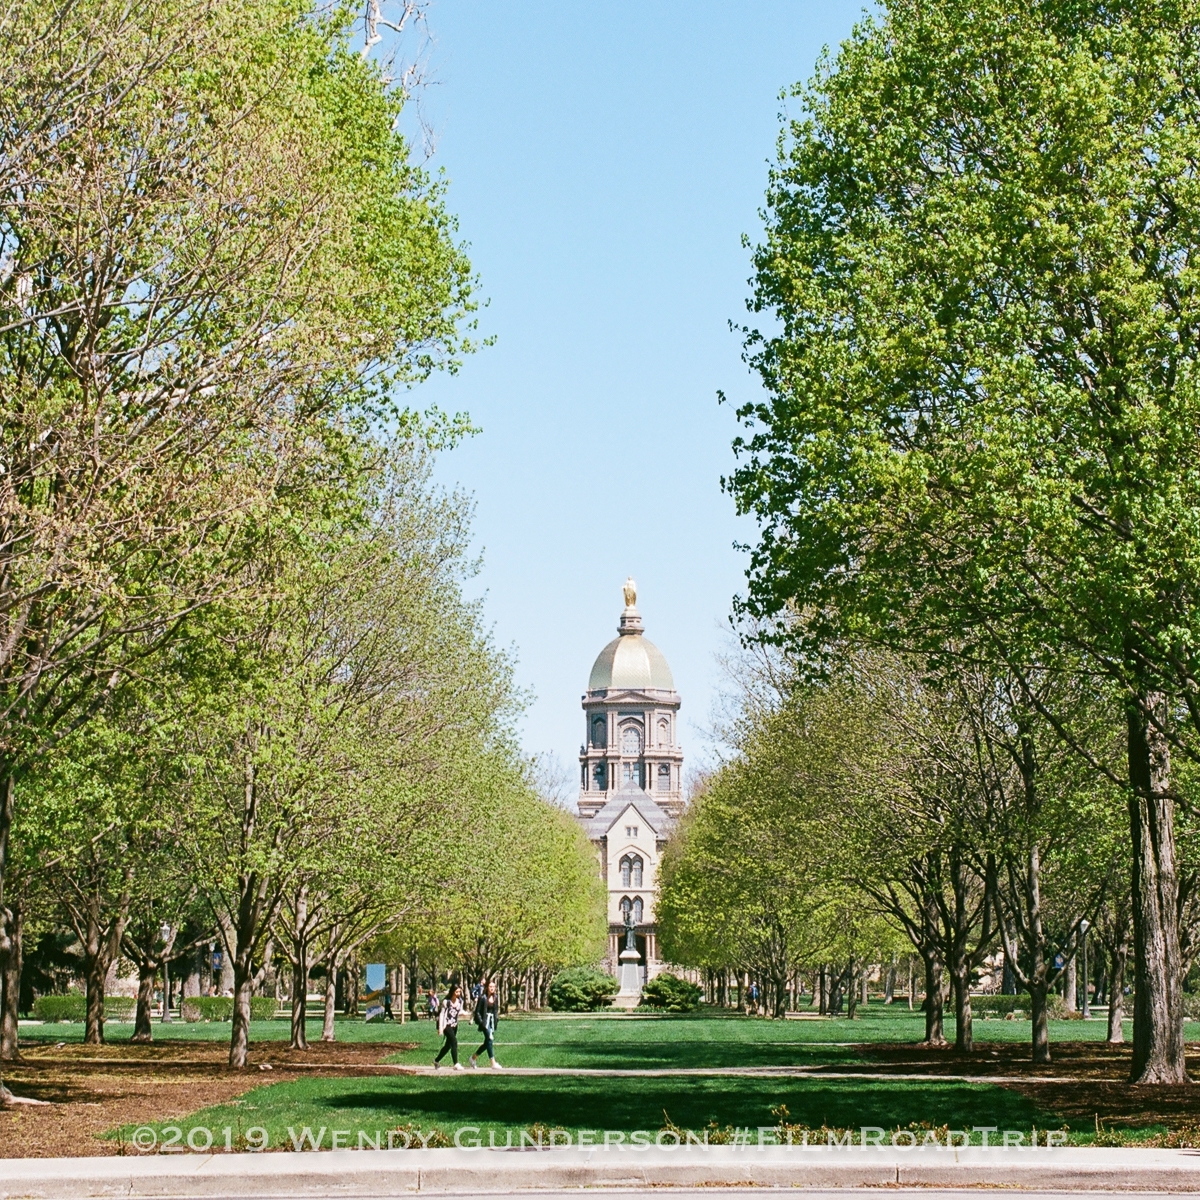
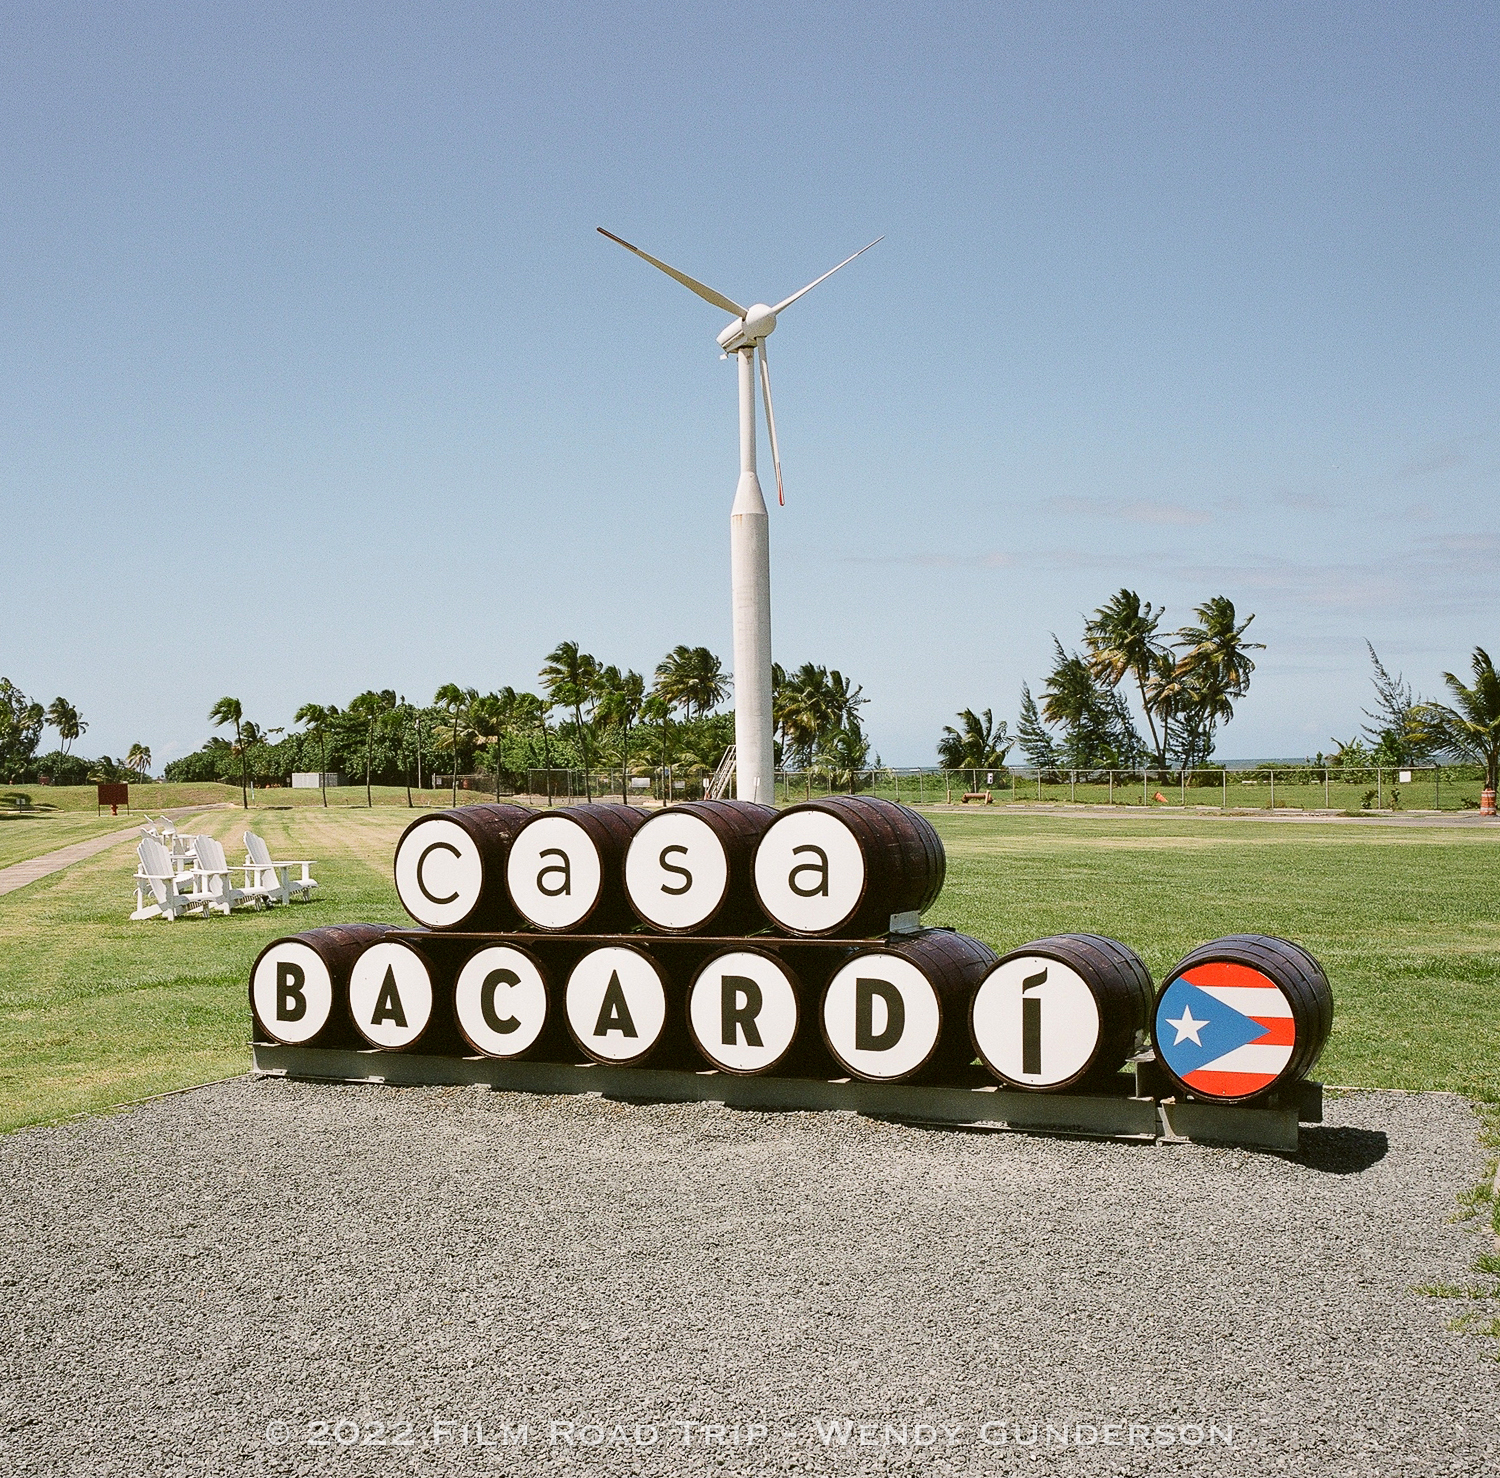
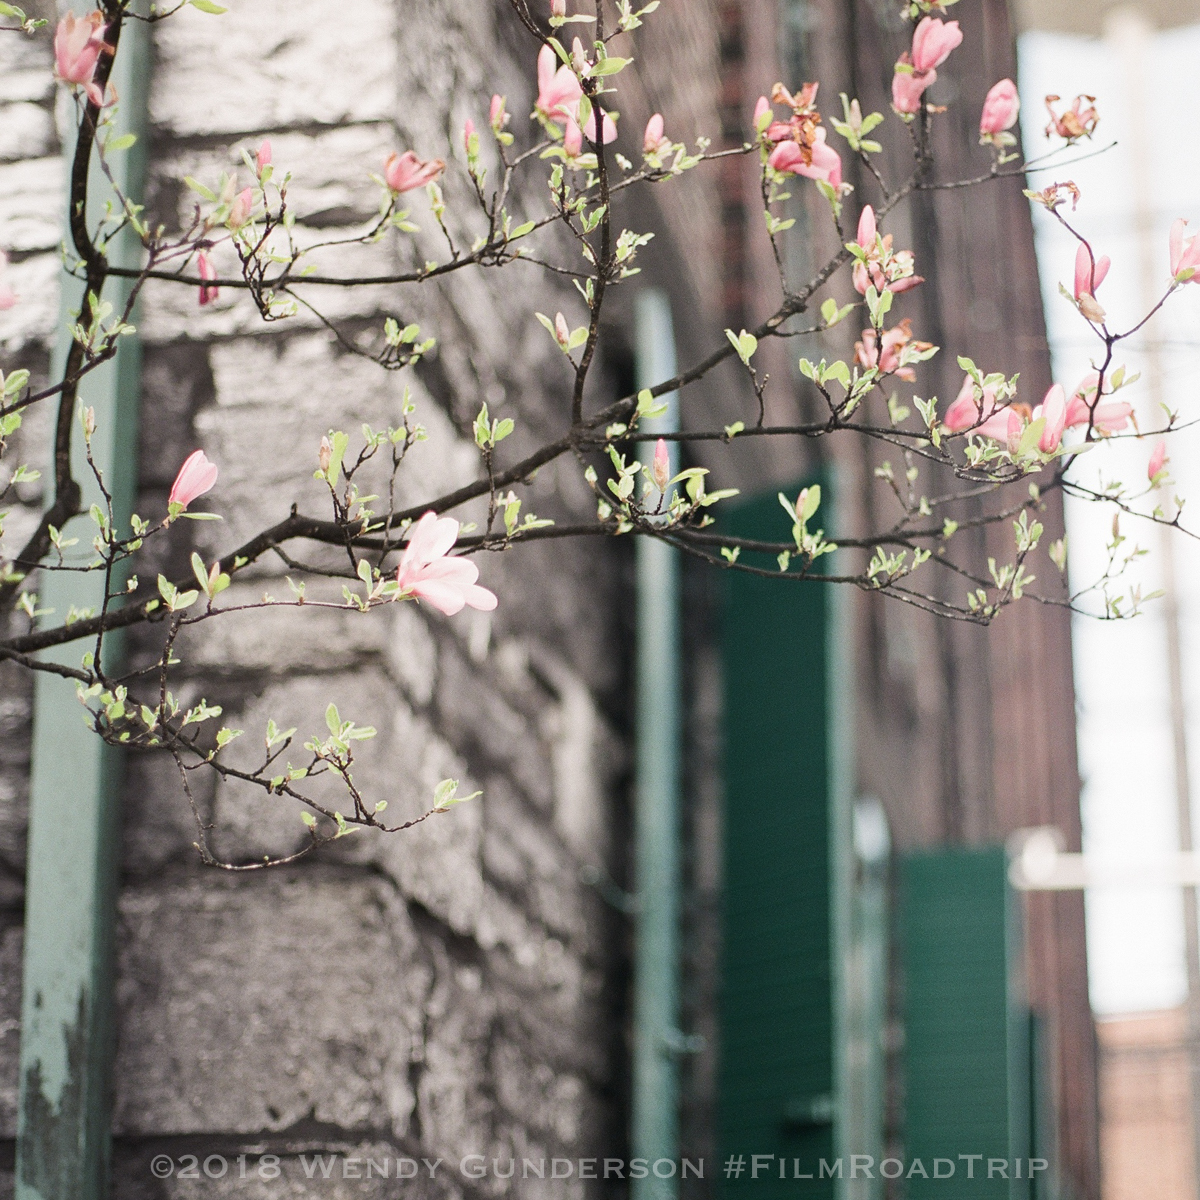
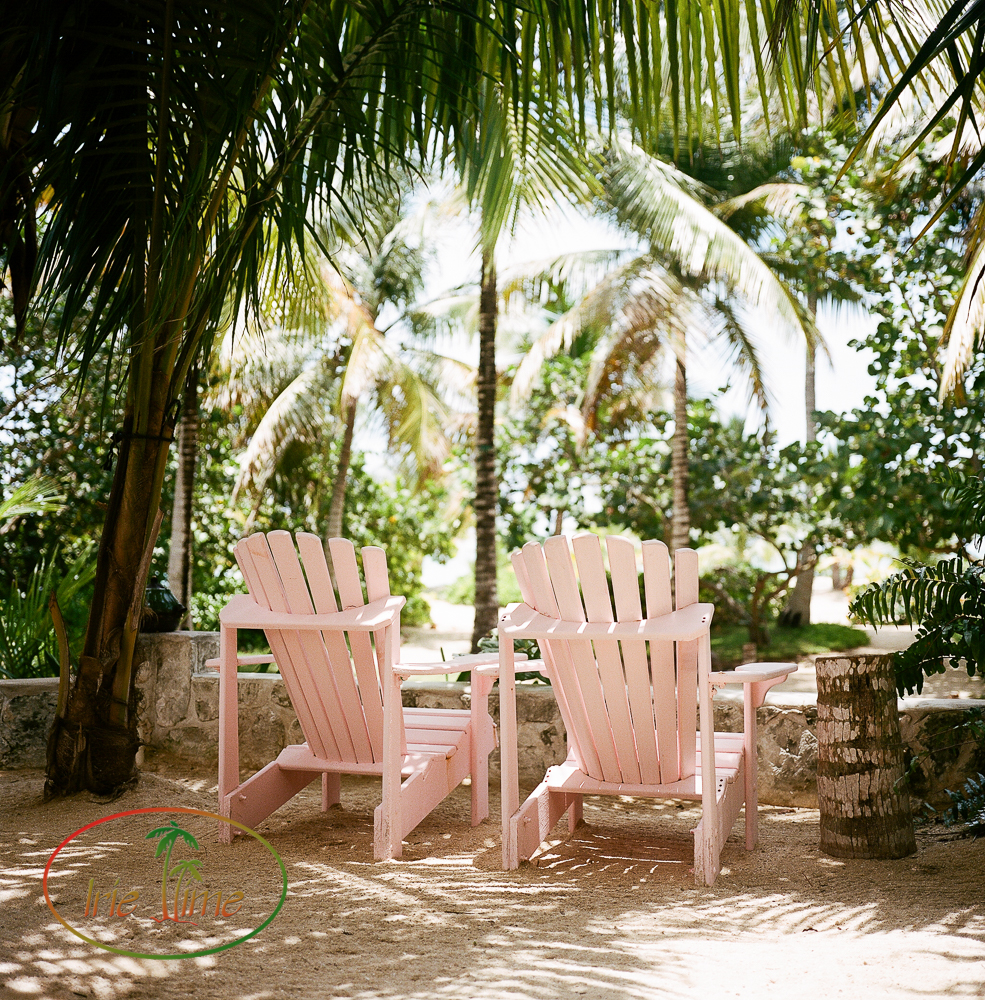
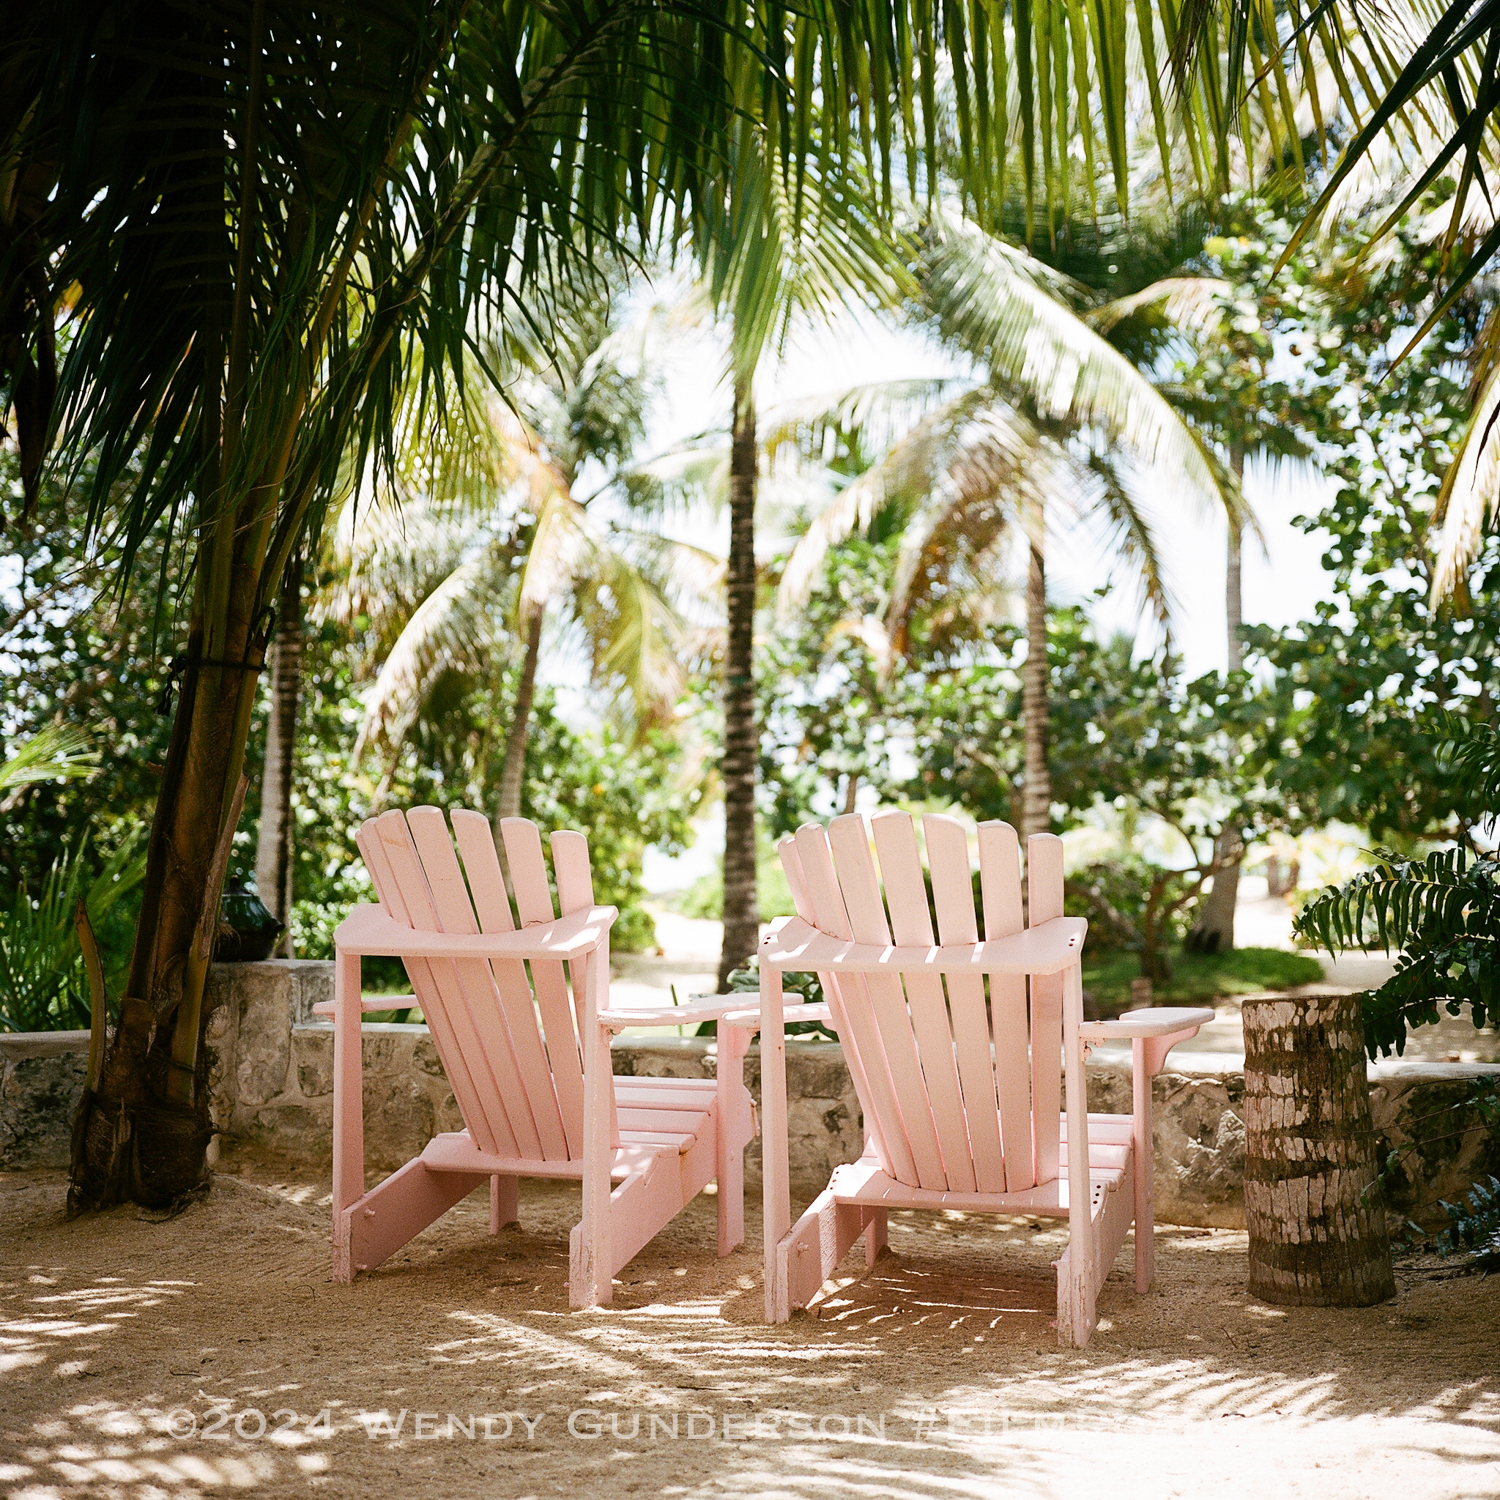
    All images shot on the Canon EOS 1v with Fuji Pro 400H.

  • San Juan National Historic Site, Puerto Rico

    San Juan National Historic Site, Puerto Rico

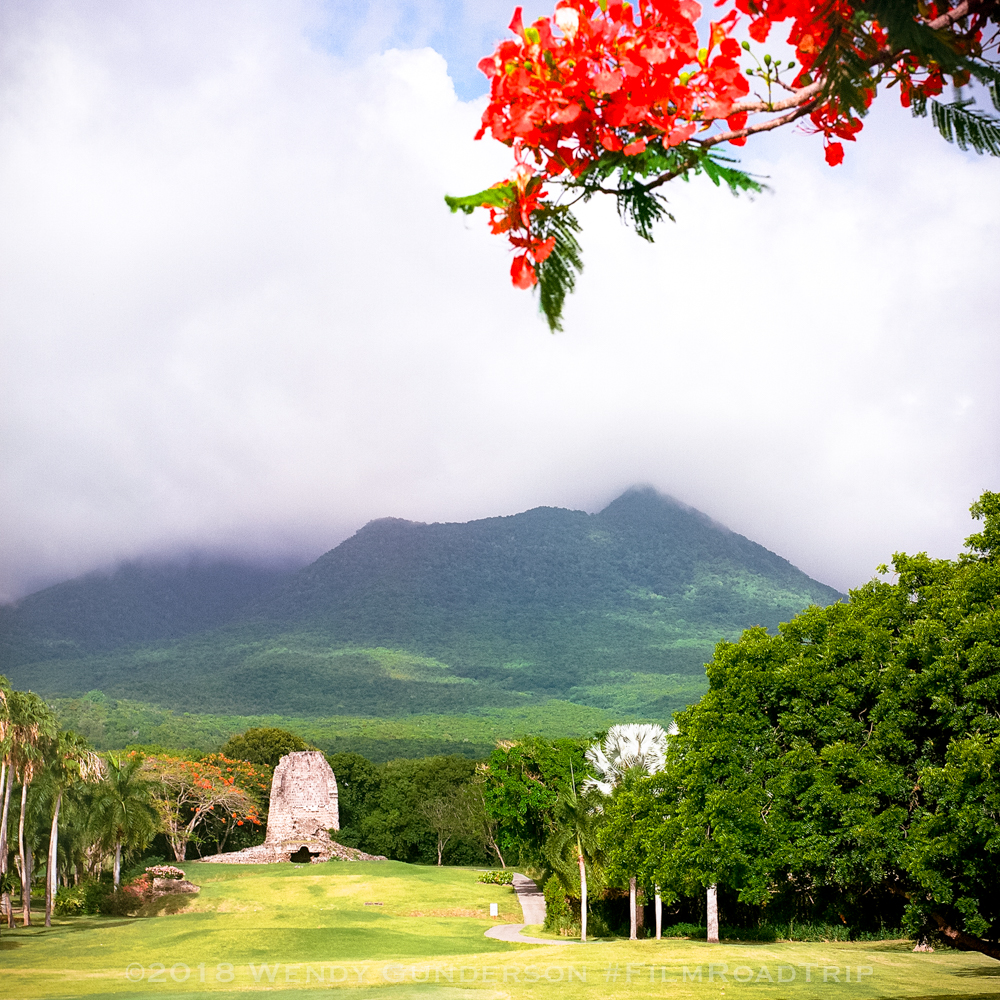
    The United States National Parks System has over 400 parks, including places of great natural beauty and historic significance. Included in our magnificent parks system is the San Juan National Historic Site. The site includes what remains of the walls which surrounded the City of San Juan, and one of the original gates, La Puerta de San Juan. The site also includes the forts which protected the city from invaders, Castillo San Felipe del Morro, Castillo San Cristóbal, and Fort San Juan de la Cruz. For more information on our visit to the San Juan National Historic Site, and more information about our trip to Puerto Rico, visit our sister site, My Irie Time.

    This first group of images was shot on the Canon EOS 1v with Kodak Portra 800.

    The following images were shot on Fuji Pro 400H, some on the Canon EOS 1v and the square images were taken on the Mamiya 6 with the 50mm f/4 lens.

    Up next, we’ll explore the colorful streets of Old San Juan with film!

  • Farewell Fuji 400H: The Zine

    Farewell Fuji 400H: The Zine

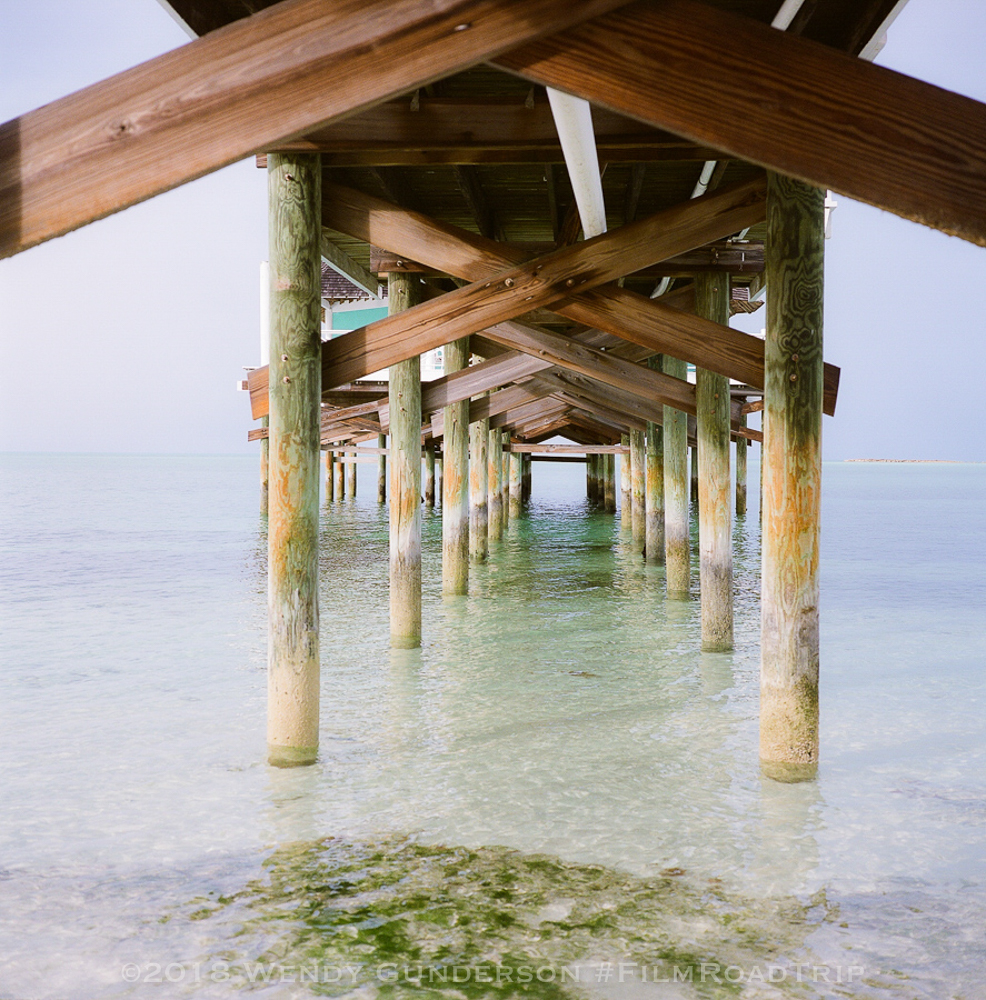
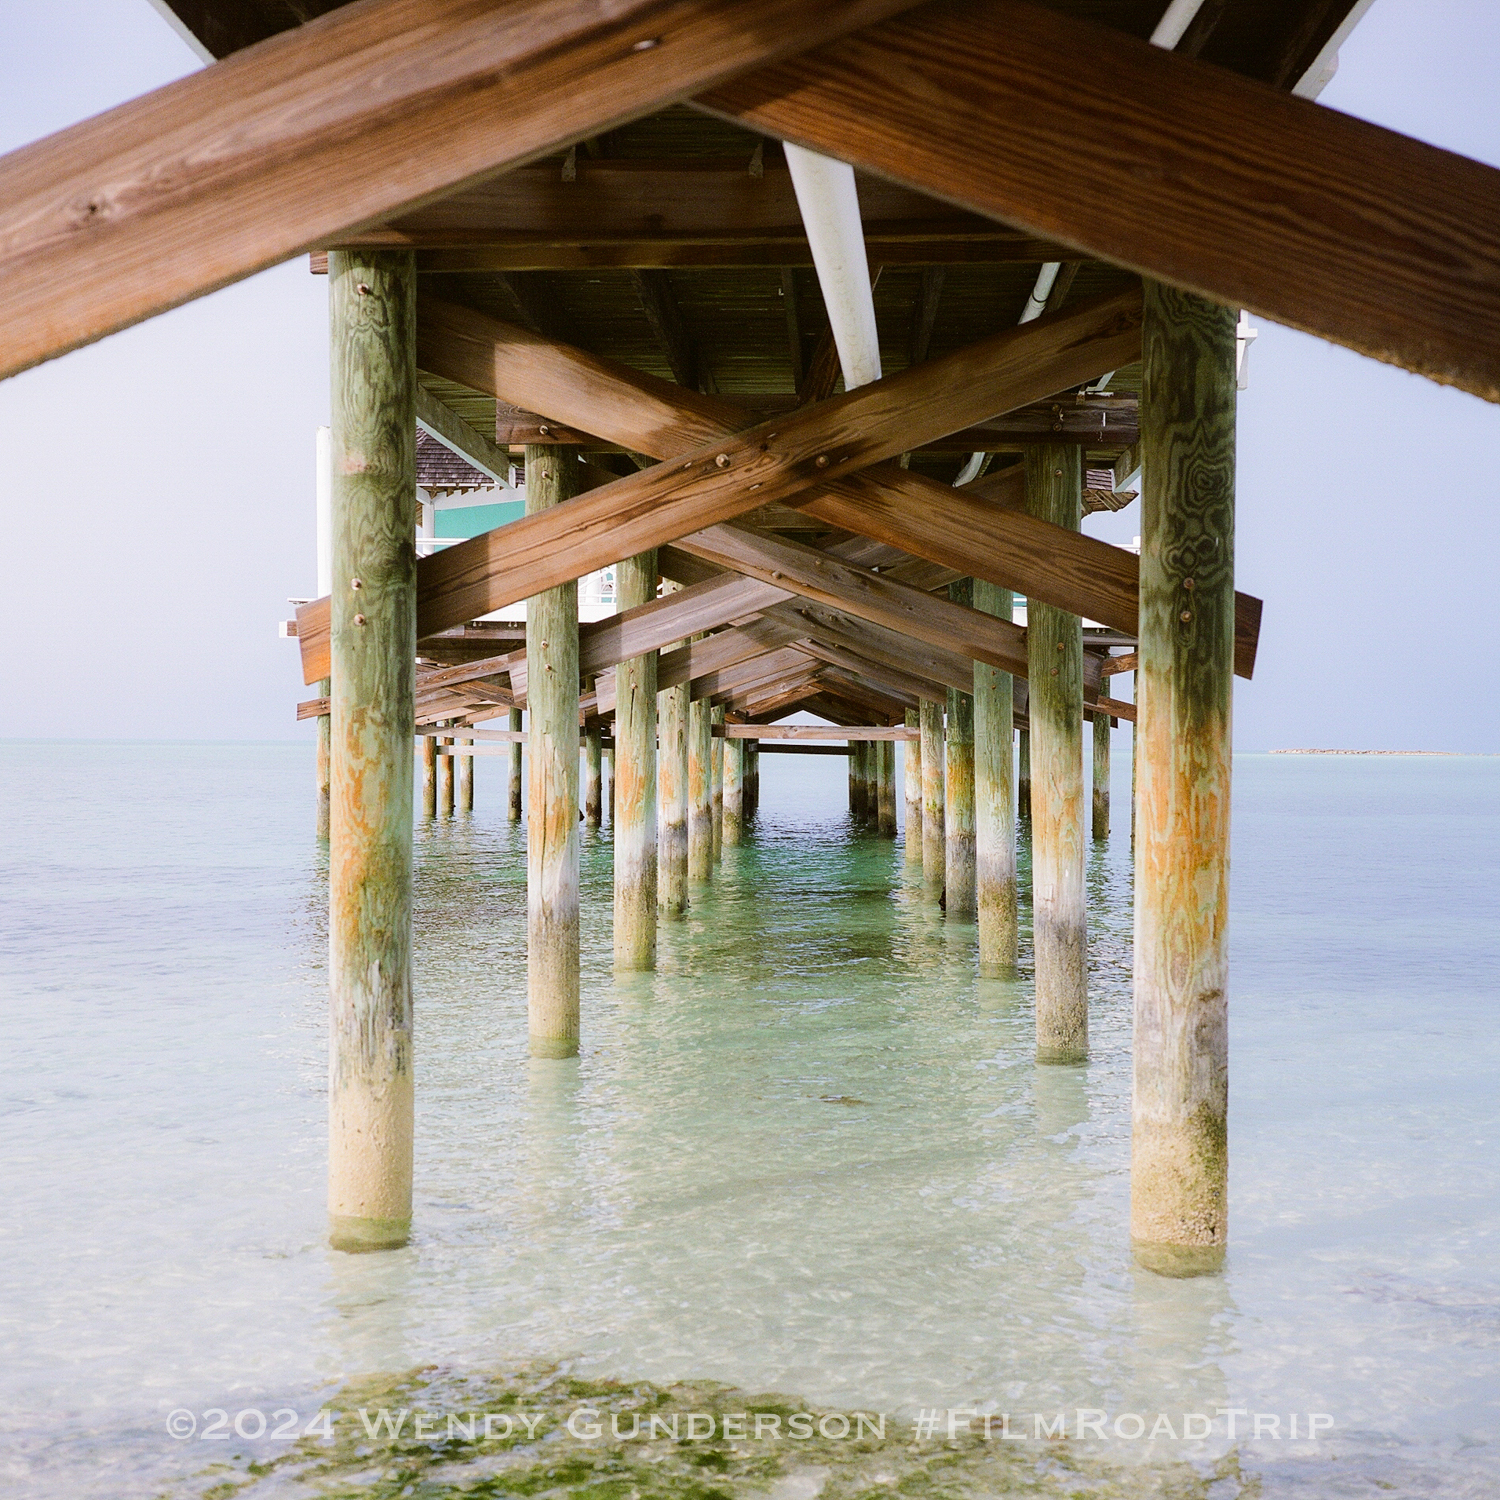
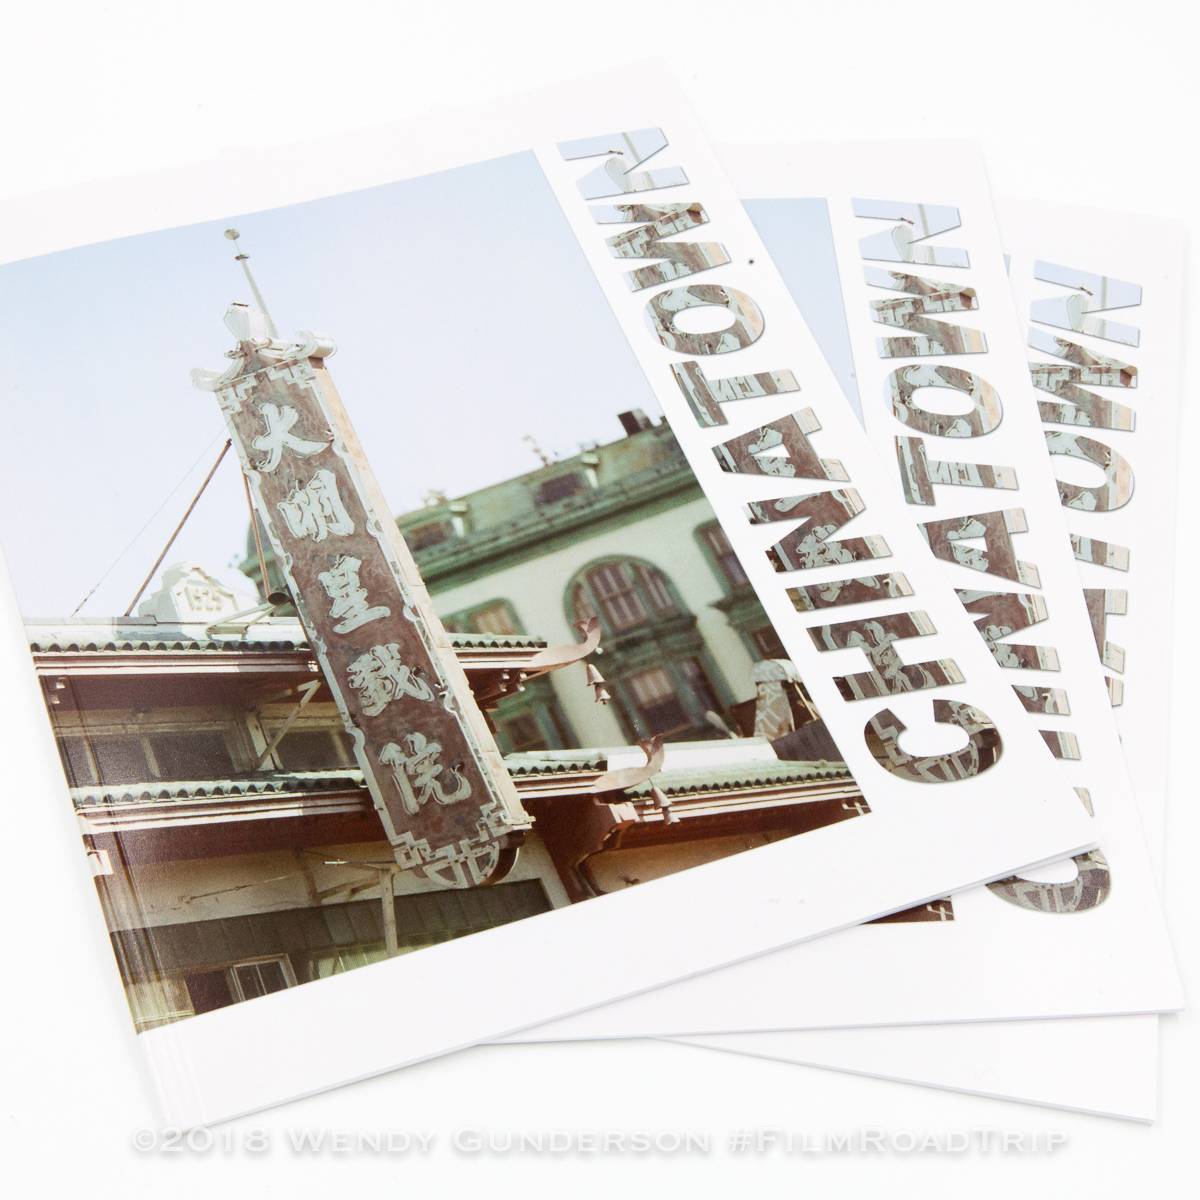
    I’m a firm believer in printing your photographs, and it’s really satisfying to create a zine of your images to tell the story of your travels.  Here is the flip book of our latest zine, Farewell Fuji 400H: Miami to Key West. Enjoy!

    [flipbook id=”4″]

  • Notre Dame, South Bend, Indiana

    Notre Dame, South Bend, Indiana

    On our drive back from the FIRST Robotics World Championships in Detroit, we detoured slightly to the south to visit the University of Notre Dame, South Bend, Indiana.

    Canon EOS 1v, Canon 50mm f/1.2, with Kodak Ektar 100, and  Canon AE-1 Program, Canon  FD 20mm f /2.8, with Kodak  Portra 800.  Processed and scanned by  Richard Photo  Lab.

  • Double Exposures on Film

    Double Exposures on Film

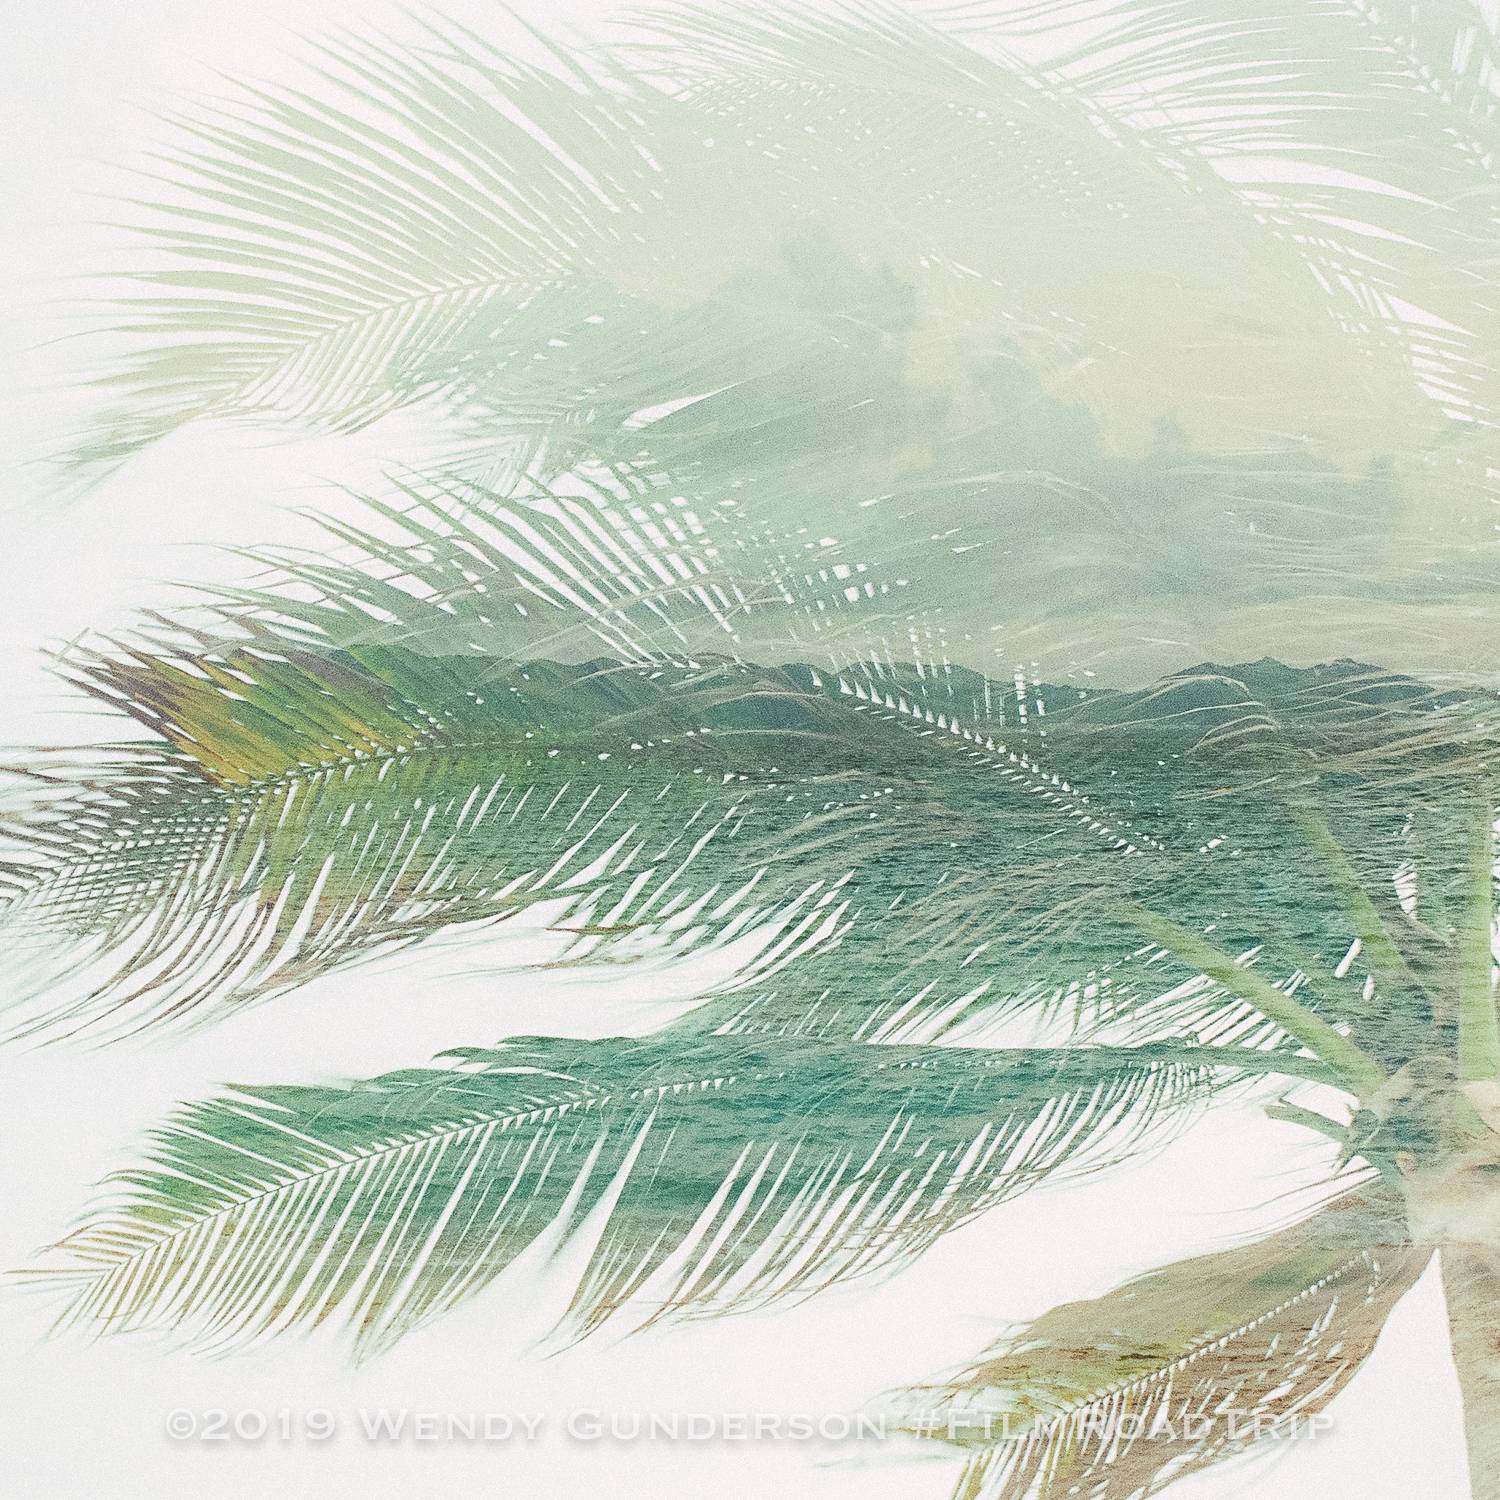
    I love shooting film, in part, because of the thrill of seeing what you captured. Unlike digital, where you have immediate feedback, you never quite know what you’ve got until you either develop your film or receive it back from your lab. With double exposures, the excitement is that much better. It’s not just a matter of what you have captured, but how you lined up the two exposures to reveal an entirely new composition. Here’s a super quick step-by-step guide on how I shoot double exposures on film.

    This image has an empty alt attribute; its file name is Anguilla-2019-Film-Road-Trip-Double-Exposures-Film-107.jpg
    Exposure #1: Mamiya 6 on my picnic table in full sun. You can see the shadow to the foreground and to the right. Exposure #2: Trees in my backyard. Shot on the Canon AE-1 Program and Fuji Velvia 100 RVP.

    When you think about a double exposure on film, you have to know the basics of how exposure works. When you take the first shot, the areas which are white or very light are fully exposed. You will not be able to see anything in this area in the second exposure because essentially the film is spent in those areas. The are fully exposed and the film has nothing more to give. What is darker in your first exposure still has potential. When you make that second exposure, what was dark in the first exposure will be where the second exposure will materialize.

    This image has an empty alt attribute; its file name is Anguilla-2019-Film-Road-Trip-Double-Exposures-Film-103.jpg
    Exposure #1: My daughter, shot from below looking up to set her profile against the sky. Exposure #2: Beautiful hibiscus found on the island of Nevis. Shot on Canon EOS 1v with Kodak Portra 400.

    Exposure #1

    For my first exposure, I look for high contrast subjects. You can shoot a skyline against a bright sky, a person’s profile against a white or light-colored background, or a dark shadow surrounded by bright sunlight. What is white or light in color will be washed out. What is darker in the image is your canvas for your second exposure. It’s not necessary to have an object in silhouette or high contrast, but I like this look. Double exposures can also be effective without a silhouette, but the final product will have more of each exposure retained. When you make the first exposure you have to keep in mind what is fully exposed and what is left for your second exposure.

    This image has an empty alt attribute; its file name is Anguilla-2019-Film-Road-Trip-Double-Exposures-Film-115.jpg
    Exposure #1: Villas and palm trees at Belmond Cap Juluca, Anguilla. Exposure #2: Maunday’s Bay , Anguilla. Both shot at sunset. Shot on Canon EOS 1v with Kodak Portra 800.

    Exposure #2

    For your second exposure, you are looking to fill those dark spaces from your first exposure. Anything white or light in the second exposure will likely be blown out in the final image. The challenge is placing the second exposure when the first exposure is only in your memory.

    This image has an empty alt attribute; its file name is 2019-03-23_0005.jpg
    Exposure #1 is the camera, my Mamiya 6. Exposure #2 is the pile of film. Bottom photo is the final product. If I did it again, I would eliminate the rolls of film which are predominantly white as the shape and detail of the camera is lost in the lower left. Shot on Canon AE-1 Program with Fuji Velvia 100 RVP.

    What settings should I use?

    Depending upon the sensitivity and latitude of your film, you may have to make adjustments to your exposures to make sure that your final image appears as you like. With slide film, the exposure latitude is pretty tight, so consider underexposing so that the final image is not completely blown out. I would suggest doubling your speed or stopping down a full stop for each exposure. I have had success with shooting at box speed with most of the color negative film stocks used, but it takes some experimentation and the need to make adjustments will vary depending upon the circumstances and what you desire in the final image.

    This image has an empty alt attribute; its file name is Anguilla-2019-Film-Road-Trip-Double-Exposures-Film-119.jpg
    Exposure #1: Palm tree in full sun. Exposure #2: Beach and ocean along Maunday’s Bay, Anguilla. Shot on Canon EOS 1v with Kodak Portra 800.

    I should point out that although commonly called “double exposures,” a more accurate name is “multiple exposures.” You are not limited to two exposures on each frame, although you should keep in mind that the more you shoot on a single frame, the more potential for overexposure and losing details.

    This image has an empty alt attribute; its file name is Anguilla-2019-Film-Road-Trip-Double-Exposures-Film-117.jpg
    Exposure #1: Palm tree at Belmond Cap Juluca, Anguilla. Exposure #2: Sailboat on Maunday’s Bay, Anguilla. Shot on Canon EOS 1v with Fuji Provia RDP III.

    Are all film cameras capable of double exposures?

    No, although some which don’t have the feature have some workarounds to allow for double exposures. For example, my Canon EOS 1v is very easy when it comes to doing double exposures. You open the side door, push the multiple exposure button (it looks like two photos stacked upon one another), rotate the camera’s dial to the number exposures desired, and start shooting. It automatically resets to normal shooting mode when the multiple exposure is complete.

    This image has an empty alt attribute; its file name is Anguilla-2019-Film-Road-Trip-Double-Exposures-Film-203.jpg
    Canon EOS 1v

    On my Mamiya 645 Pro TL, there is a switch on the side of the camera which has two positions. Switch the camera from the unlabeled normal position (the white box) to “MULTI.” In this position, the film will not advance, but the shutter will be recocked, allowing for multiple exposures. You have to manually return the switch to the normal position and advance the film to exit the multiple exposure mode.

    This image has an empty alt attribute; its file name is 2019-03-23_0006.jpg
    Mamiya 645 Pro TL: Left photo shows the position of the multiple exposure switch with the grip removed; Right photo shows the position of the switch on the Mamiya WG401 Power Drive Grip.

    With my Canon AE-1 Program, it was not designed to offer double exposures as a feature, but I have been able to create a workaround. After you shoot the first exposure, press and hold in the rewind button on the bottom, and move the advance lever forward, but don’t release it. Then release the rewind button and allow the advance lever to return to its normal position. Then fire the second exposure and advance normally.

    This image has an empty alt attribute; its file name is Anguilla-2019-Film-Road-Trip-Double-Exposures-Film-204.jpg
    Canon AE-1 Program

    I haven’t found a workaround for my Mamiya 6, so if anyone has any ideas, I would be glad to give it a try!

    This image has an empty alt attribute; its file name is Anguilla-2019-Film-Road-Trip-Double-Exposures-Film-105.jpg
    Exposure #1: My daughter’s profile, taken from a low angle to have the sky as a background to fully expose the area behind her face. Exposure #2: Palm berries on the island of Nevis. Shot on Canon EOS 1v with Kodak Portra 400.

    I’ve had failures as often as successes, but I find double exposures to be loads of fun and I will continue to try them in the future. Give it a chance and you’ll be hooked!

    Postscript: One more from the island of Grenada, shot on Fuji Provia 100F RDP-III, and developed with my own sous vide:

    This post originally appeared on our Caribbean travel website, My Irie Time. Give it a look for more posts on our travels through the islands.

  • Anguilla After Irma

    Anguilla After Irma

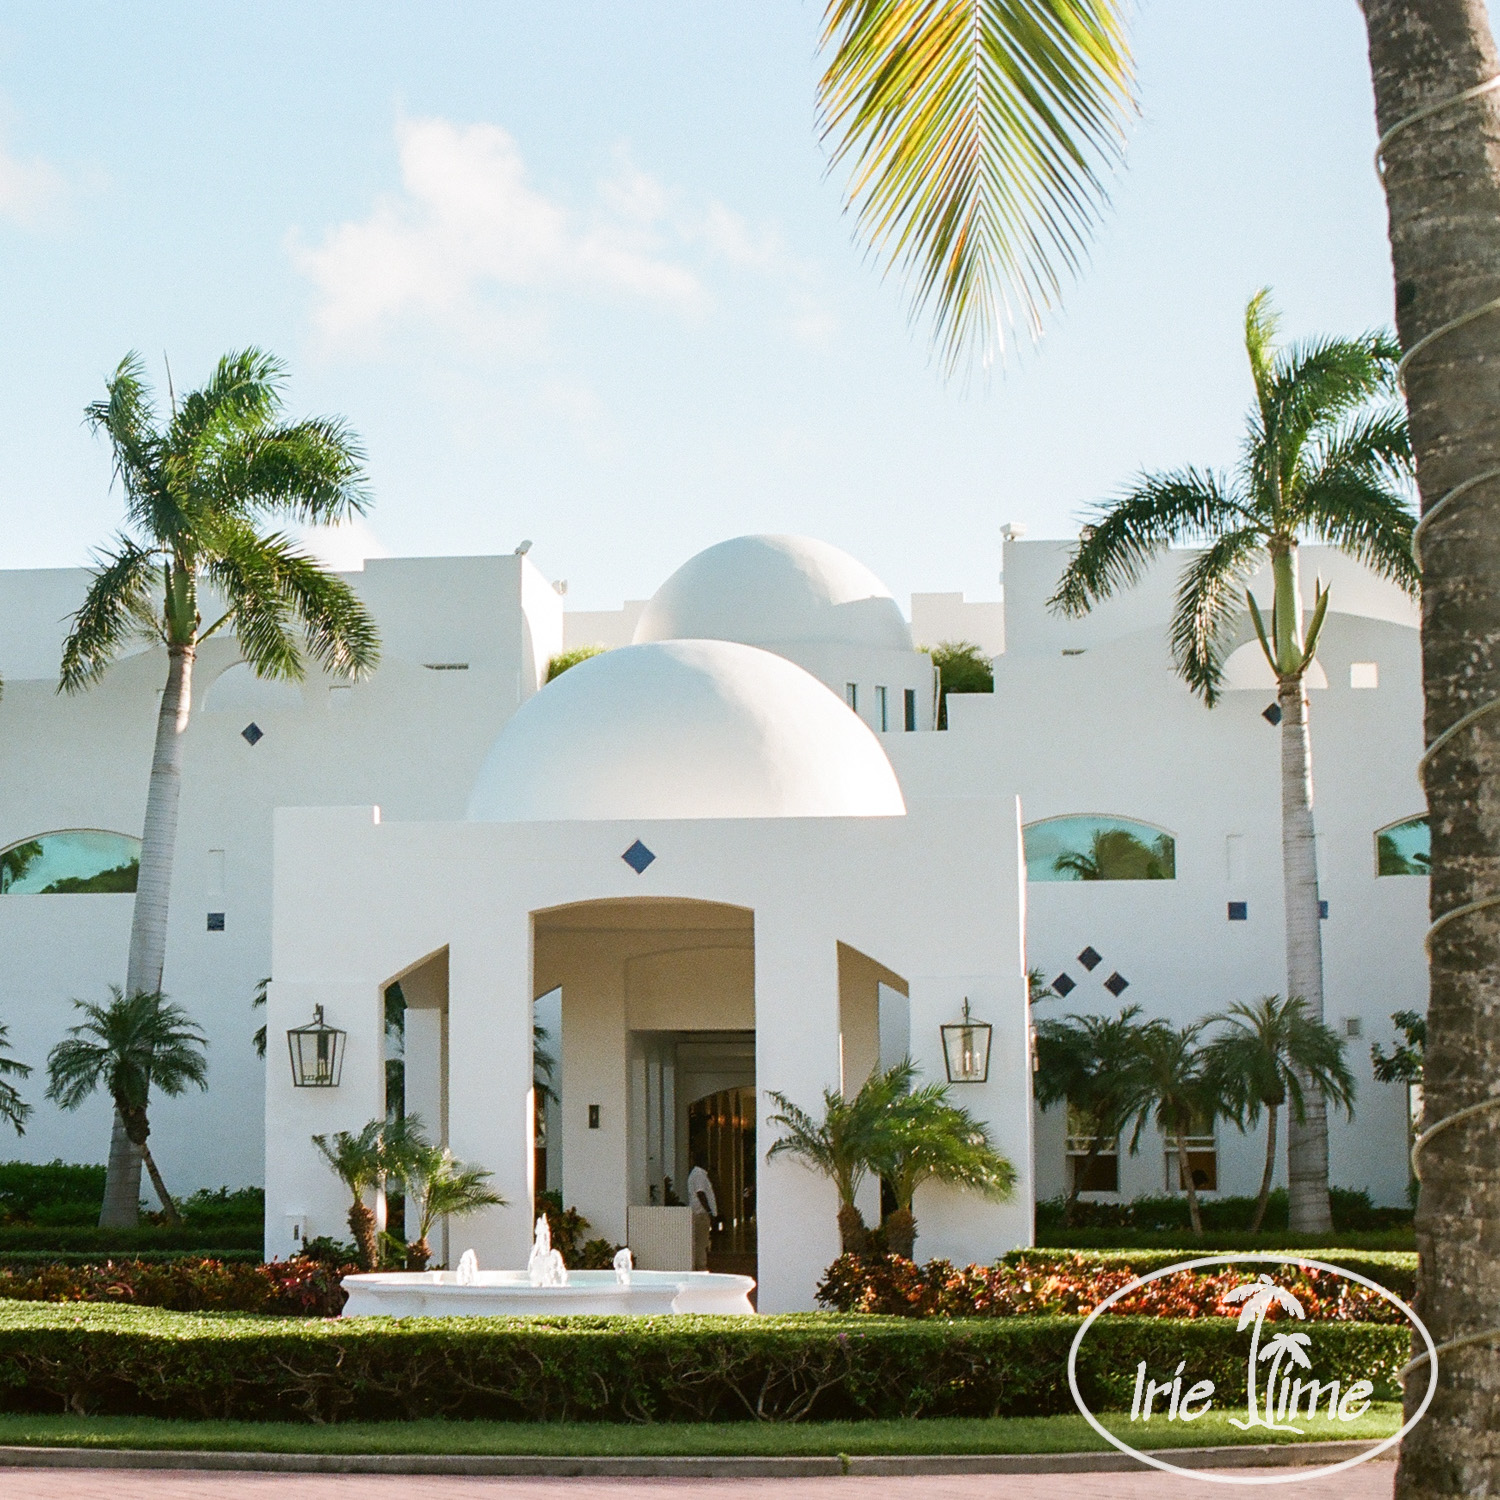
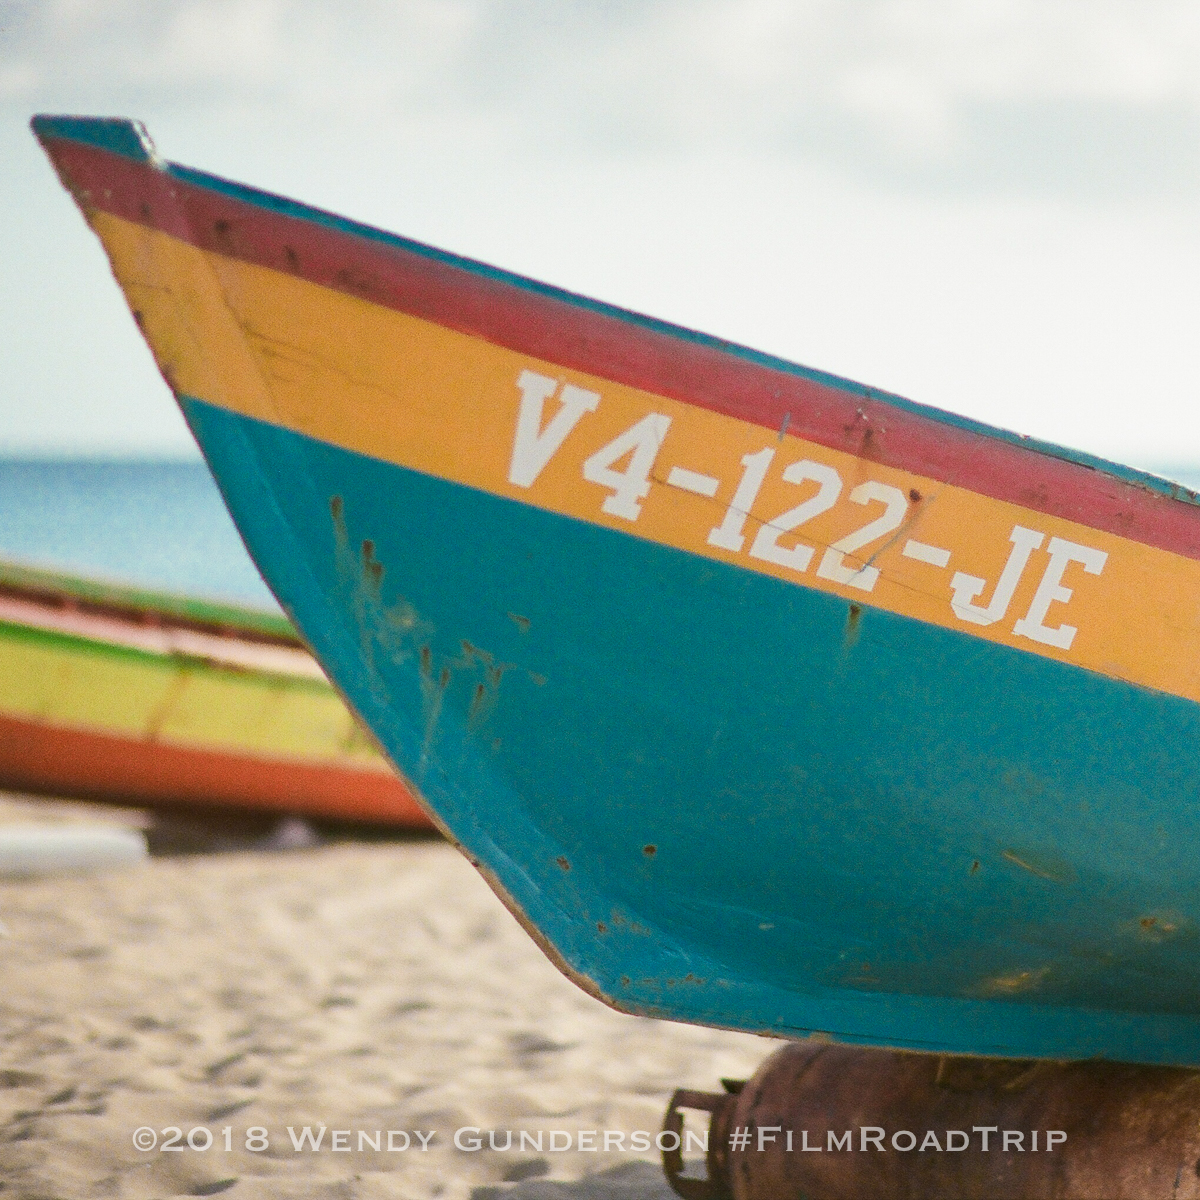
    We were excited to return to Anguilla in January, our first visit since Hurricane Irma struck in September of 2017. Irma was a Category 5 hurricane, bringing wind speeds of 185 mph, with gusts up to 218 mph. The storm damaged 90 percent of the government buildings, including the hospital, schools, airport, and ferry terminal.  The island’s infrastructure was heavily damaged, leaving the island without electricity, telephone, and internet.

    The island’s recovery was incredible, a testament to the determination of the Anguillan people. Enjoy these images from our January visit, showing that Anguilla is back, and better than ever.

    This was our fifth trip to Anguilla, and I shot nearly everything on film. I took the Canon EOS 1v with the 35mm f/1.4, 50mm f/1.2, and 135mm f/2 lenses, as well as the Mamiya 6 with the 50mm f/4 lens. I shot a wide variety of film stocks, including CineStill 50D, Fuji Pro 400H, Fuji Velvia 100 RVP, Fuji Provia RDP III, Kodak Ektachrome E100, Kodak Ektar 100, and Kodak Portra 800. I also shot four cartridges of Super 8 on my Canon Auto Zoom 814, two Kodak Ektachrome 100D (7294), and 2 Kodak Vision3 50D (7203), but more on that later. Follow us on Instagram for more information on the camera and film stock used on each individual image.

    For more about Anguilla, check out our sister site, My Irie Time!

  • Ann Arbor, Michigan

    Ann Arbor, Michigan

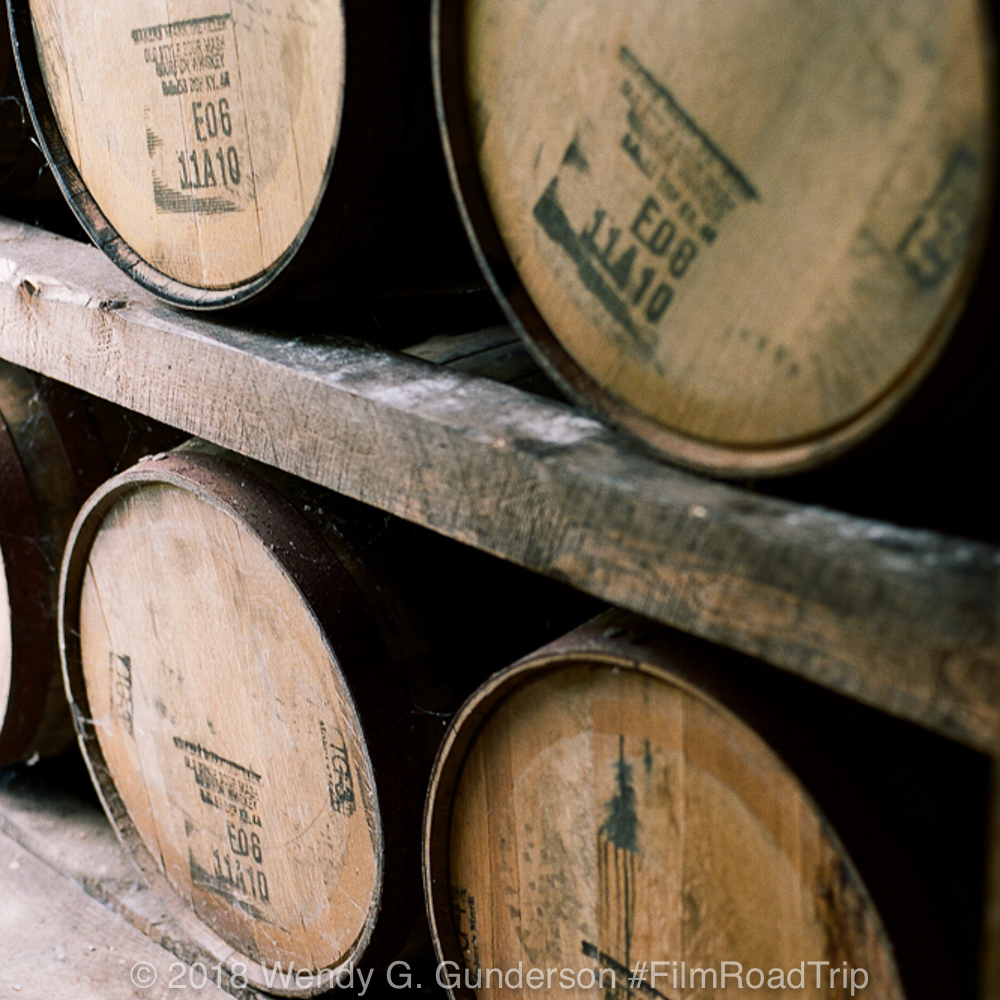
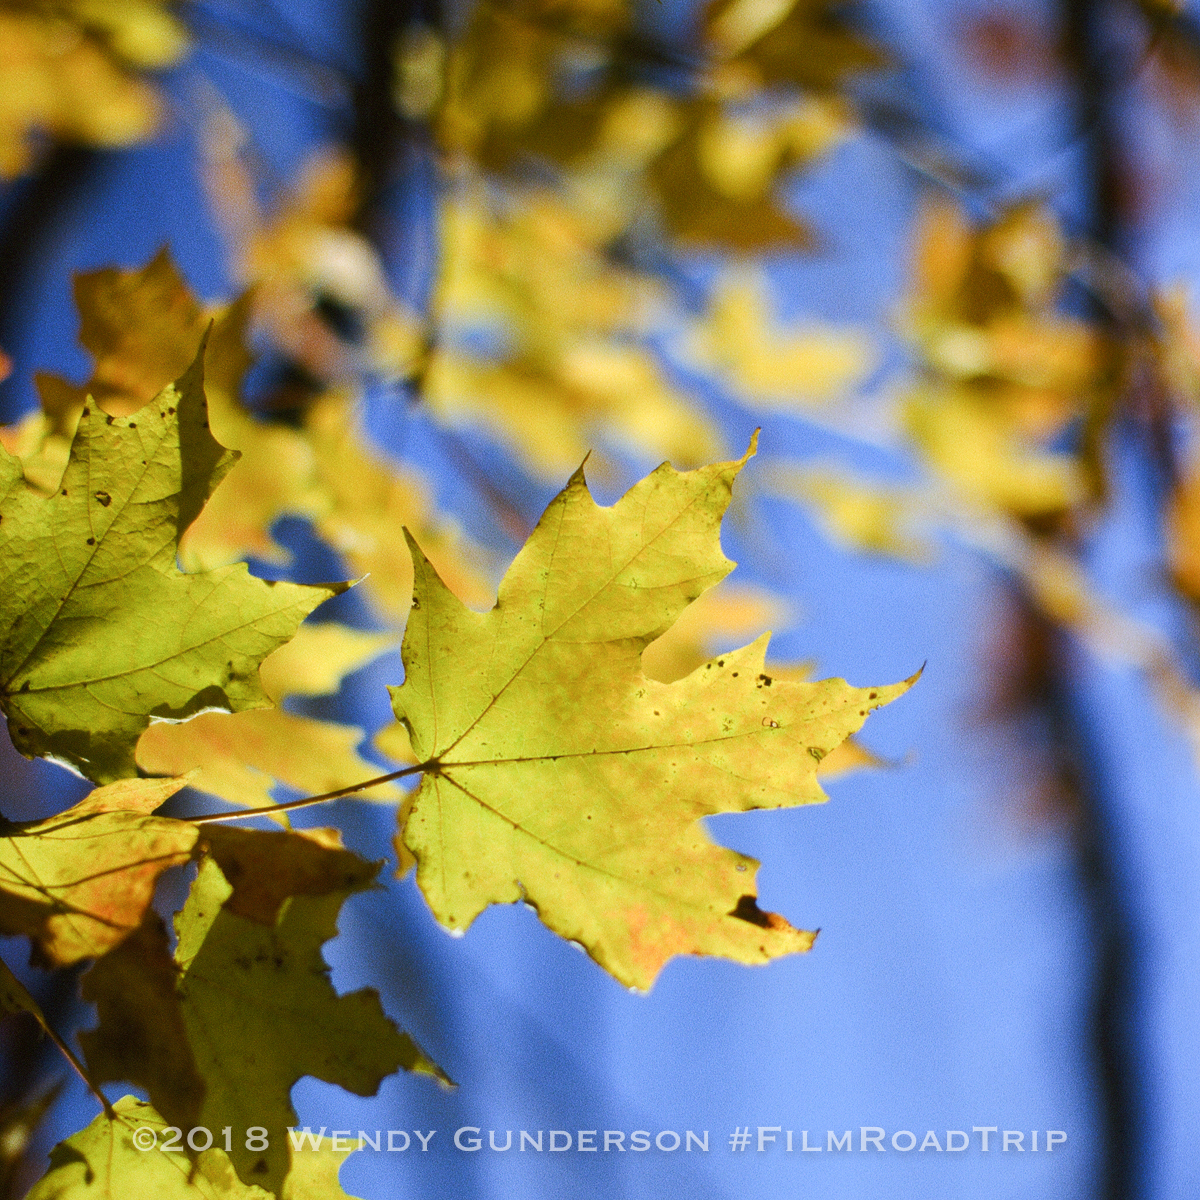
    On the way home from Detroit, we made a brief stop for lunch at Zingerman’s in Ann Arbor, Michigan.  As it was graduation day, it was a bit busier than expected, but I had the best corned beef and pastrami sandwich I can ever remember. All shot on the Canon 1v with Kodak Portra 800, processed and scanned by Richard Photo Lab.

  • Travel Photography: Why I Shoot Film

    Travel Photography: Why I Shoot Film

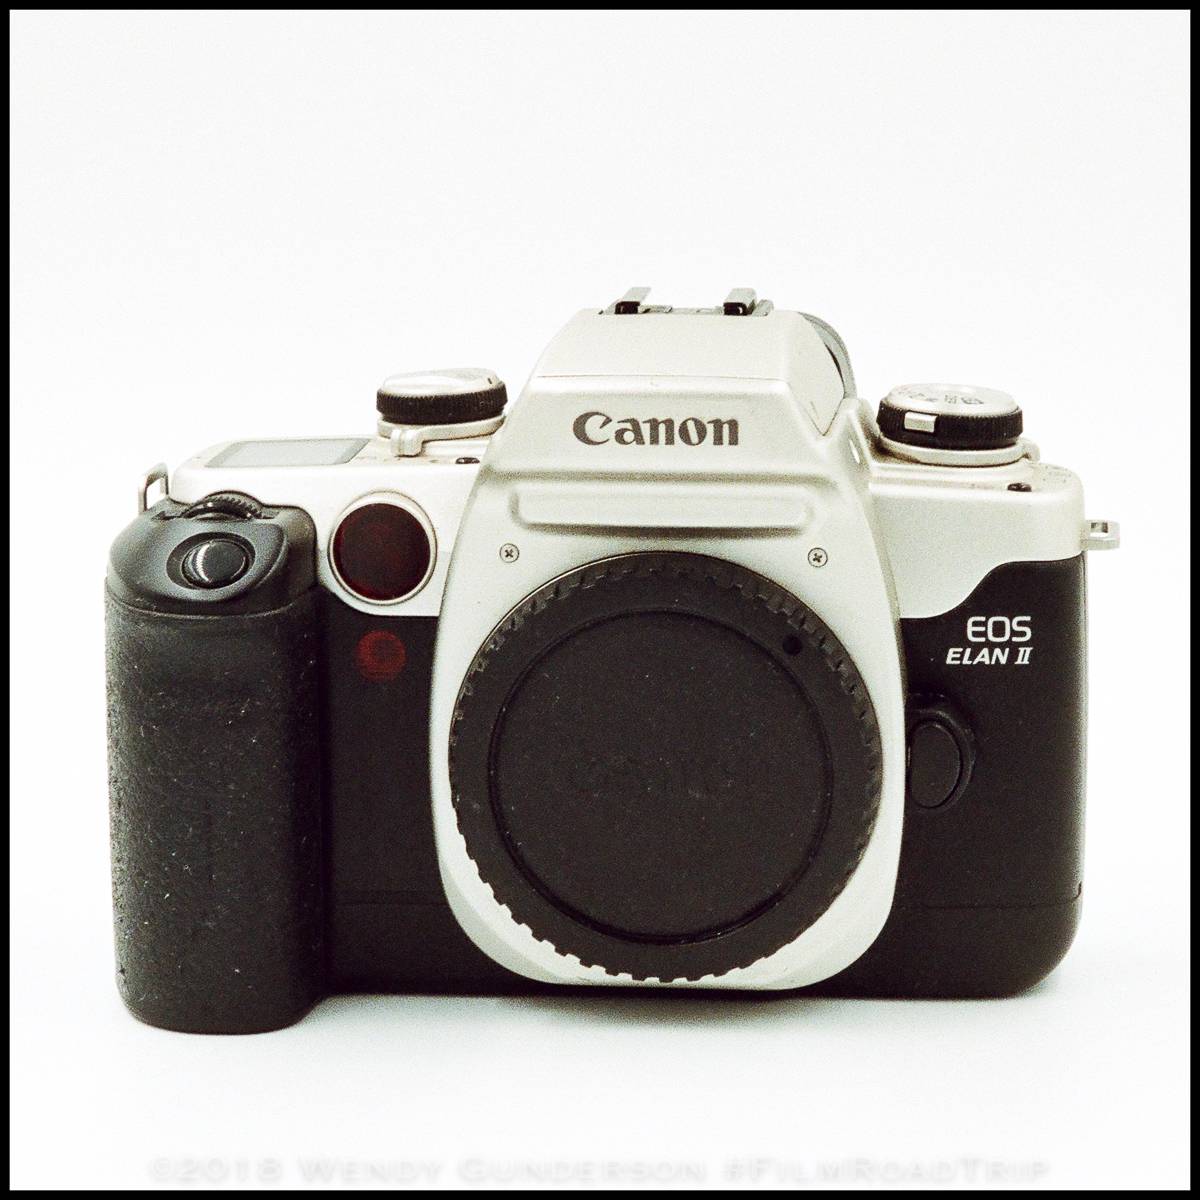
    I am oftentimes asked why I shoot film.  In 2007, I went from a film SLR, a Canon Elan 7n, to a digital SLR, the Canon 40D.  I held out for quite a while.  I was comfortable shooting film, but at that time, it looked as if film was in its last days, and it was either go digital or go home.  So I made the switch.

    Mamiya 645 ProTL, Fuji Pro 400H

    I loved the instant feedback of digital.  Digital told me right away when I pooched a shot, and gave me a chance to try again.  I was able to experiment with digital where I had not felt comfortable experimenting with film.  When you know the cost of every click of the shutter, you hesitate.  With digital, I could try all sorts of new things with no cost for the effort.

    So why go back?  I got to the point where my images looked like everyone else’s.  There was nothing unique about them. I also felt like I relied upon that instant feedback and the ability to click to my heart’s content.  I felt that I was losing touch with putting an image together.  They became more “snapshots,” and less “images” or “photographs.”  Film was the answer.

    Codrington, Barbuda, Antigua & Barbuda
    Canon 1v, Kodak Portra 400

    Film forced me to think about the images again.  You stop the “spray and pray” habit, and think about each frame.  With 15 shots on a 120 roll on my Mamiya 645 ProTL (12 on my Mamiya 6), and the cost associated with the film and development, each shot had meaning.  Each shot was worth taking the time to make it right, to think about the composition, the light, and how to make the image better.

    Film photography was also seeing a resurgence and although some film stocks were being discontinued, others were appearing. There was a renewed interest in film, and the market was responding.

    Kamalame Cay, Andros, Bahamas, shot on Mamiya 6, Mamiya 75mm f/3.5, Fuji 400H
    Mamiya 6, Fuji 400H

    There was a downside in the resurgence of film  Film cameras, which used to sell for pennies or be given away, were now selling for hundreds of dollars.  Luckily, I never disposed of my old film cameras.  I first reached for my Canon Elan 7N, and later upgraded to the Canon 1v, a camera I had admired for a long time, but could not afford before. Even with the price increases, I could now dip into medium format, which was far beyond my means back in the days of film.  I purchased the Mamiya 645 Pro TL with the fastest medium format lens available, the Mamiya 80mm f/1.9, and later purchased the Mamiya 6 rangefinder.

    Smokey's at the Cove, Anguilla, shot on Canon 1v, Ektar 100
    Canon 1v, Ektar 100

    What about the weight of the equipment?  Some people understand the differences between the digital images and film images, but still question the return to film photography for travel.  Granted, it’s not easy to take the Mamiya 645 ProTL along on trips.  Although it breaks down into parts easily for packing, the weight of the lenses creates the struggle.  However, if you travel with high-quality lenses for digital cameras, you are no stranger to lugging around a heavy camera bag.  If you choose to travel with both digital and film as I do, you can use the same lenses on the Canon 1v as you use on your Canon DSLR, in which case you are only adding the weight of the 1v body.  I bring one roller bag with everything which I leave at our house or hotel, and then take out the camera and lenses I intend to use for each outing, so I’m not carrying the entire kit around throughout the entire trip.

    Dune Preserve, Anguilla, shot on Canon 1v, Canon 135mm f/2, Fuji 400H
    Canon 1v, Fuji 400H

    What about traveling with the film itself? Before 2007, when I traveled with film, I used a lead-lined bag for my film.  I have been told that since 911, if they see a bag on x-ray where they cannot visualize the contents, they jack up the power of their scanner, which could cause damage. Whether that’s true or not, I don’t know, but since then, I travel with film in my carry-on without a lead bag.  Undeveloped film below ISO 800 is generally considered safe when passing through airport x-ray machines.  However, you have to avoid too many scans.  So think about how many countries you will be entering along the way and double that for the return trip.  I have never had trouble with my film (100-400 speed) passing through 4 x-ray machines.

    If you have a higher speed film, instant film, or will exceed the number of scans (generally regarded as safe up to 5 scans), you may request hand-checking of your film.  My daughter has traveled with Instax film and has had no difficulty having the film hand-inspected. Place the film in a clear plastic bag, having removed canisters and outer packaging. If you will have too many stops along the way on your trip, you should consider getting the film processed at one of your destinations. After a trip, I mark unused rolls so they don’t see air travel again.

    Do not pack film in your checked bag.  The x-ray scanners on checked bags are higher intensity and can damage film.

    Kamalame Cay, Andros, Bahamas, shot on Mamiya 6, Mamiya 75mm f/3.5, Kodak Portra 400
    Mamiya 6, Kodak Portra 400

    With all the hassles, why travel with film?  For me, I love the feel of the film cameras and lenses. They are solidly built and beautifully machined.  I love that I don’t know exactly what I captured until the film comes back from the lab.  It makes me focus more on what I’m doing.  When I get the film back, I can see the differences.  Film handles the light better.  There are no ghastly blown out areas of the image. The images are more beautiful to me.  Digital may show more detail, but technical perfection is not necessarily beautiful.  Do I want to see every grain of sand on magnification, or every pore on someone’s face?  Nope.  I want to get the sense of the place.  I want to capture how I felt when I was there, and that’s what I get from film.

    We recently updated our film site, Film Road Trip, and will feature more film photography articles.  The site is not limited to Caribbean travel, and with four domestic trips already planned for 2018, you’ll see us posting there more frequently. Take a look!

  • Favorite Film Stocks

    Favorite Film Stocks

    A few years back, I returned to film photography, and now shoot both digital and film while traveling.  With a lot of hits and misses, I’ve come to find that several film stocks have emerged as my favorites, reliable from trip to trip, and perfect for the way I shoot. Although I will continue to experiment, these film stocks have proven their worth and will be in my bag on every trip, or as long as the manufacturers continue to produce them!

    Kodak Portra 400

    Portra 400 is clearly my favorite of all film stocks. I used to shoot Portra NC and VC back in my pre-digital days, but the new Portra is so much better than it was before. It handles skin tones well, and accurately captures colors, with a wide latitude for exposure variances.  I tend to shoot it at 320, and love the bright, colorful look.  Some have commented that the colors are a bit warm, but I find it suits what I shoot well.

    Mamiya Pro TL, Mamiya 80mm f/1.9, Portra 400
    Canon 1v, Portra 400
    Mamiya 6, Mamiya 75mm f/3.5, Fuji 400H

    Fuji 400H

    When I am shooting scenes with loads of greens and blues, I love Fuji 400H.  The greens and blues are a bit cooler than on Portra 400. For images of mountains and trees, or where those colors are prominent, it is perfection. It’s also flattering to skin tones, making it a favorite of wedding and portrait photographers.

    Mamiya 6, Mamiya 75mm f/3.5, Fuji 400H
    Canon 1v, Canon 24-70mm f/2.8, Fuji 400H
    Canon 1v, Canon 135mm f/2, Fuji 400H

    Ektar 100

    I love Ektar’s ability to capture the vivid colors of the Caribbean.  It is super saturated with a fine grain, and I use it at box speed. The only down side is that skin tones on caucasians look a bit ruddy, so I avoid using it for portraits.  However, when it comes to landscapes, it’s stunning.

    Mamiya 645 Pro TL, Kodak Ektar 100
    Canon 1v, Ektar 100
    Canon 1v, Canon 135mm f/2, Ektar 100

    Other Stocks

    I just started experimenting with Fuji Velvia 100 on our trip to Nevis in June of 2017. Velvia 100 is slide film, meaning it is a “positive” rather than a “negative.”  The colors are vivid and the grain is super fine.  The only down side is that I have to pretty much nail my exposures, and the scene has to be consistently lit, not too contrasty.  You can see a side-by-side comparison of shots on Ektar 100 and Velvia 100 here.  It does not have the room for error I have with Ektar 100, but the color from Velvia is amazing.  I still need more experimentation to see if it will work for me. The trouble is that with all the beautiful sunshine in the Caribbean, you tend to get a lot of contrast in scenes.

    Mamiya 645 Pro TL, Velvia 100
    Mamiya 645 Pro TL, Velvia 100

    On our next trip to Kentucky, I will be shooting some Kodak Portra 800 for the first time.  Stay tuned!

    All processing and scanning by Richard Photo Lab

    NOTE: Originally published on February 4, 2018 on our sister site, My Irie Time

    Get Spare Cards and Readers Steady up your Shots Get a Tripod Protect your Gear Get Bags and Cases Dont forget that Lens Select a Spare Camera Check out all of the Photo Gear youll need.

    SaveSave

    SaveSave