It was pretty exciting seeing my story on Emulsive.org! Check out my story, and explore this wonderful site filled with information on everything film and inspiration for all your photography: Emulsive Interview #202: I am Wendy Gunderson and This is Why I Shoot Film
-
-
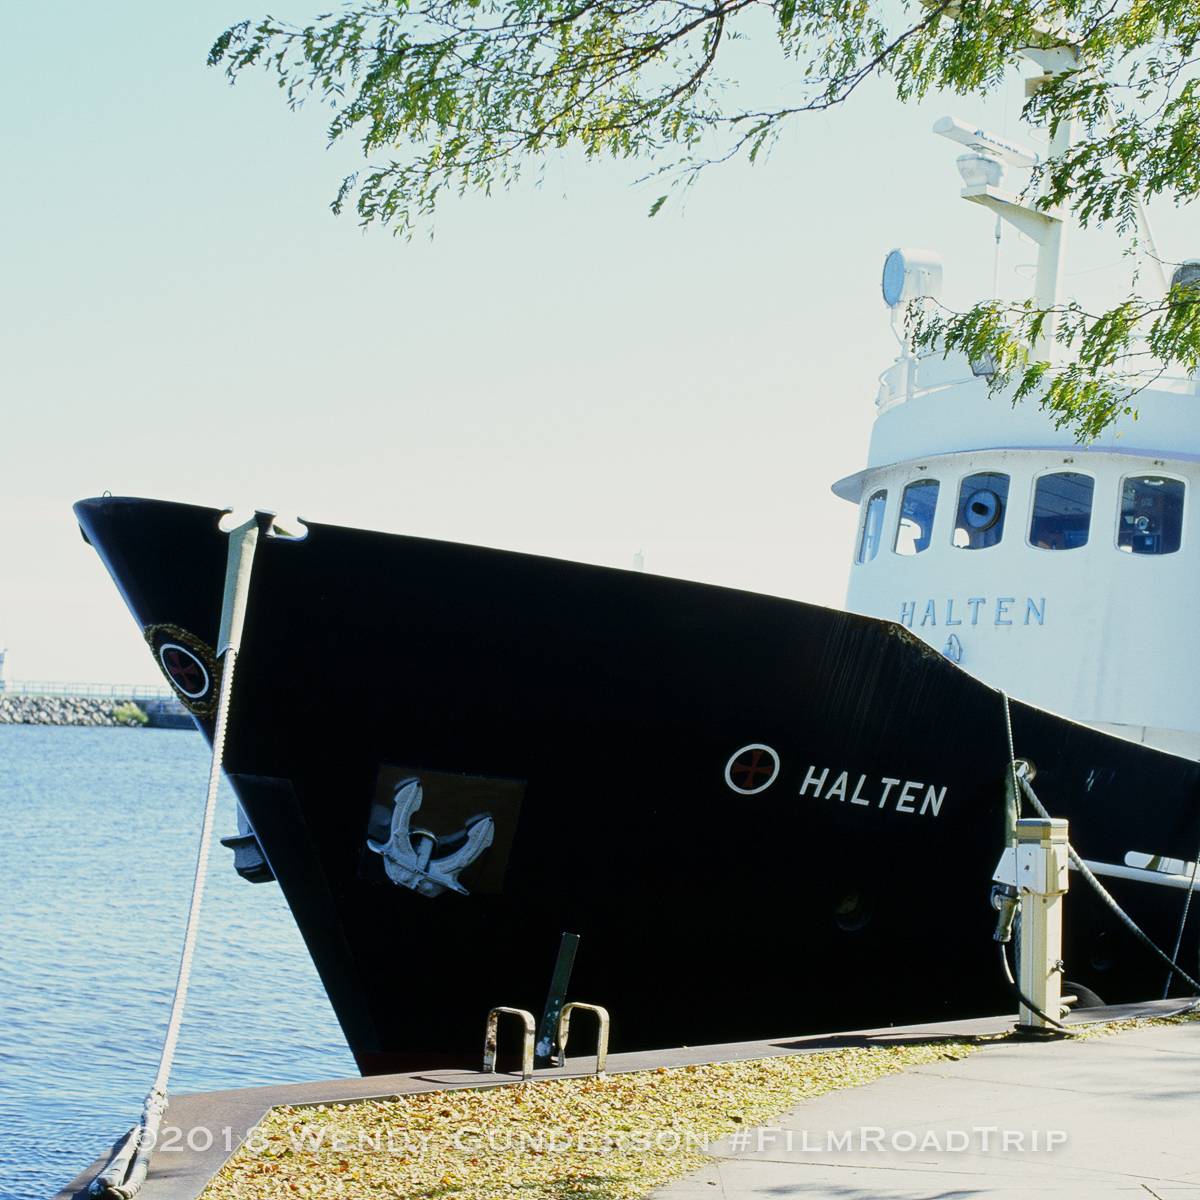
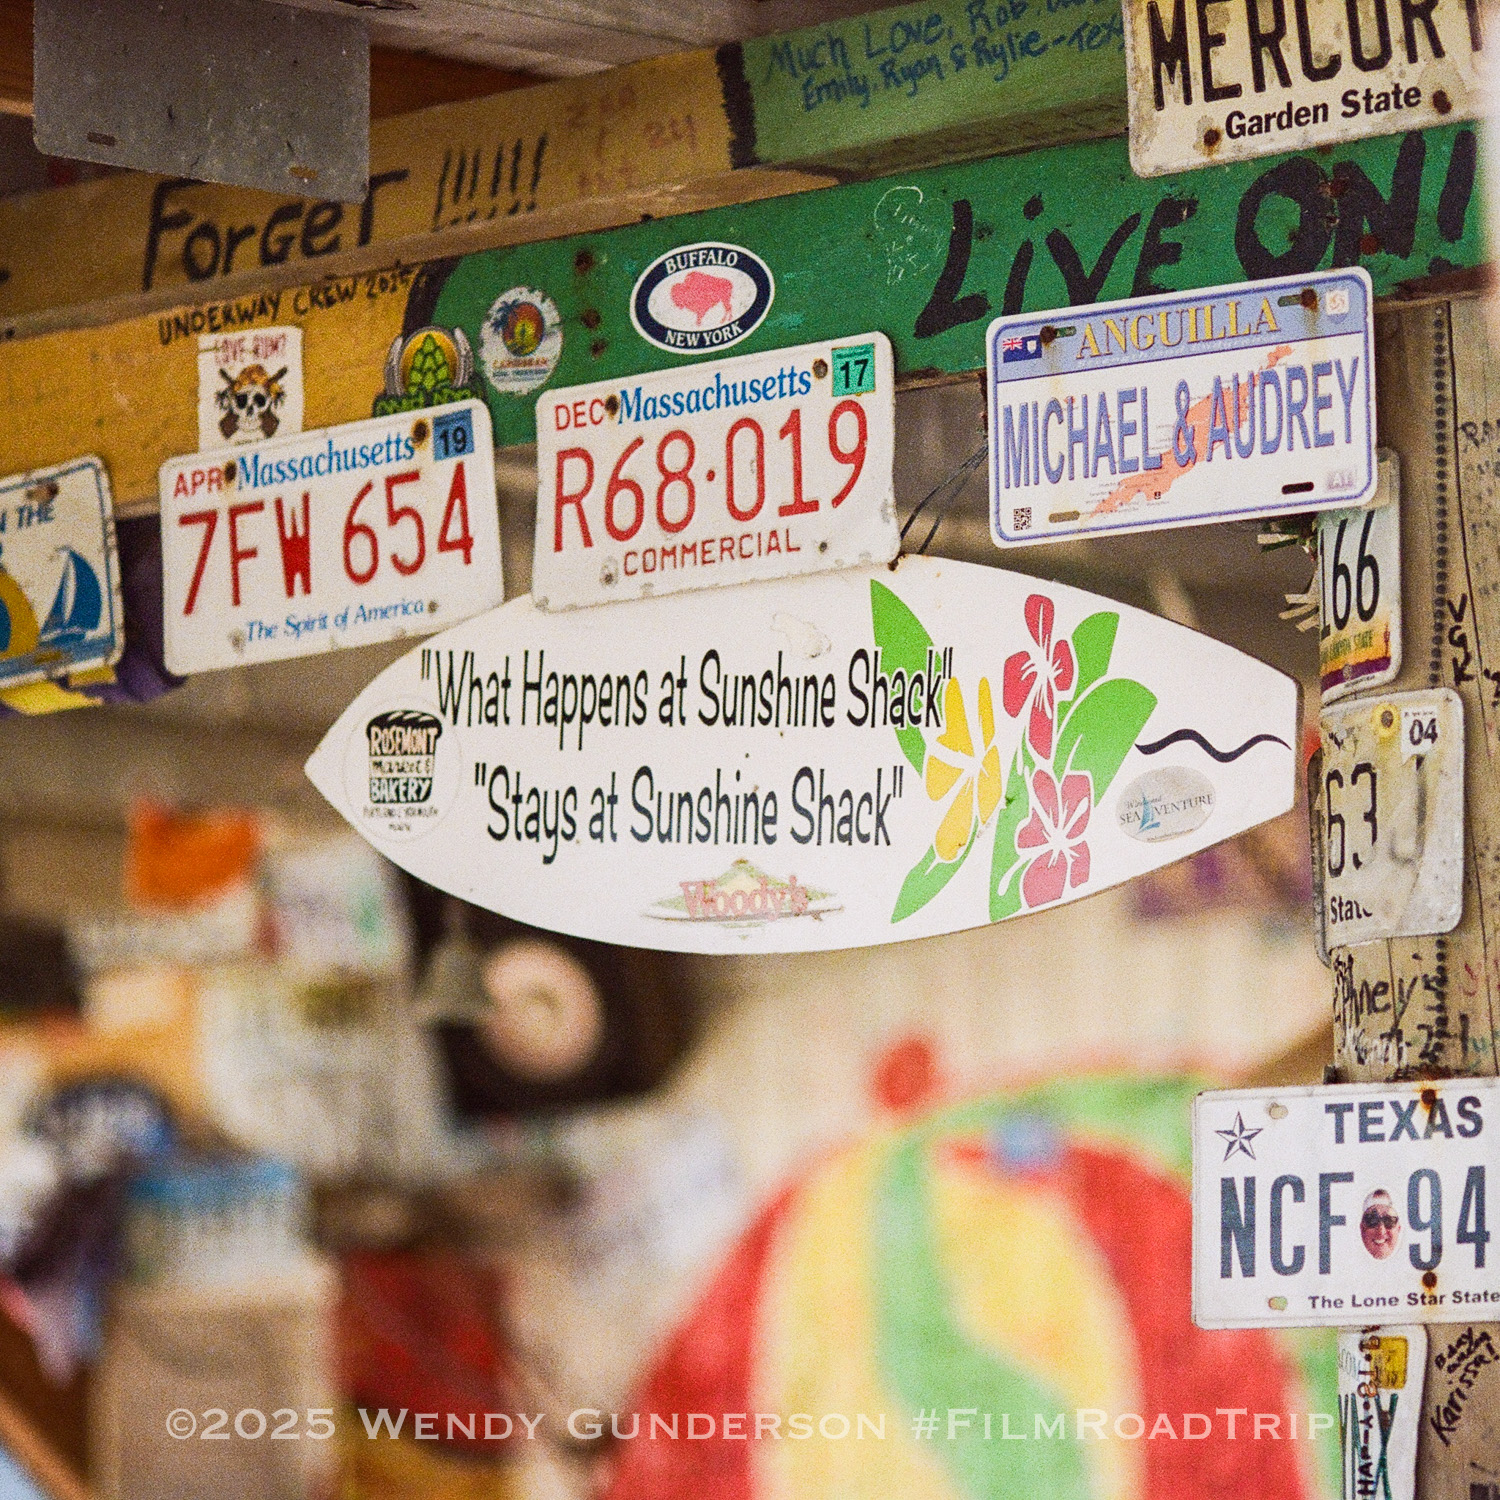
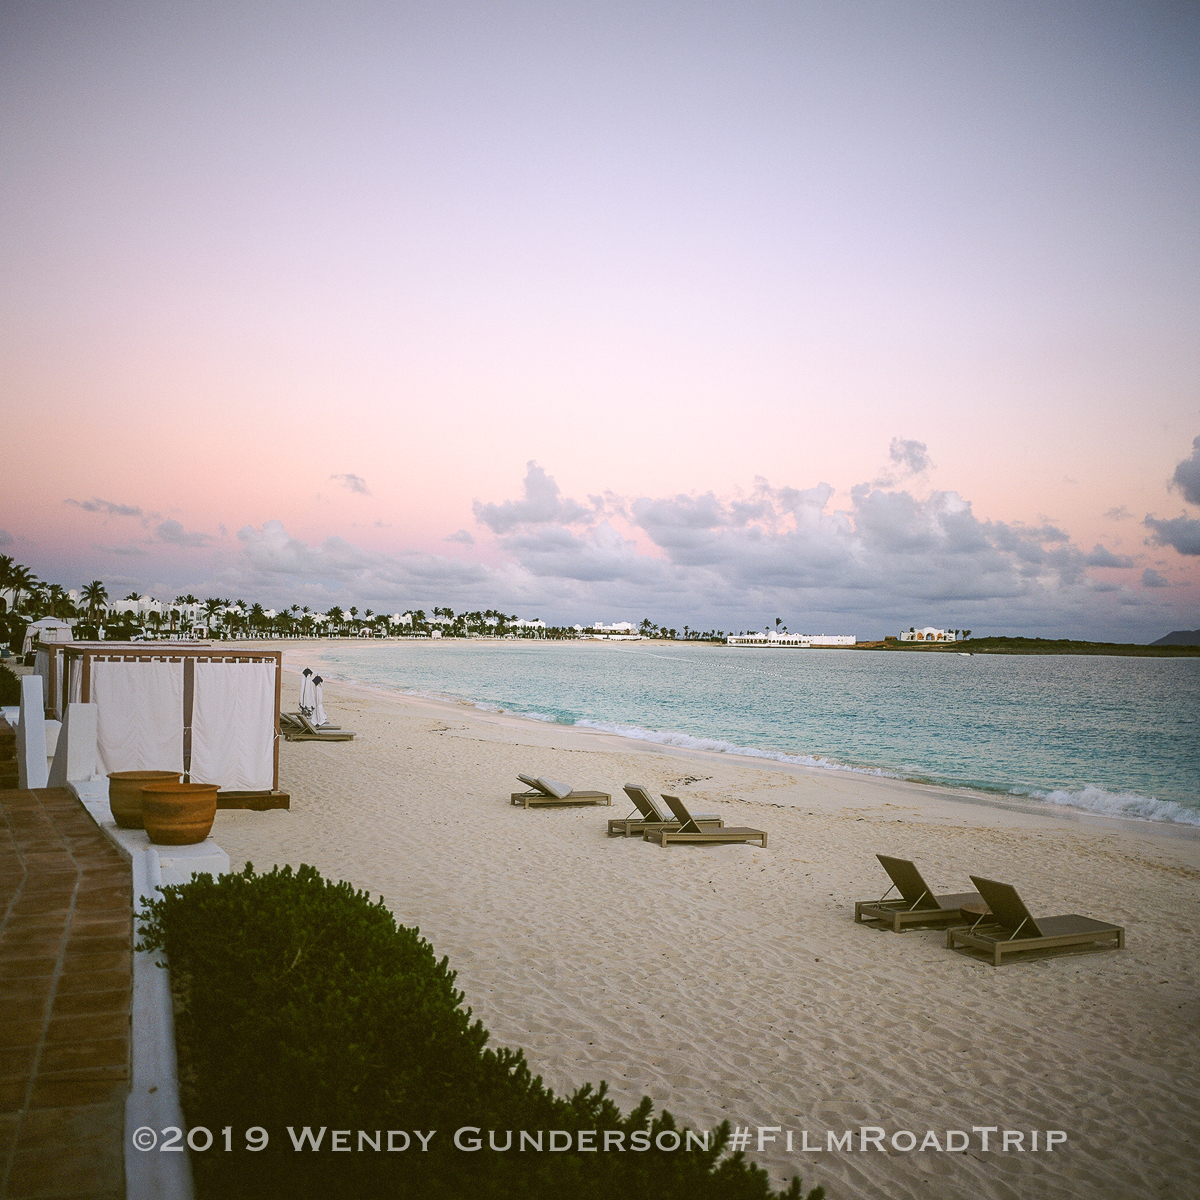
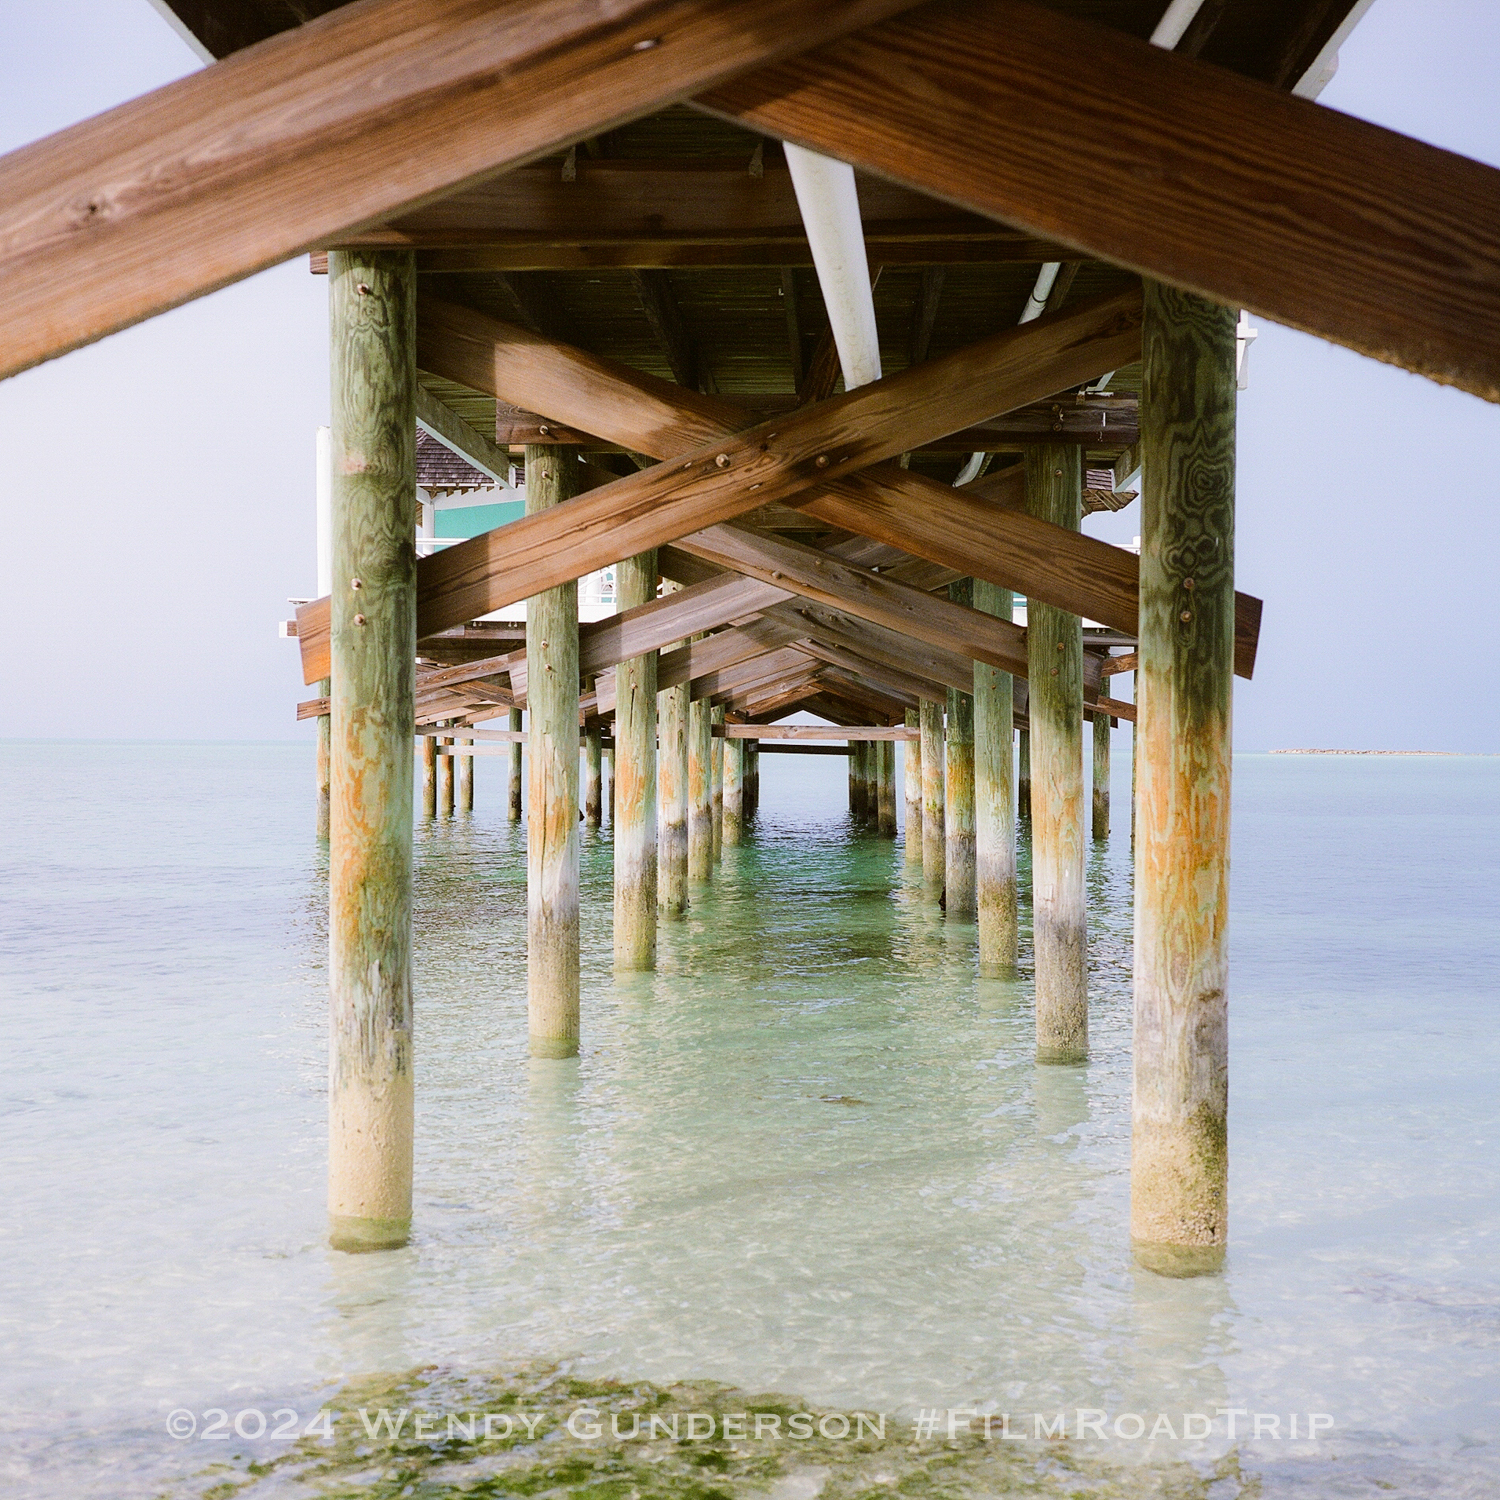
I love medium format, but medium format cameras and travel are not generally a good combination. The cameras and lenses are large and heavy. About a year ago, I determined that I was giving up on taking my Mamiya 645 Pro TL on long trips. The system is modular and breaks down nicely, but each lens adds about a pound of weight. I took it with me to San Francisco, limiting myself only to the 80mm lens, but for trips to the Caribbean where small planes and weight limitations are common, it has to be left behind. The good thing is that I have a compact alternative for shooting medium format…
-
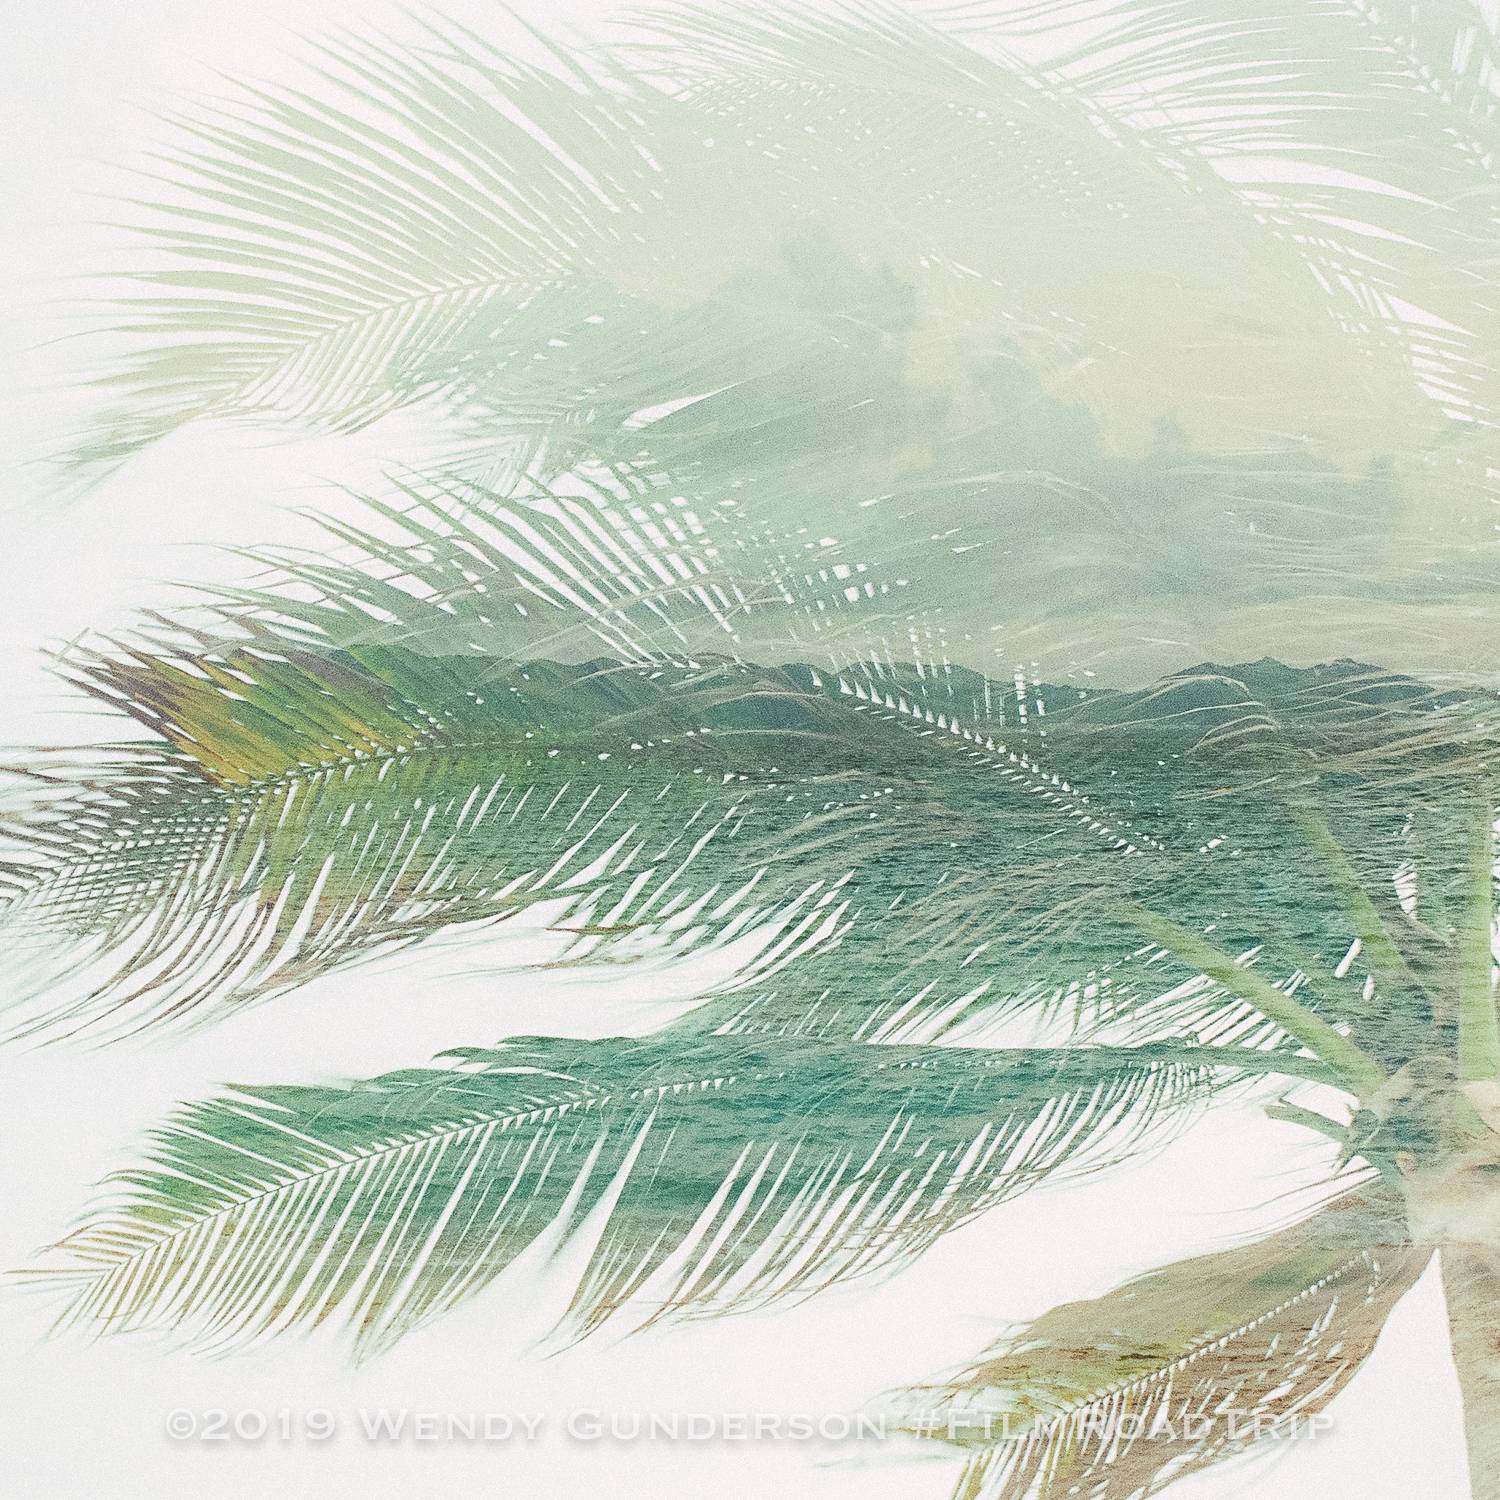
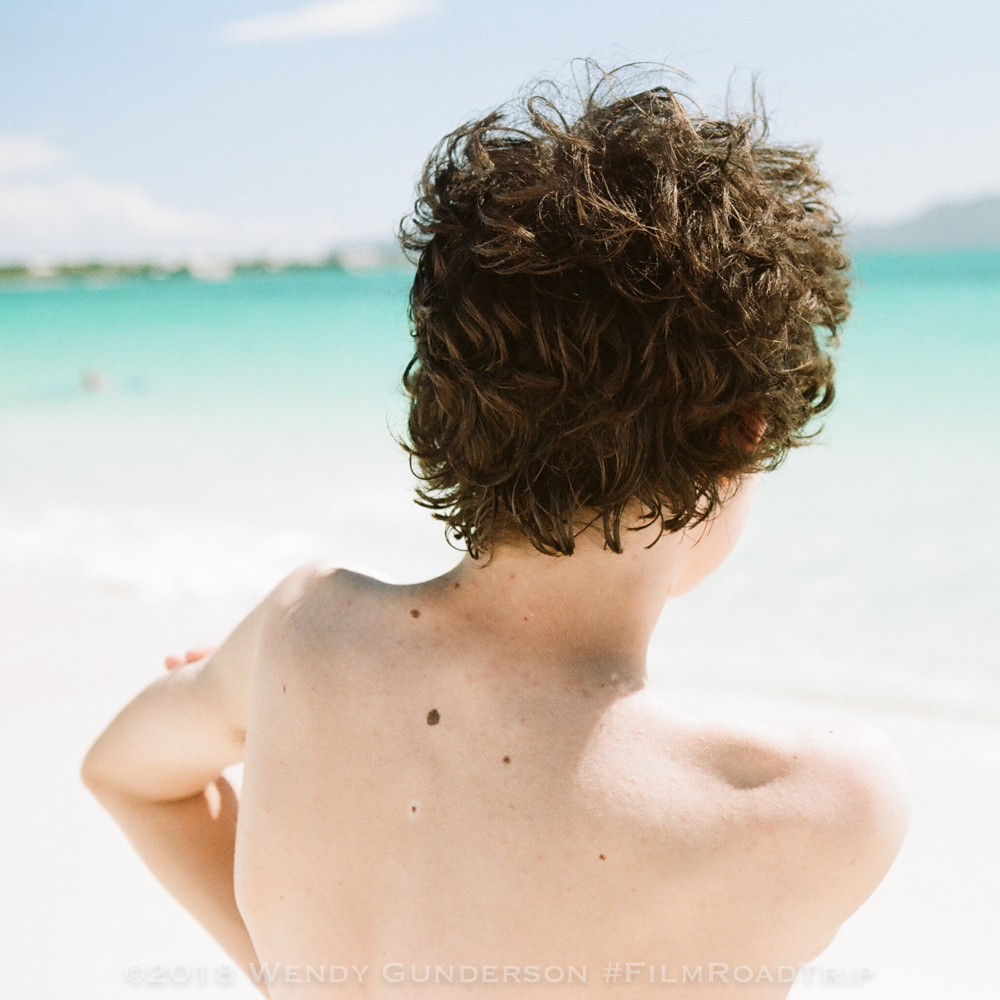
This year, I participated in the Second Annual Negative Positives Double Exposure Challenge. The contest pairs up two listeners of the Negative Positives Film Photography Podcast, and each shoots the same roll of 35mm film. This year, I was paired with Marc Schoolderman, a photographer from Nijmegen, the oldest city in the Netherlands, and we collaborated to create double exposures featuring scenes from our two cities. Partners then submit their two favorite images, which are judged by the two hosts of the podcast, Mike Gutterman and Andre Dominguez. Marc and I decided to shoot a roll of Fuji Pro 400H. He shot a Pentax MX, and I shot my Canon…
-
I love shooting film, in part, because of the thrill of seeing what you captured. Unlike digital, where you have immediate feedback, you never quite know what you’ve got until you either develop your film or receive it back from your lab. With double exposures, the excitement is that much better. It’s not just a matter of what you have captured, but how you lined up the two exposures to reveal an entirely new composition. Here’s a super quick step-by-step guide on how I shoot double exposures on film. When you think about a double exposure on film, you have to know the basics of how exposure works. When you…
-
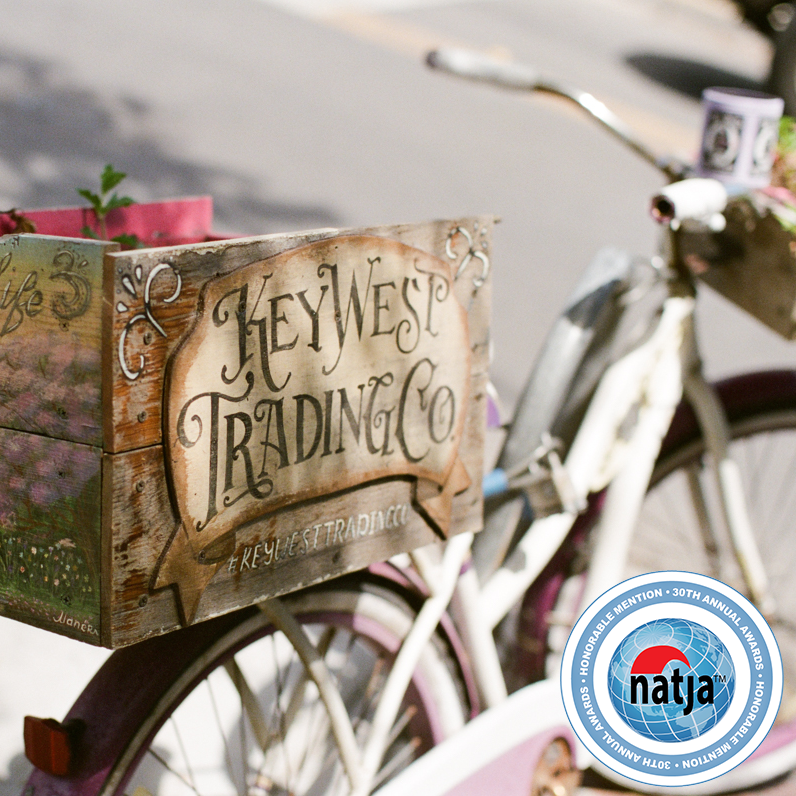
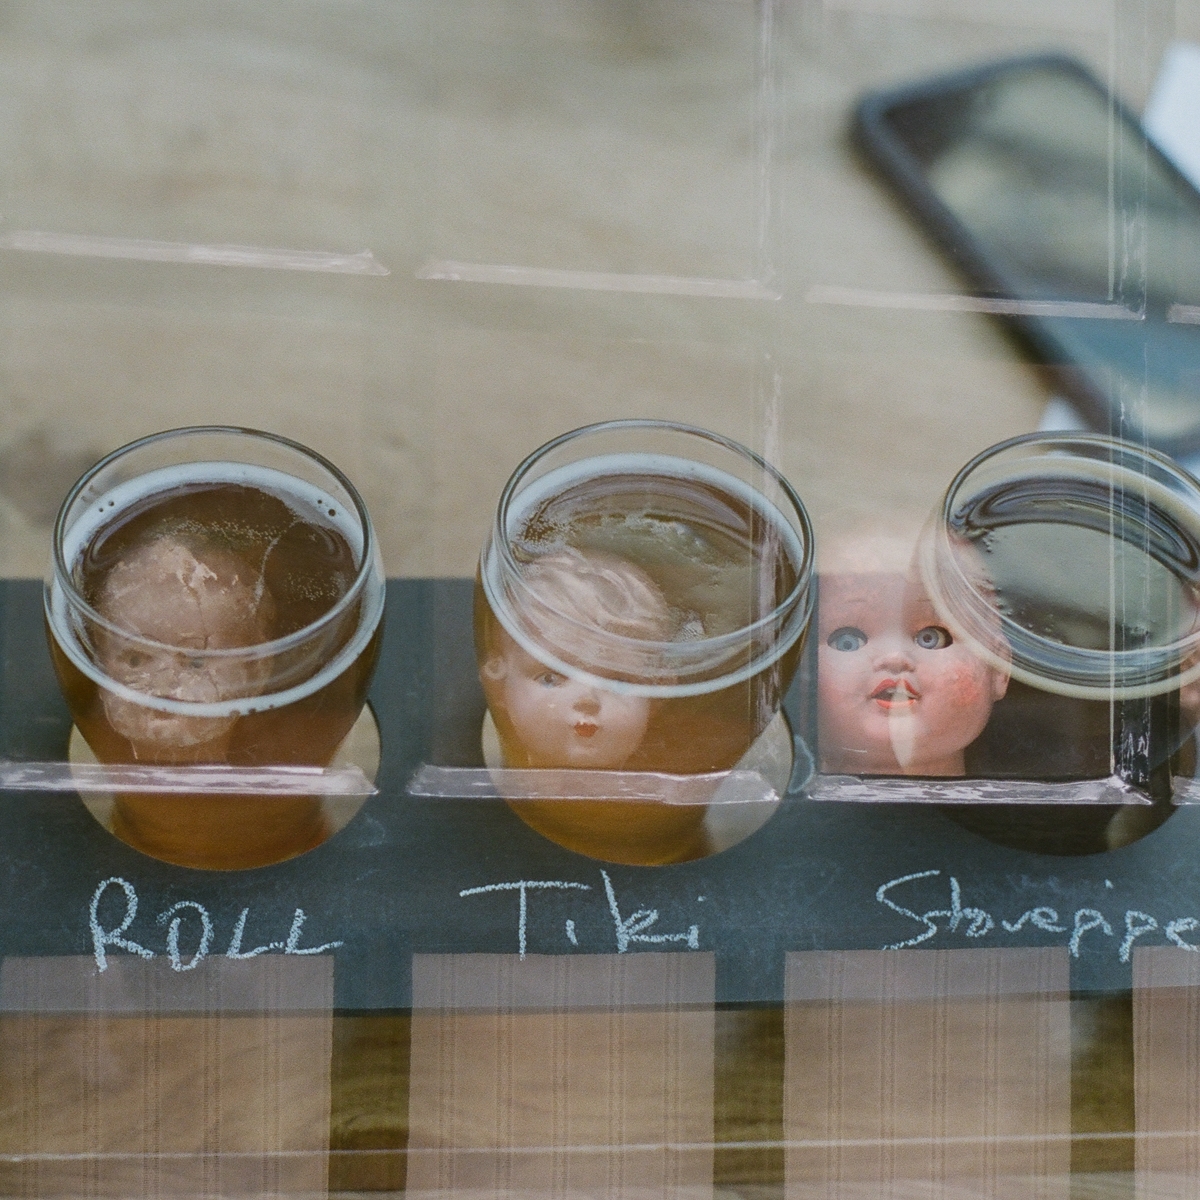
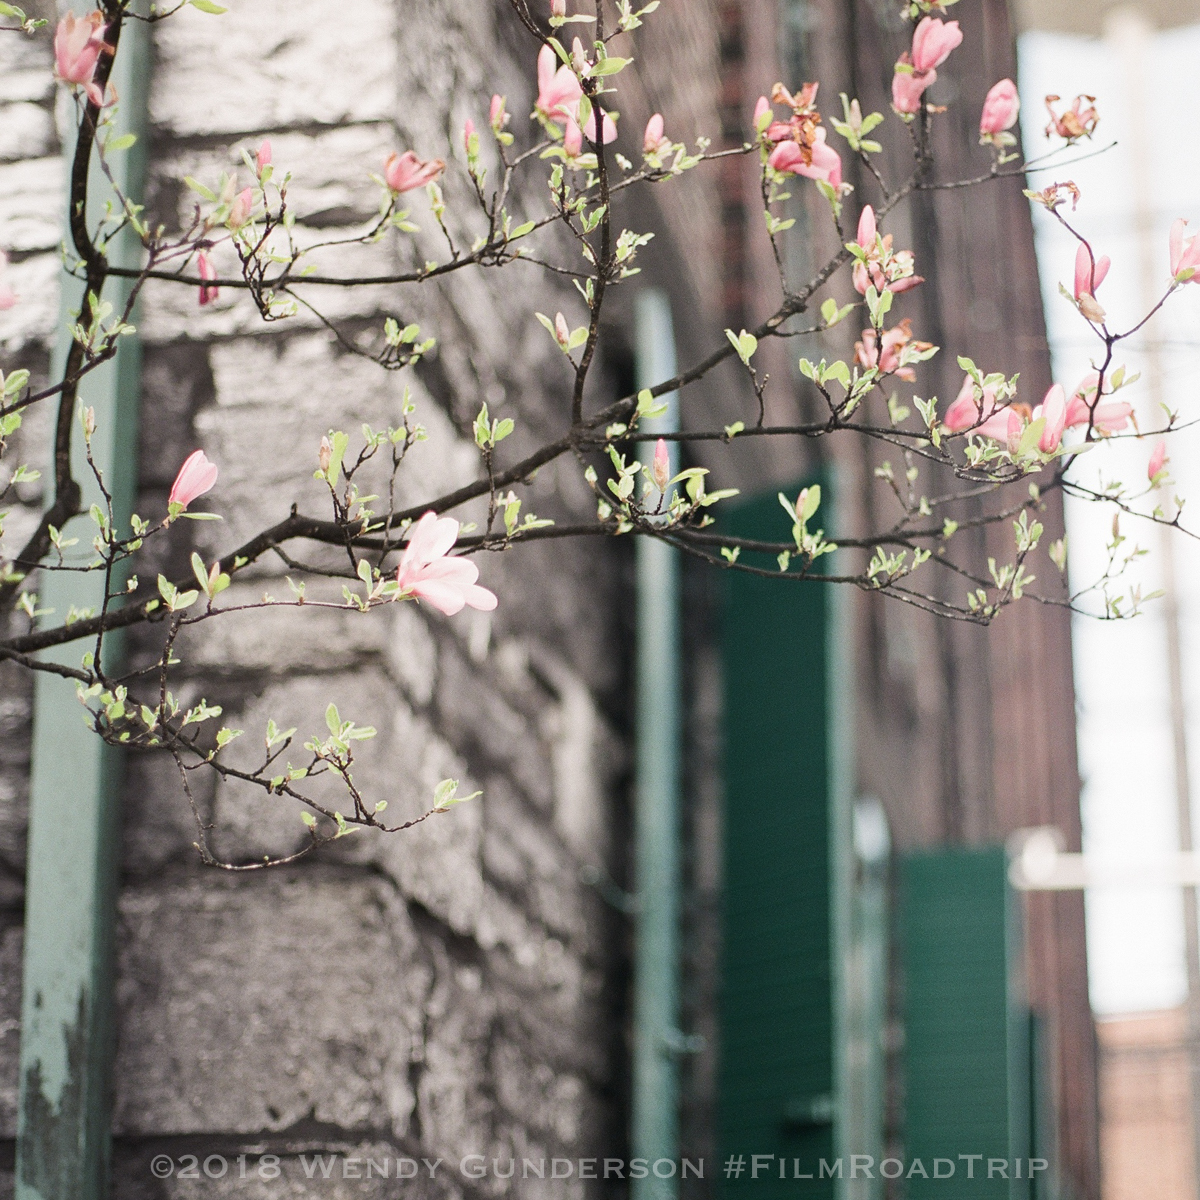
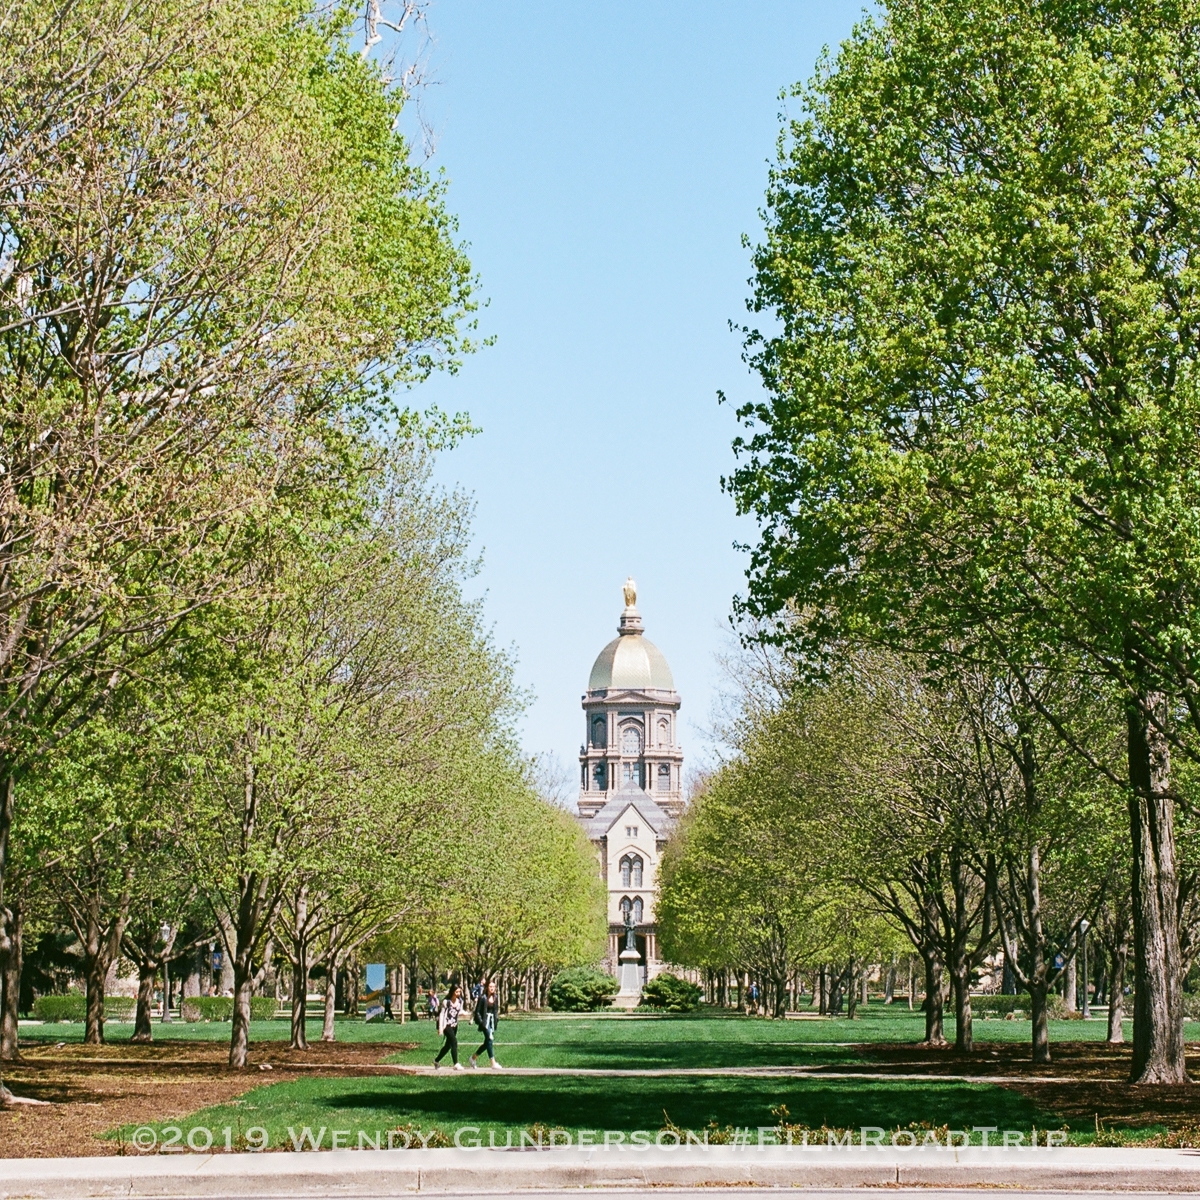
I have been a member of the North American Travel Journalists Association since 2016, and am honored to be recognized again this year, this time for an image featured on Film Road Trip. This image was taken at Buffalo Trace Distillery in April of 2018, shot on the Mamiya 645 Pro TL with the Mamiya 80mm f/1.9 lens on Fuji Pro 400H film. Many thanks to the judges and please take some time to admire the work of all those receiving awards and recognition on the NATJA website. For more images from our trip to the distilleries along the Kentucky Bourbon Trail, click here, and for images from the spring…
-
Photographers, particularly film photographers whose work is rarely “instant,” may find using Instagram to be cumbersome. It is generally thought that you have to scan or process your image, send it to your phone, and then use your phone to post it to your Instagram account. I saw this recently in one of the Facebook groups I follow, so I offered to do a brief post on how I post to Instagram from Lightroom. Posting to Instagram from Lightroom is easy with a plugin called “LRInstagram,” which can be found here: LRInstagram I am not in any way affiliated with the producers of this plugin and receive nothing by way…
-
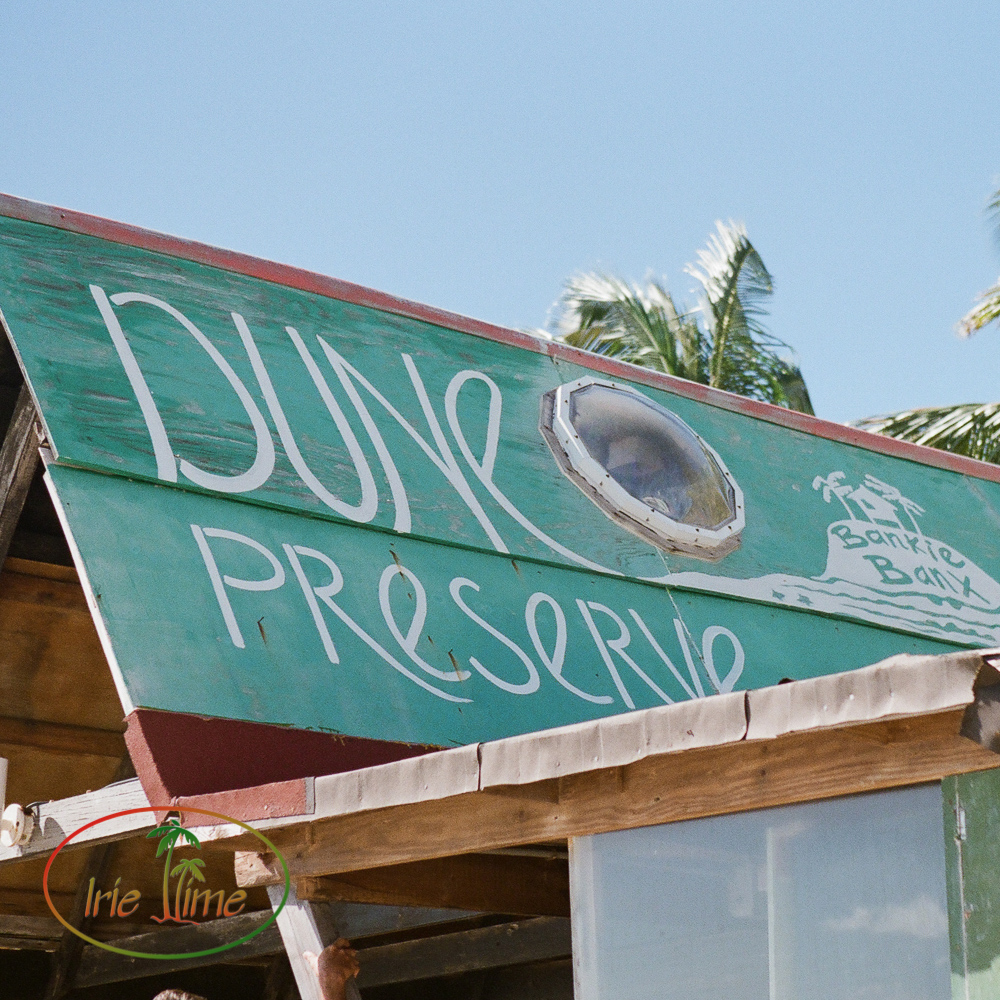
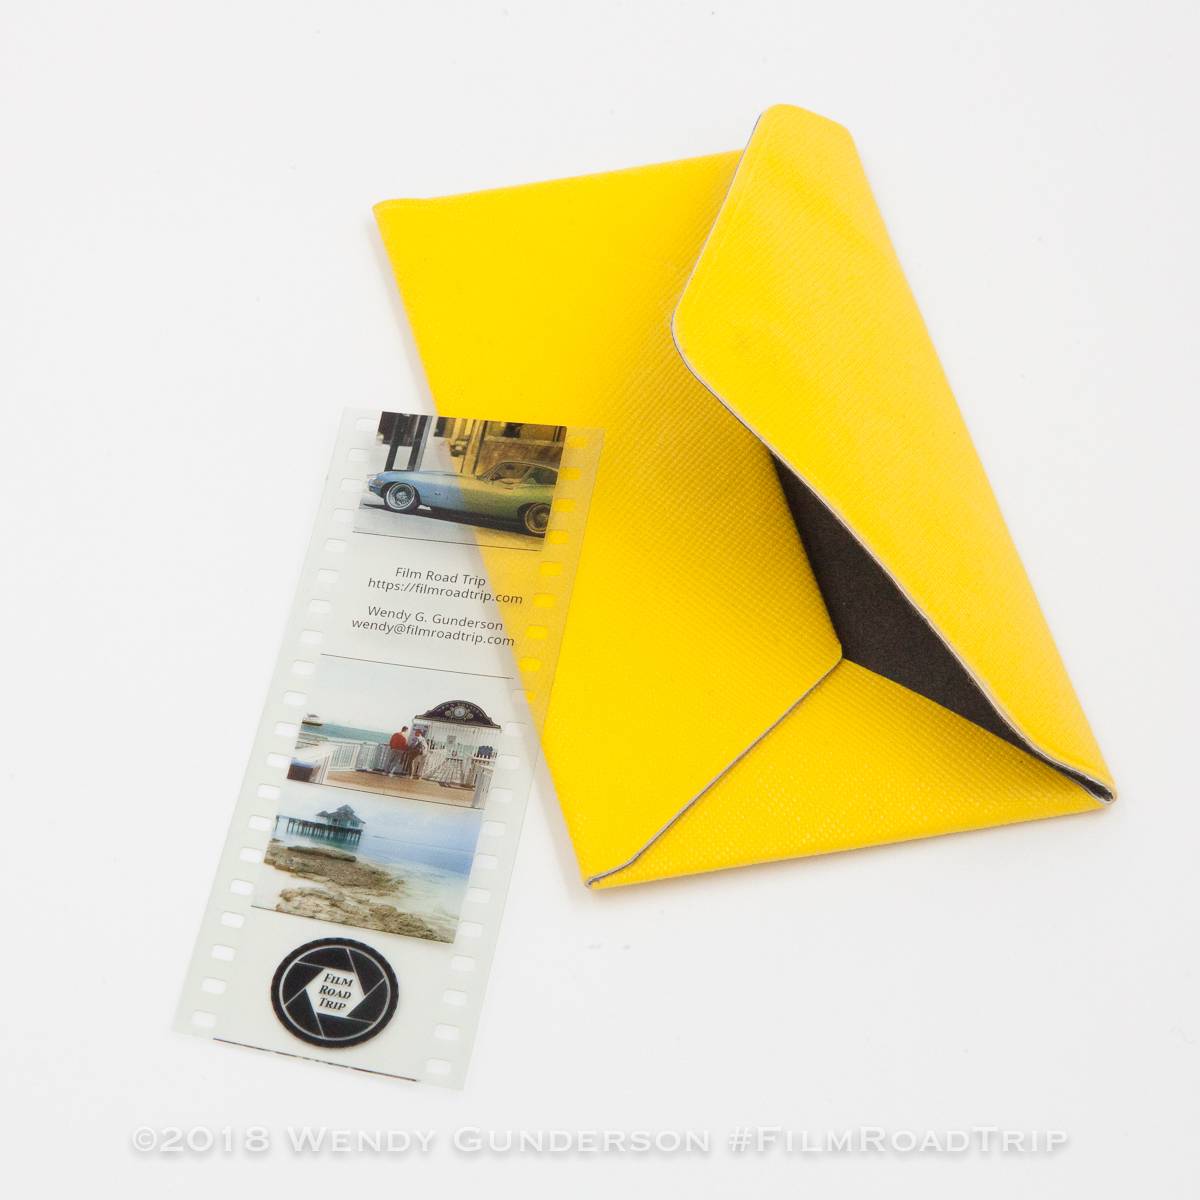
A couple of years ago, there was a story about Kodak’s CEO, Jeff Clarke’s unique business card, a strip of film with his contact information. When my supply of promotional key chains for my Caribbean travel website, My Irie Time, ran out, it was time to find a replacement, and I chose one to reflect my dedication to film. So I turned to Kodak’s Film Strip Creator and put together my own “business card” for My Irie Time and Film Road Trip. Kodak Film Strip Creator puts your information on a genuine piece of Kodak print film. Because they are created on movie film, they are smaller than your 35mm…
-
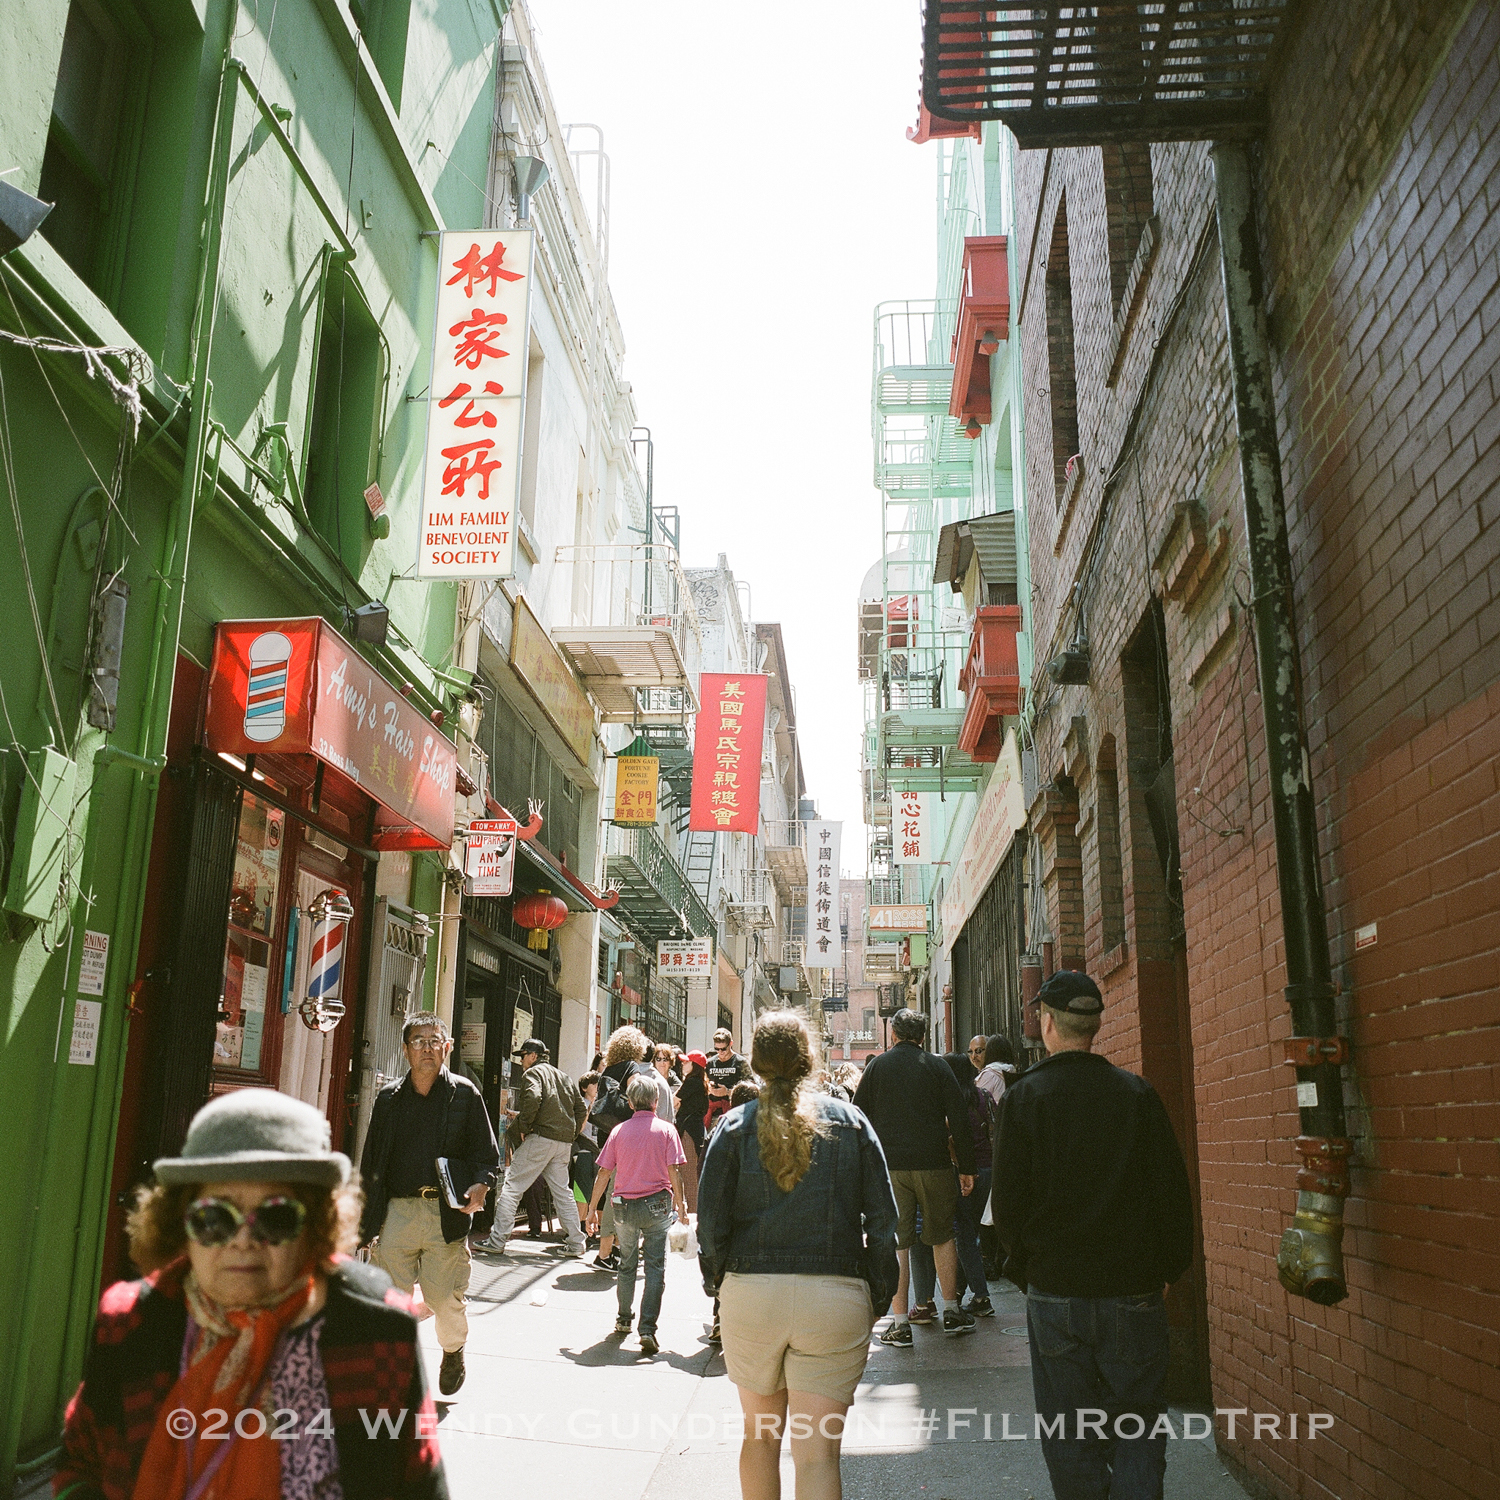
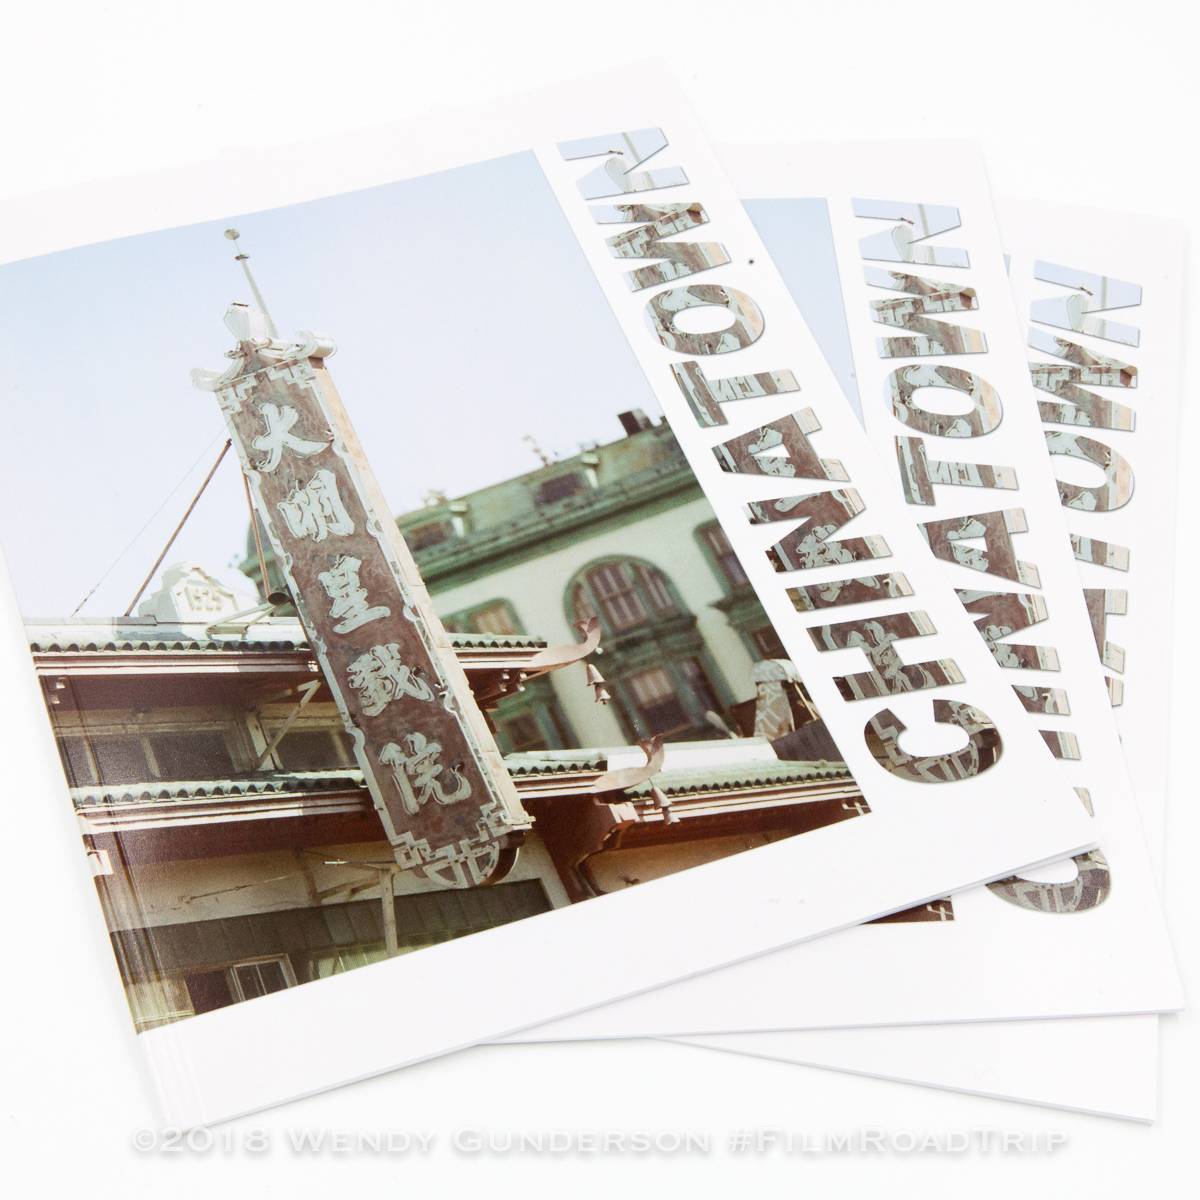
Listening to my favorite film photography podcasts, I occasionally hear of people creating zines, essentially simple magazine-style booklets of their photographs to share with others. Coming off a Labor Day trip to San Francisco, I had a good set of photographs of Chinatown, which I thought would make a nice collection, so I made my first zine! I used Blurb Books to create it. I am quite familiar with Blurb and use the Lightroom to Blurb book creator tool to create photo books of family trips. Sadly, that book creation tool in Lightroom, does not work to create magazines, so you have to use the Blurb BookWright application to lay…
-
Photographers tend to collect camera bags. It’s not all desire. We buy more gear and reorganize our kits, and continue to look for the perfect bag to meet our needs. Some bags find the back of the closet quickly, and some are designed so beautifully, they continue to meet our needs until things are falling off. One bag, which I have owned for ten years, continues to wear well and regularly proves that it was well worth the money spent, the Billingham Hadley. I purchased this bag ten years ago. It was probably my third or fourth camera bag since really getting into photography, and the others not only moved…
-
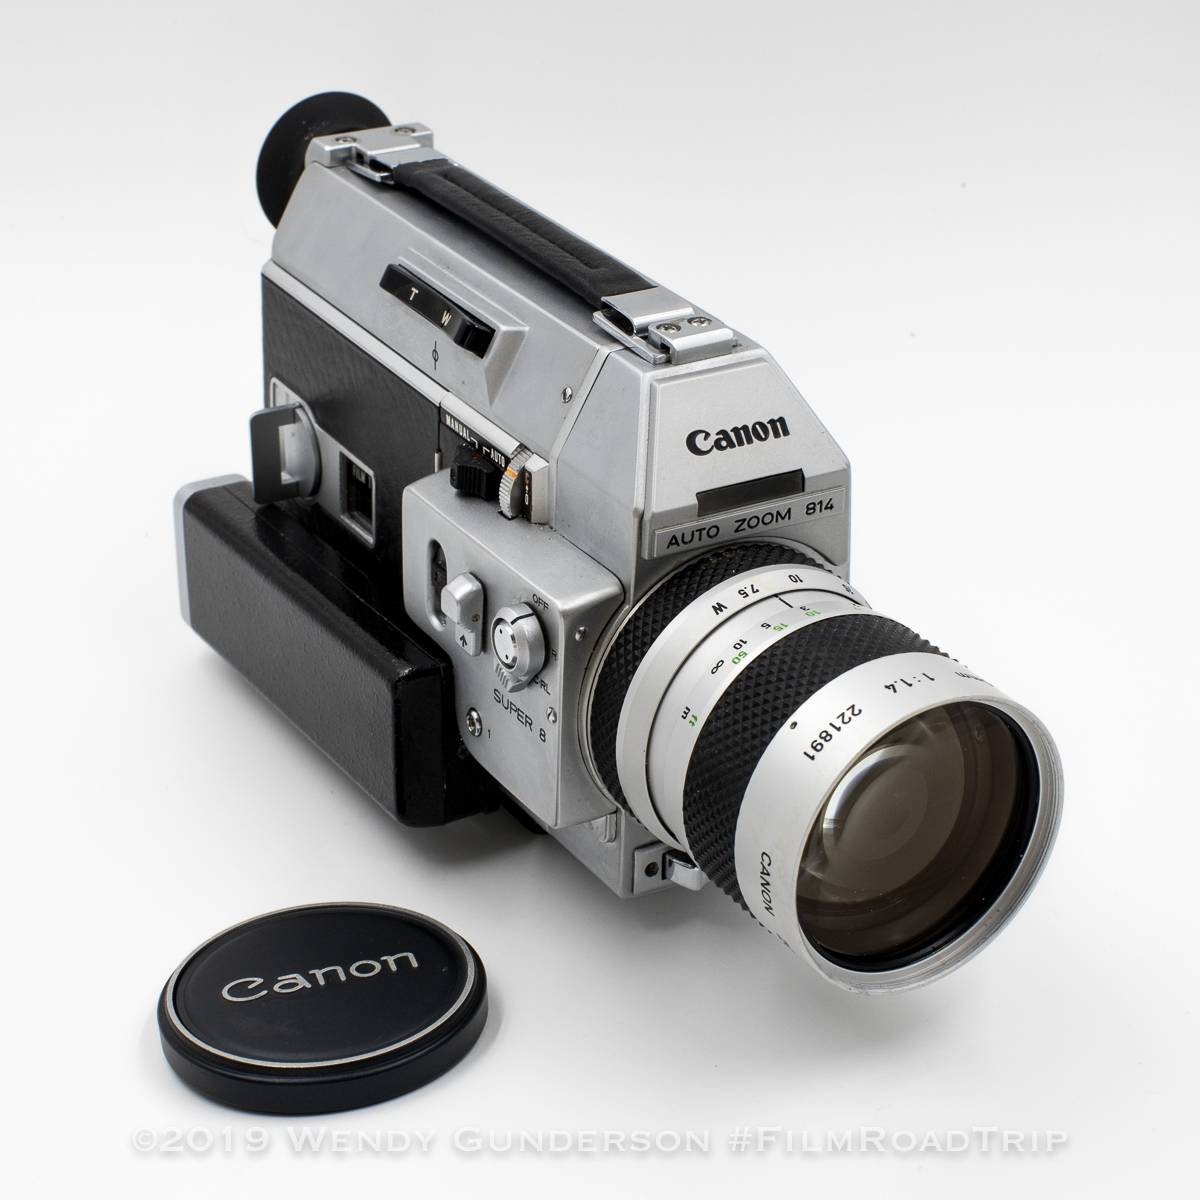
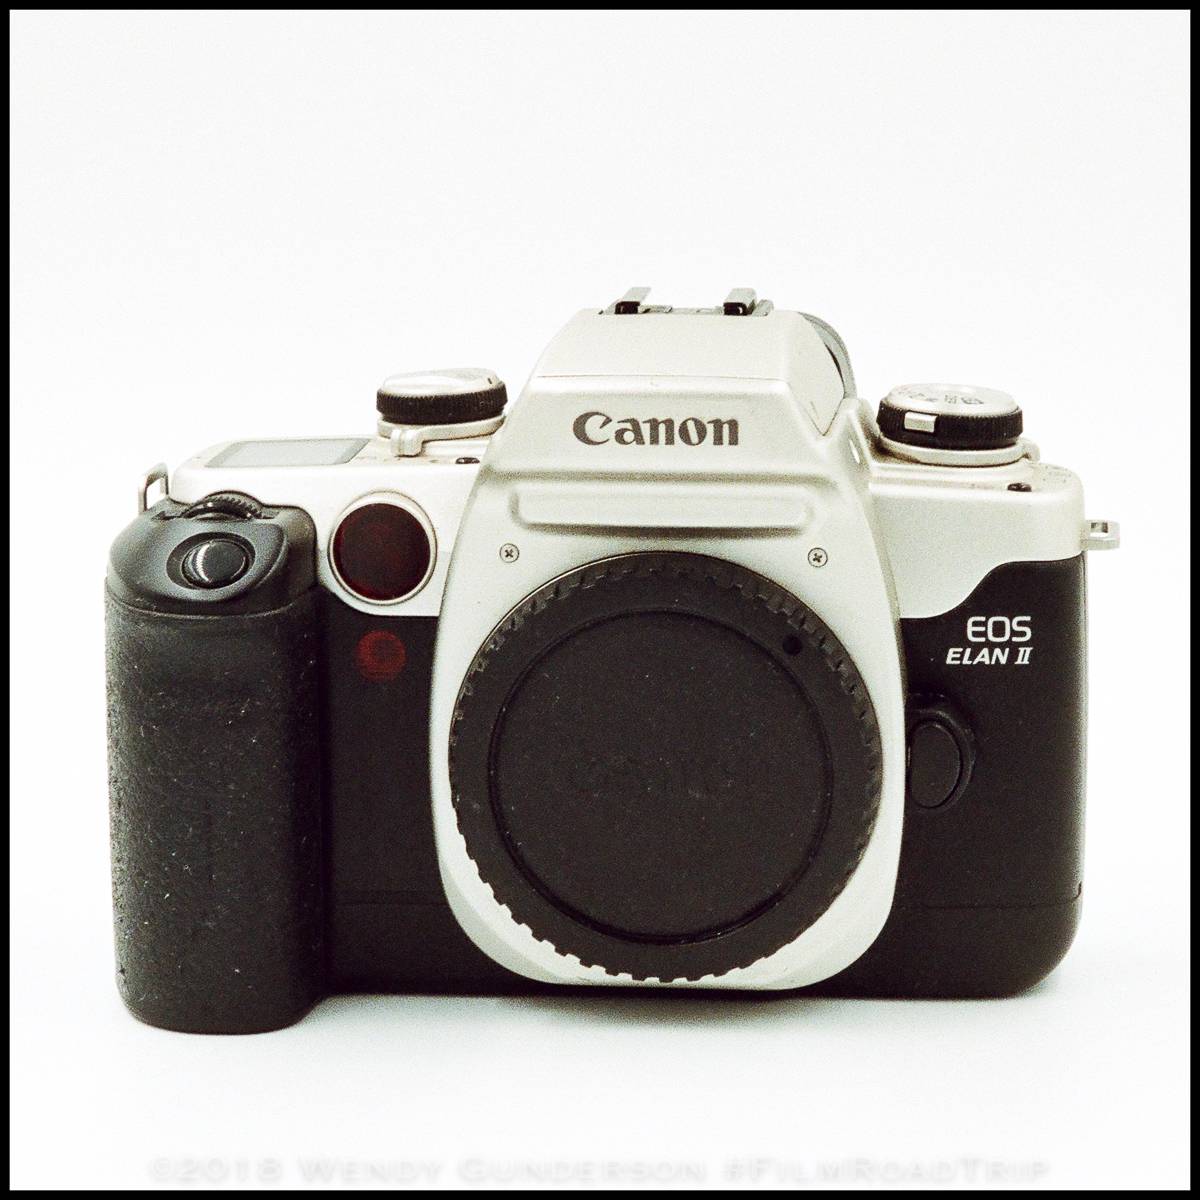
Film photography has generated a lot of interest recently, but not everyone is willing to plunge in and spend hundreds of dollars on gear if they’re not quite sure. Others are interested in getting the gear, but aren’t quite sure if they can get their head around fully-manual cameras or be able to handle manual focusing. At a relatively low cost, you can dip your toe into film photography and see if it’s right for you. For digital shooters, here is a way to get started in film photography for under $50. This post is written from the perspective of a lifelong Canon shooter, but many of these suggestions carry over…