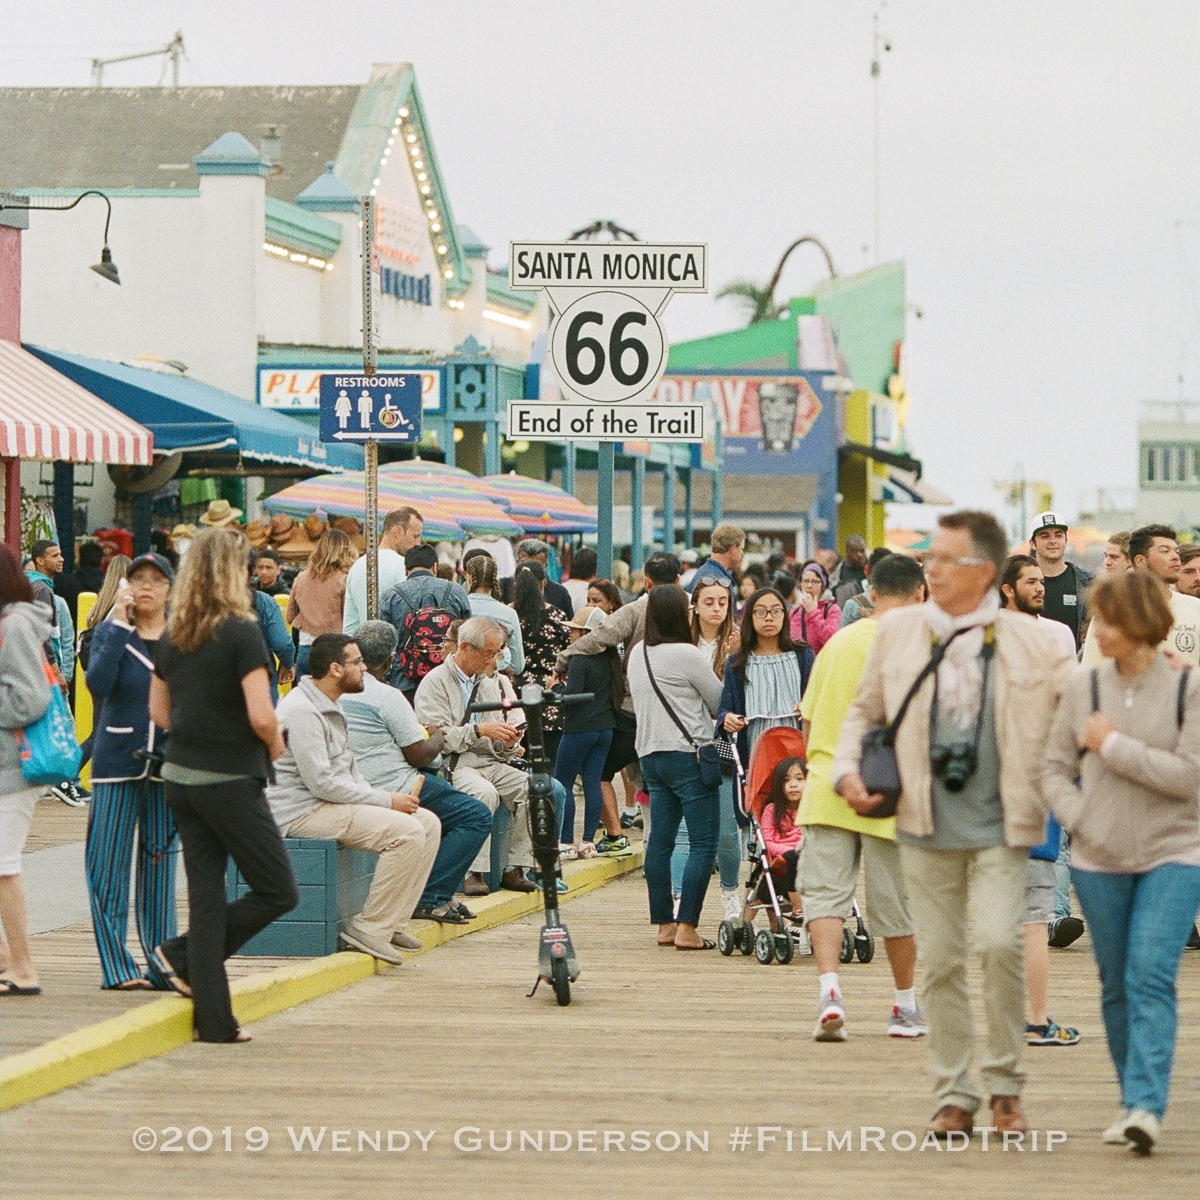
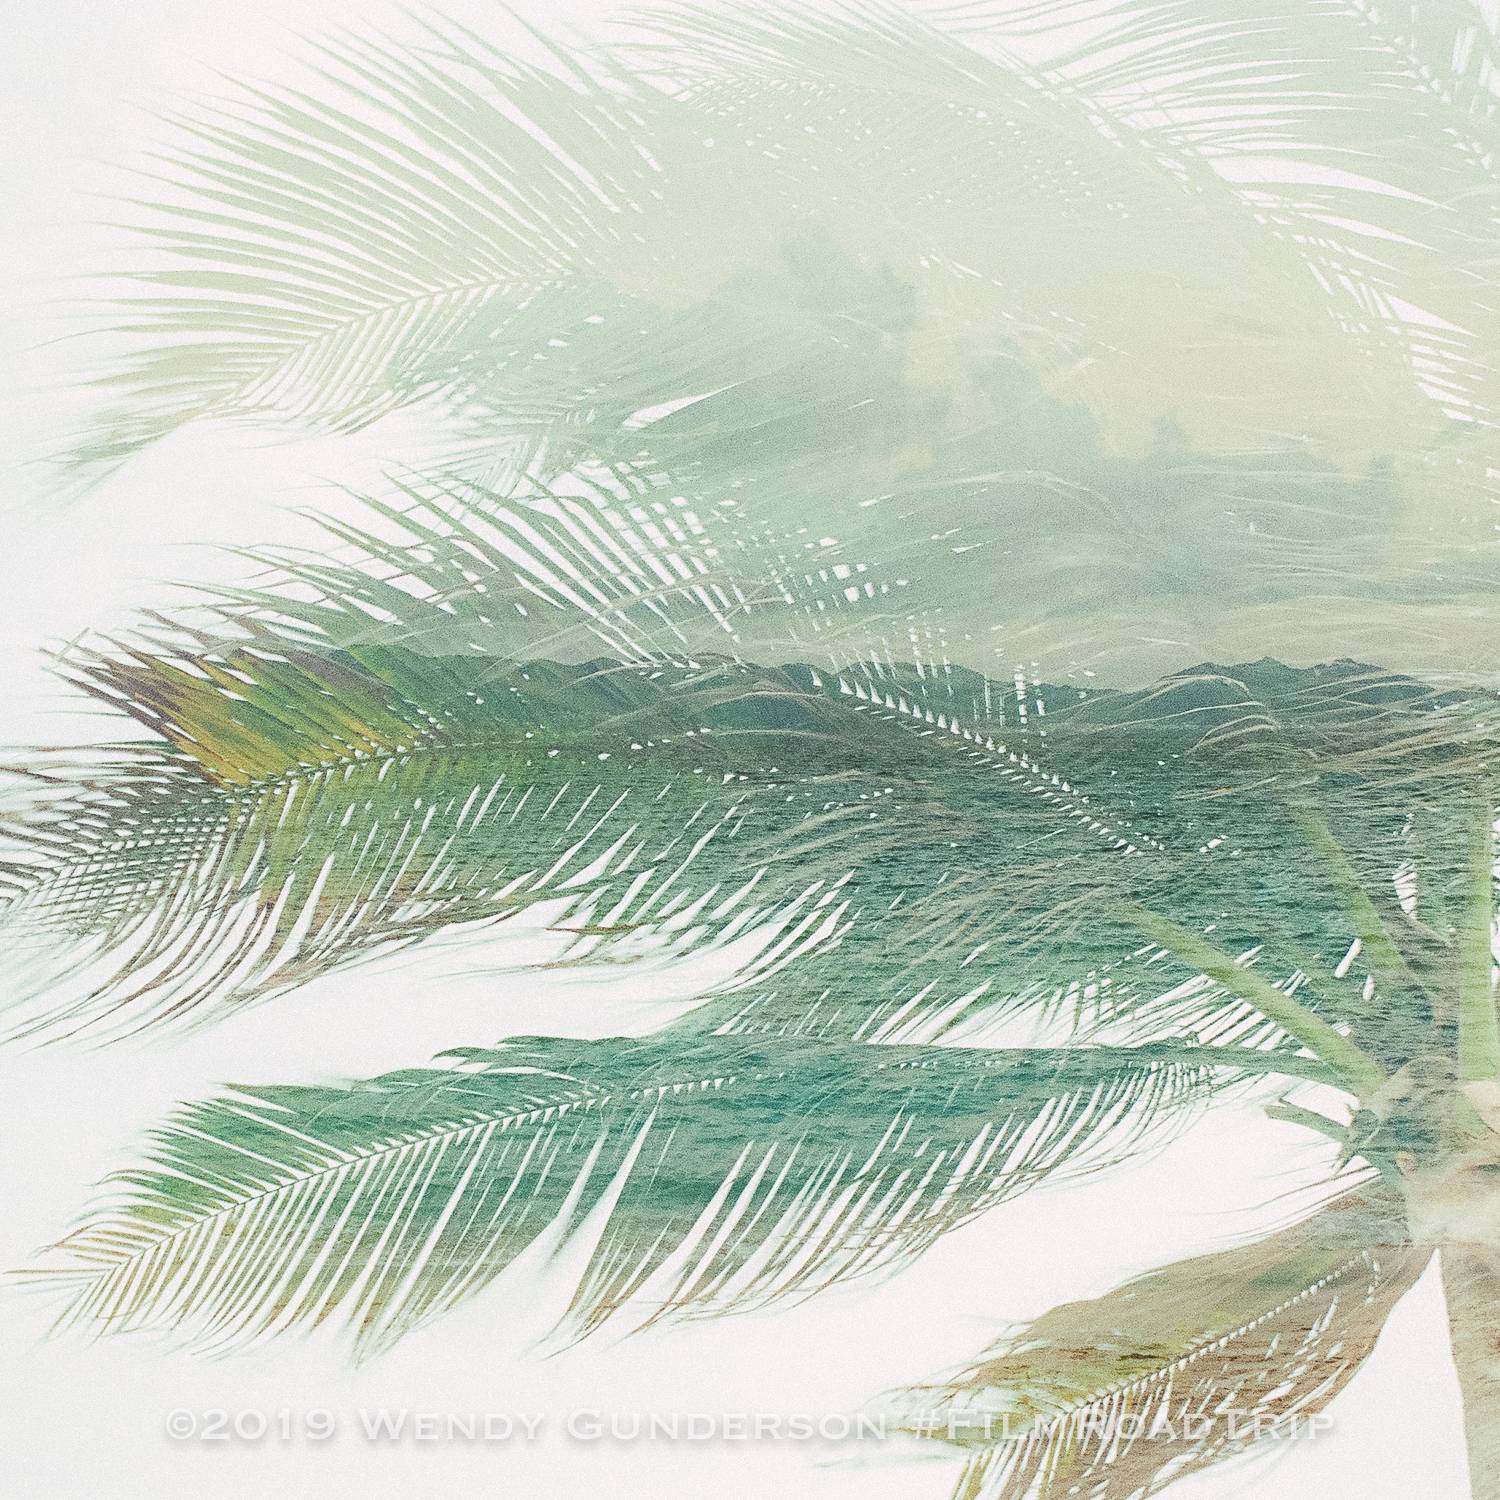
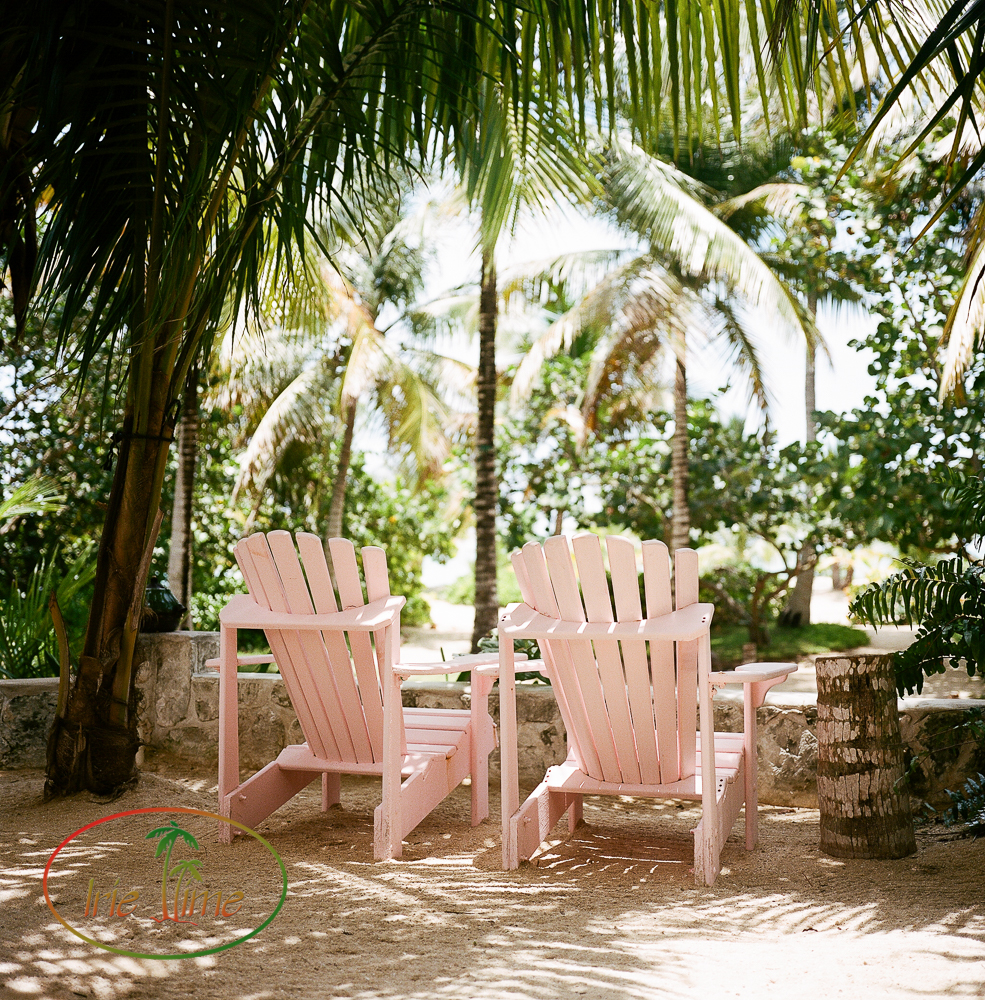
Category: Film Photography

  • How Does Expired Fuji Pro 400H Look Now? Fuji 400H (expired) compared to Kodak Ektar 100

    How Does Expired Fuji Pro 400H Look Now? Fuji 400H (expired) compared to Kodak Ektar 100

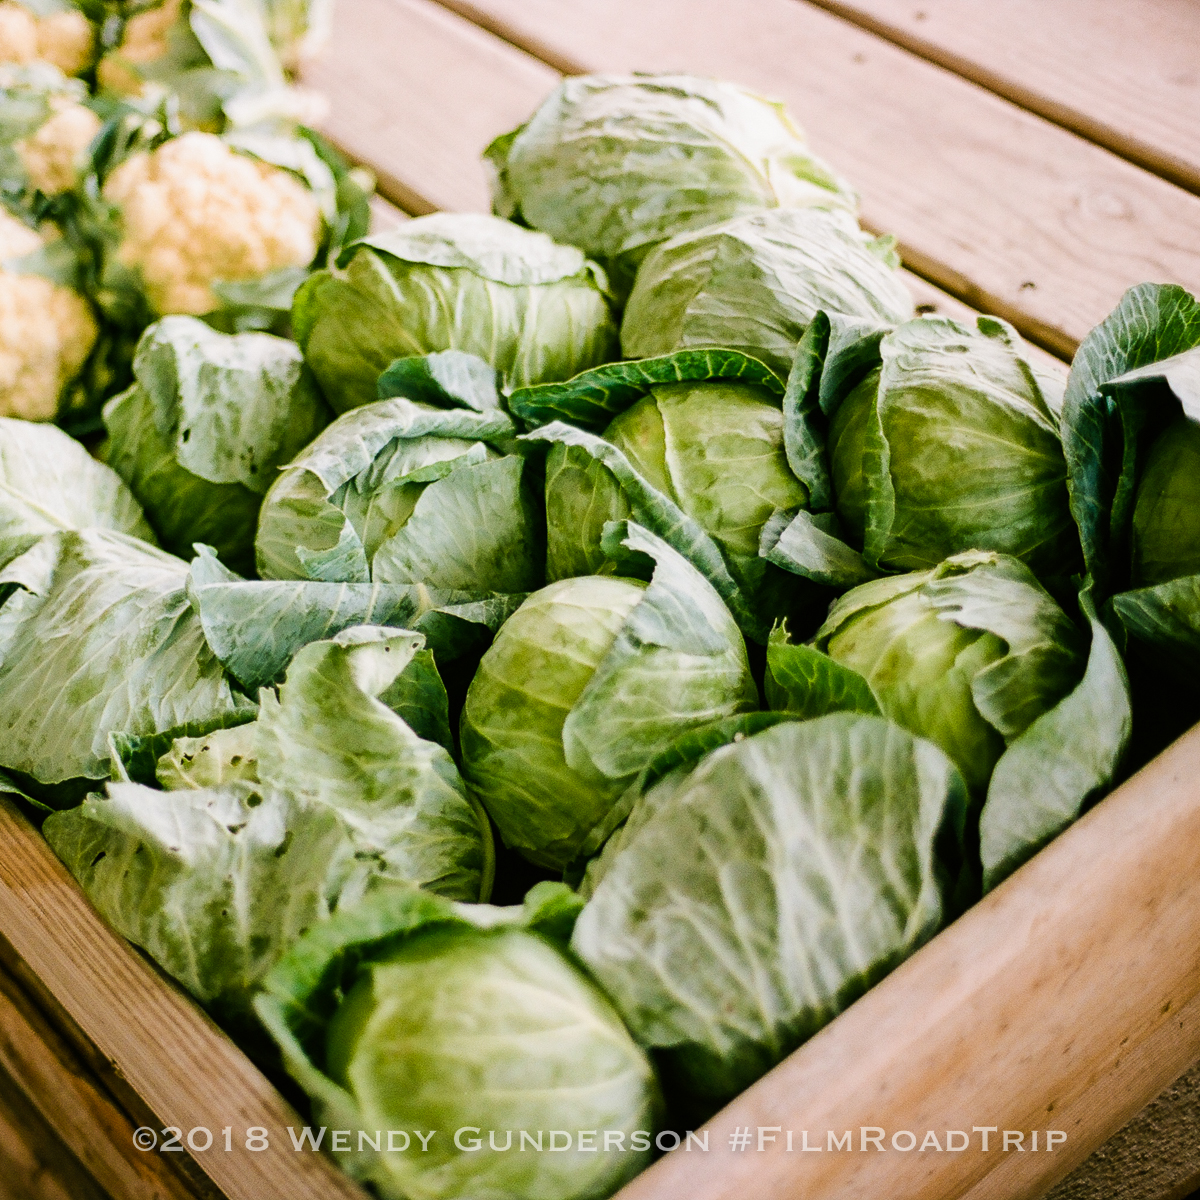
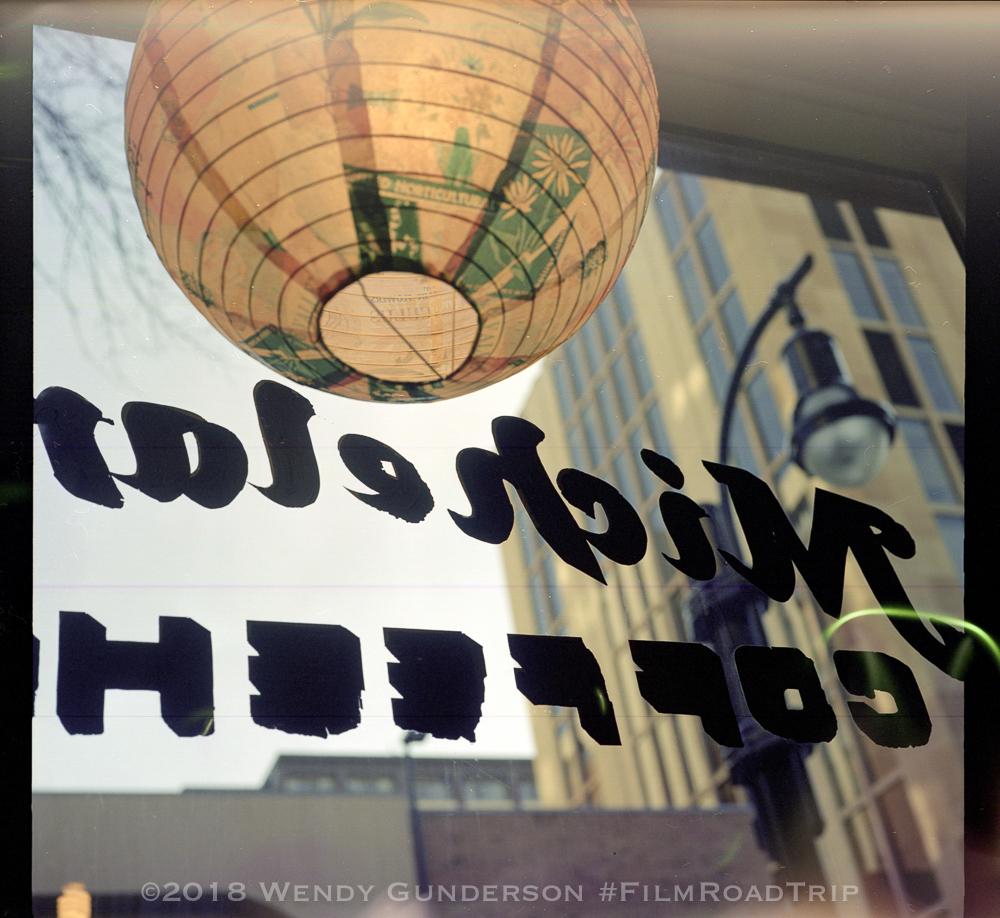
    From my last post, you could see that I wasn’t thrilled with how my photos shot on Fuji Pro 400H looked. I loved that film, but now that it is discontinued, I’m using up the last bit of my stock. I am completely out of 35mm at this point, but I do have some boxes of 120. The test on those will come soon.I don’t freeze my film, but I do store it in a cool environment, so those who freeze may have better luck. 

    Although I wasn’t happy with the Santa Barbara shots, the true difference was seen when I was shooting the Goleta Lemon Festival in Goleta, California, the next day. Half way through the pie eating contest, I completed a roll of 400H and popped in a roll of Kodak Ektar. These images were taken within the few seconds it took for me to change film:

    You can see the difference clearly. A plus is that Ektar is still in production so you can get fresh film!

    More expired Fuji Pro 400H:

    More Kodak Ektar 100:

    You can see from my previous work with Fuji 400H, it loved the sun and had gorgeous greens and blues. I really miss that film, but it’s time to move on.

  • Processing E-6 Color Slide Film with your Sous Vide

    Processing E-6 Color Slide Film with your Sous Vide

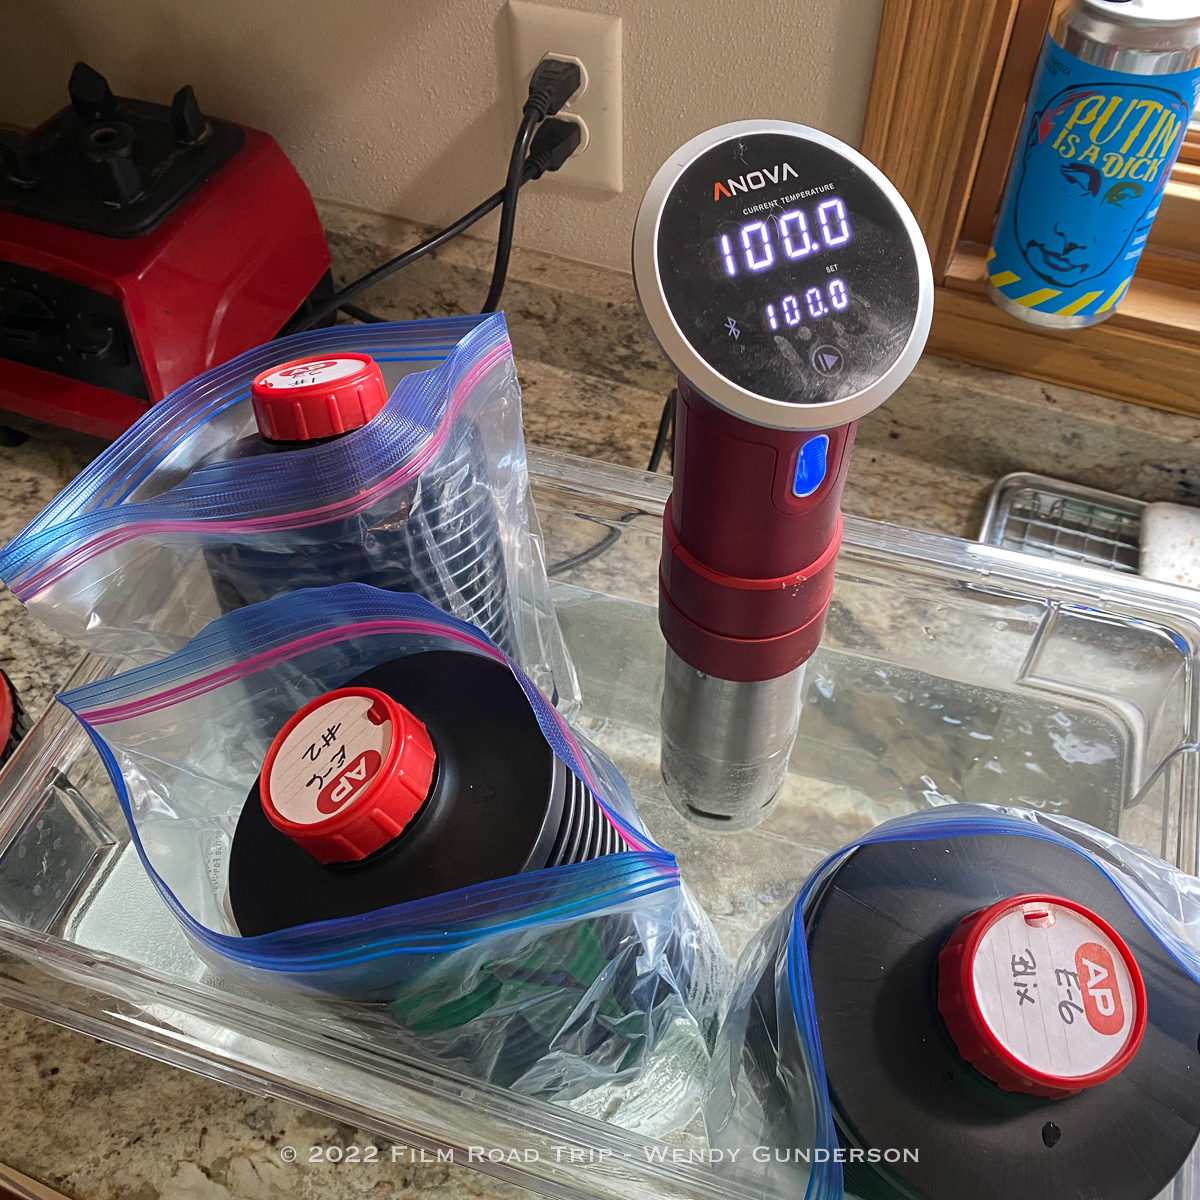
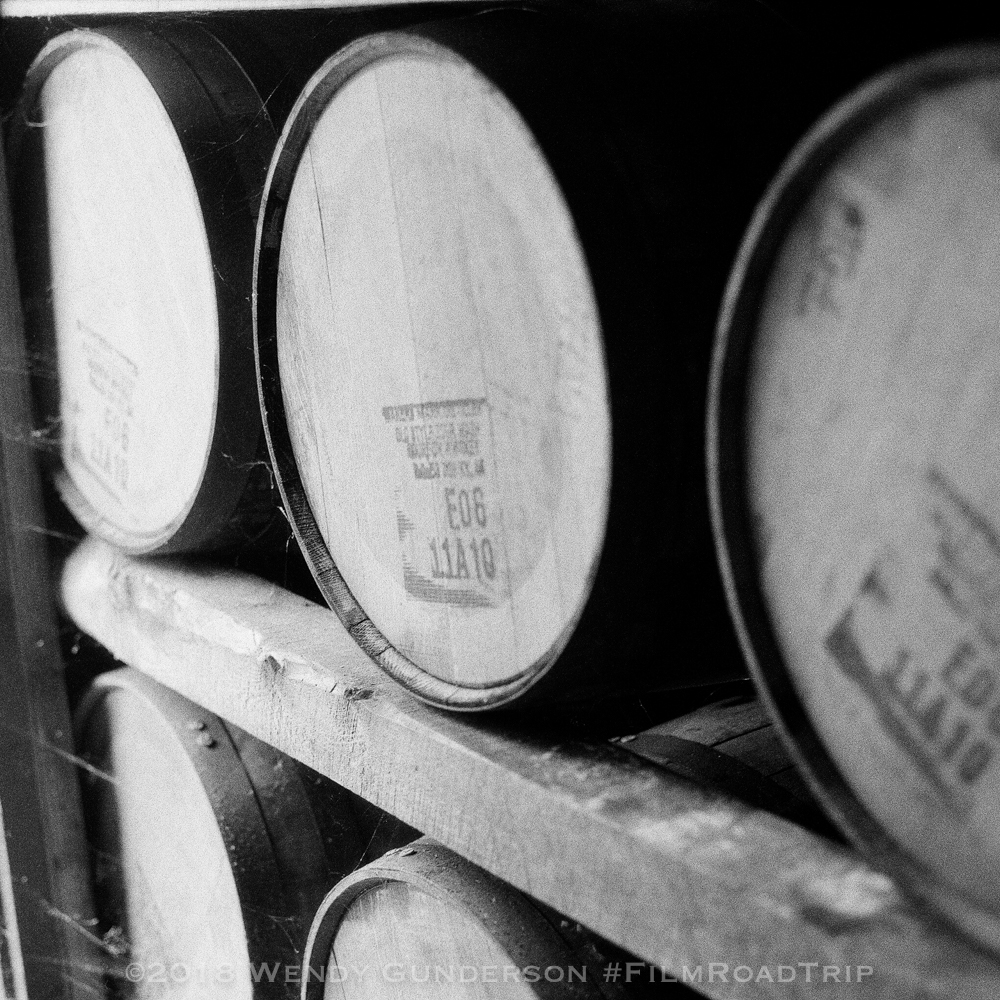
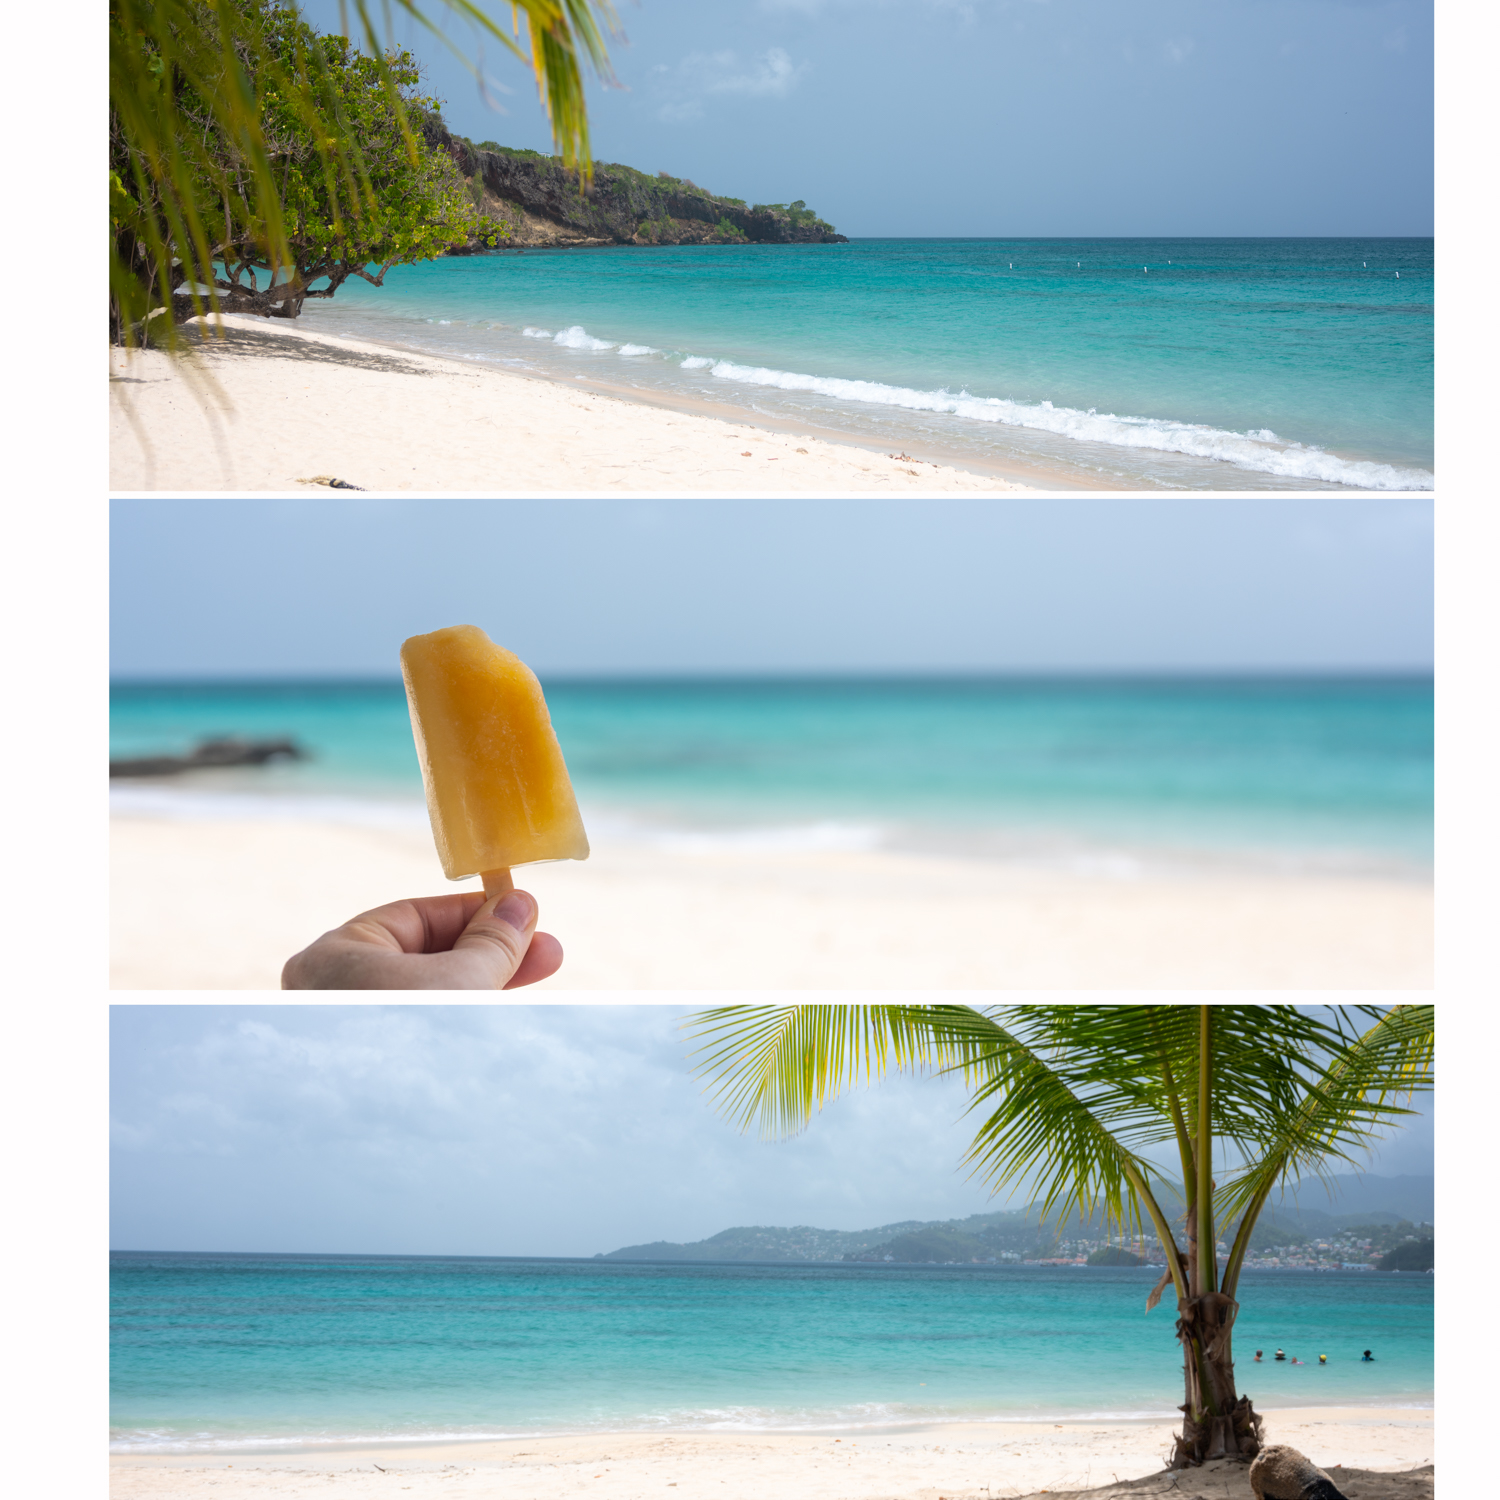
    This post contains a post to the Anova Sous Vide on Amazon. I am an Amazon Affiliate and may receive compensation if you click a link in this post.

    In September of 2015, I posted my first attempt at color film processing using our sous vide. Since that time, film processing with a sous vide is no longer a new thing, but to date, I have only processed color negative film with C-41 chemicals. With the discontinuation by Fuji of Velvia 100 to comply with new EPA regulations, my lab would no longer process my rolls of that film. I returned from a trip to Grenada and realized I had one roll of Velvia 100, so it is time to process that film. I purchased the Unicolor Rapid E-6 Processing Kit from the fine folks at the Film Photography Project, and started mixing it up. The kit indicates that you can reliably process up to 8 rolls of 135 (36 exposures), with modifications after each use on the processing time, although the life can be extended if the processing occurs shortly after the chemicals are mixed. It is also recommended to use collapsible bottles to extend the life of the chemicals. Given the cost of materials lately, it’s not inexpensive. I would rather use my lab and gain their expertise in processing and scanning, but with this film, I had no choice.

    Film Photography Project Color Slide Rapid E6 Home Developing Kit

    Mix up all your chemicals per the instructions included in the kit. Note that there are different water temperatures for each part. Once the chemicals are mixed, I put each bottle in a plastic bag, just to avoid ruining my sous vide in the event of a leak, and place them inside the water bin with the sous vide. I set the temperature for 100 degrees, and let it run for an hour to make sure that it had time to bring all the chemicals to temperature.

    E-6 Chemicals mixed up

    The beauty of the sous vide is that you can maintain the temperature of your chemicals which is essential for color film processing. I do not rely exclusively on the temperature setting on the sous vide, but instead take a reading from each chemical from the bottle to be as precise as possible.

    Load your film into your processing tank and you’re ready to process.

    Changing bag, film, tools and developing tank

    With the chemicals at 100 degrees Fahrenheit, you pre-wash for 60 seconds, use the first developer for 6.5 minutes, wash, use the color developer for 4.5 minutes, wash again, Blix for 6.5 minutes, and then wash again for five minutes, agitating throughout.

    Film Processing Chemicals in sous vide

    I use the Anova Sous Vide that we purchased back in 2015. The new version has bluetooth and can be controlled by your phone. I am always thrilled to see images no matter how many times I do this, and it’s even more exciting with slide film.

    After the film has dried, I scan using my Nikon Coolscan V LS-50 film scanner with VueScan software to scan the images. I purchased this scanner many years ago when it was new, and it has provided many years of reliable service without fail, scanning both slides and negatives.

    As with anything involving chemicals, be careful, watch for spills, and heed all warning labels. Also, read through the Safety Data Sheet and other literature from Fujifilm as to their reasons for discontinuing Provia 100 and decide for yourself if you are comfortable with the risks and wish to proceed. I would not hesitate to develop color slide film again. I still prefer to have the lab do my scanning. I struggle to get everything just right, and it’s worth it to me to pay professionals, but in a pinch, I can do it myself.

  • 30th Annual NATJA Awards

    30th Annual NATJA Awards

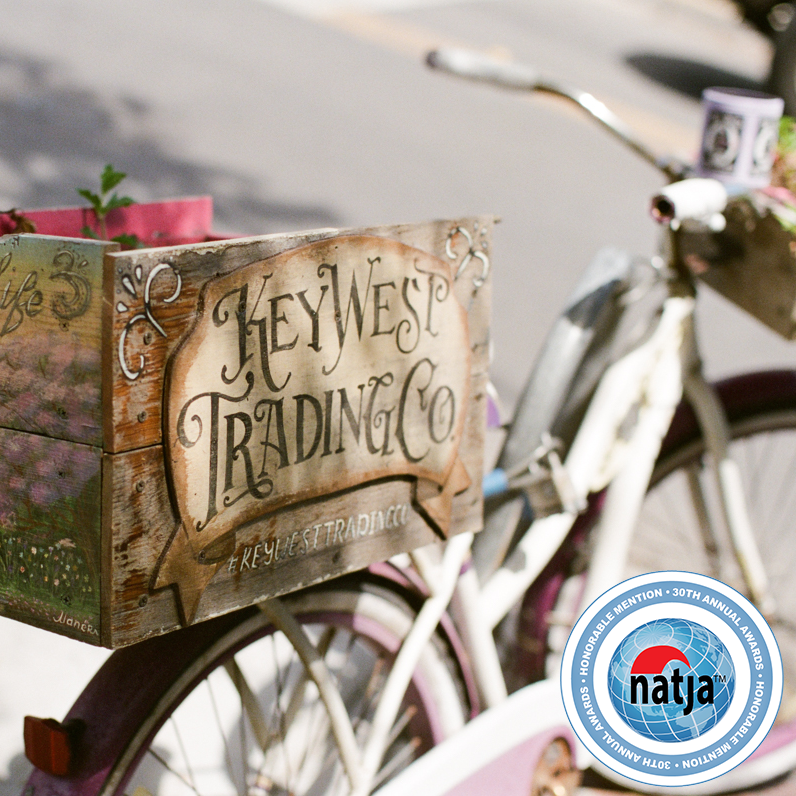
    I was honored once again to be recognized by the North American Travel Journalists Association (NATJA) in its 30th Annual Awards for Excellence in Travel Journalism. I received an Honorable Mention in the category of Photography – Photo Essay for “Photo Tour of Key West,” on Film Road Trip. Work eligible for the competition was work first published between October 1, 2020 and September 30, 2021. The winners represented the best in travel journalism, with journalists from major publications including Condé Nast Traveler, National Geographic Travel, and Travel + Leisure, and many others.

    Take a moment to review the work of all our organization’s talented journalists who were recognized in this year’s competition.

    I am honored to have been recognized each year in the awards competition since joining NATJA in 2016:

    2020

    GOLD: Photography – Cultural: “Everything is Relative”

    BRONZE: Photography – Portrait, People: “London Gentleman”

    HONORABLE MENTION: Photography Landscape, Seascape, Nature: “Meads Bay Moonset”

    2019

    GOLD: Photography: Featured Photo, Illustration – Online Publication: “The Heart of Anguilla”

    2018

    HONORABLE MENTION – Photography: Nature – Online Publication: “Bourbon Trail Magnolias”

    2017

    FINALIST – Best Independent Travel Blog: My Irie Time

    2016

    SILVER – Photography: Overall Excellence – Online Publication:  “Andros, Bahamas” 

    BRONZE – Photography: Photo Essay – Online Publication: “Understated Elegance at Kamalame Cay”

  • Farewell Fuji 400H: The Zine

    Farewell Fuji 400H: The Zine

    I’m a firm believer in printing your photographs, and it’s really satisfying to create a zine of your images to tell the story of your travels.  Here is the flip book of our latest zine, Farewell Fuji 400H: Miami to Key West. Enjoy!

    [flipbook id=”4″]

  • Three Honors in the 29th Annual NATJA Awards for Excellence in Travel Journalism

    Three Honors in the 29th Annual NATJA Awards for Excellence in Travel Journalism

    Since joining the North American Travel Journalism Association in 2016, I have looked forward to the announcement of the winners in its annual awards competition for excellence in travel journalism. Each year, the competition honors the best in travel journalism, photography and destination marketing in the industry. I was thrilled to learn that I had received honors in three categories when the winners in the 29th annual competition were announced today.

    I received an Honorable Mention in the category of “Photography – Landscape, Seascape, Nature” with my image, “Meads Bay Moonset,” from our 2020 trip to Anguilla:

    I received a Bronze Award in the category of “Photography – Portrait, People” with my image, “London Gentleman,” from our 2019 trip to London:

    And I’m so excited to announce that I was selected as a Gold Award winner in the category of “Photography – Cultural” with my image, “Everything is Relative” from our 2019 trip to London:

    With a Gold Award comes a bonus destination prize! Last year, I was awarded a two-night stay at The Confidante, Miami Beach, which will be the start of our road trip from Miami Beach to Key West, coming soon to Film Road Trip and My Irie Time!

    I am honored to have been recognized each year in the awards competition since joining NATJA in 2016:

    2016:

    NATJA Awards 2016

    SILVER – Photography: Overall Excellence – Online Publication:  “Andros, Bahamas” 

    BRONZE – Photography: Photo Essay – Online Publication: “Understated Elegance at Kamalame Cay”

    2017:

    2017 NATJA Finalist for Best Independent Travel Blog - My Irie Time

    FINALIST – Best Independent Travel Blog: My Irie Time

    2018:

    This image has an empty alt attribute; its file name is NATJA-Honorable-Mention-2018-with-seal-750x750.jpg

    HONORABLE MENTION – Photography: Nature – Online Publication: “Bourbon Trail Magnolias” – Film Road Trip

    2019:

    This image has an empty alt attribute; its file name is Heart-of-Anguilla-L-2-750x750.png

    GOLD – Photography: Featured Photo, Illustration – Online Publication: “The Heart of Anguilla”

    2020:

    GOLD – Photography – Cultural: “Everything is Relative”

    BRONZE – Photography – Portrait, People: “London Gentleman”

    HONORABLE MENTION – Photography – Landscape, Seascape, Nature: “Meads Bay Moonset”

    Many thanks to NATJA, and congratulations to all the winners!

  • Trading Zines: Bill Thoo’s NSW West

    Trading Zines: Bill Thoo’s NSW West

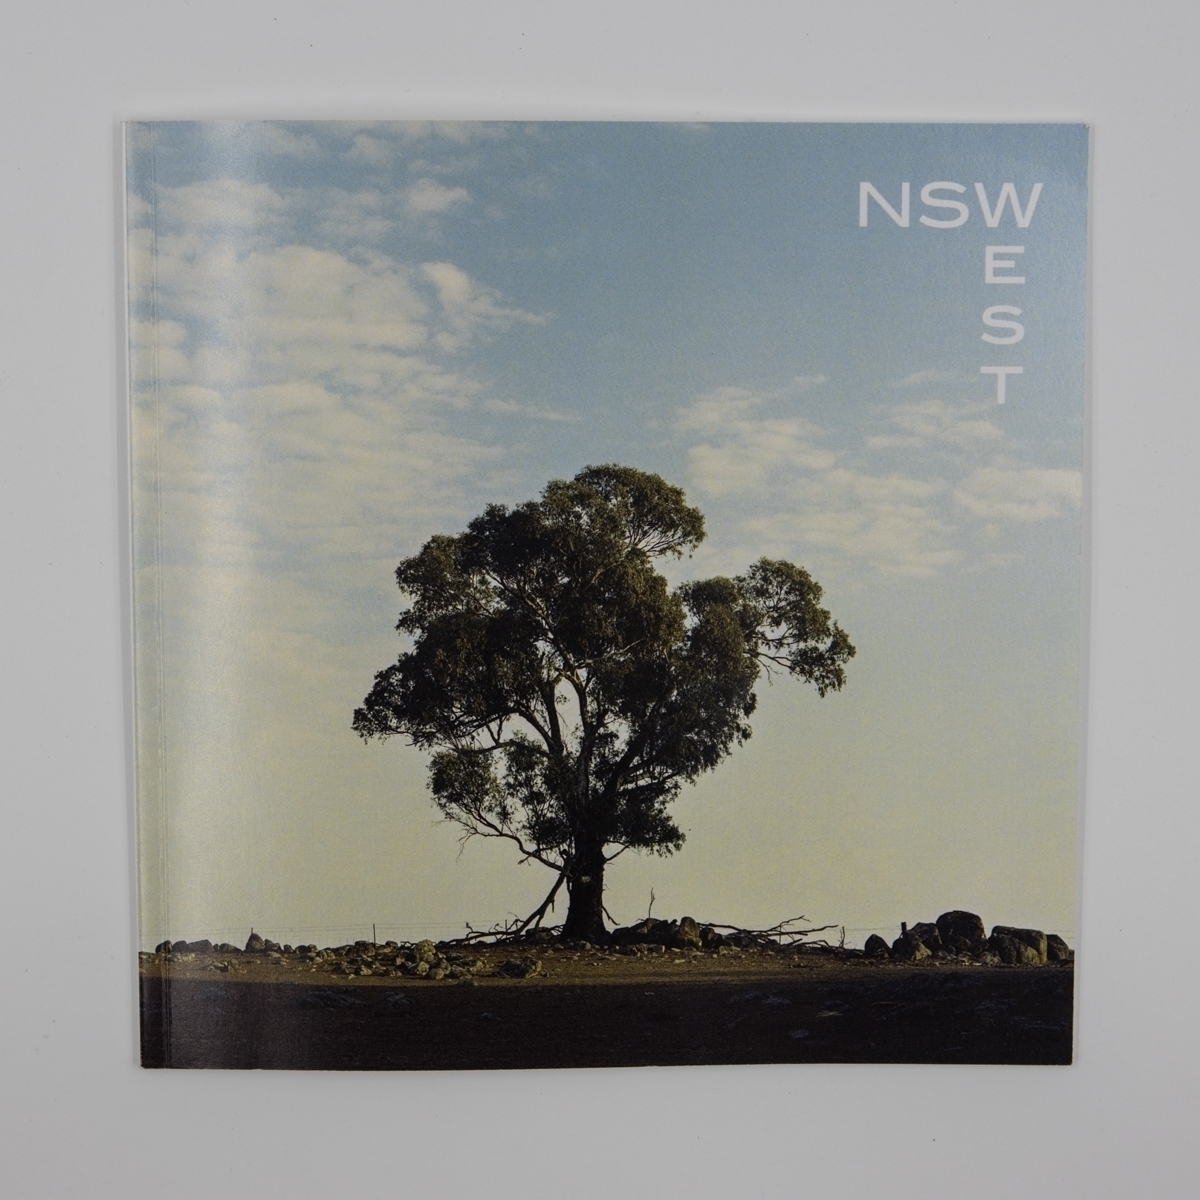
    I recently traded zines with Bill Thoo. If you’re a film shooter and don’t know Bill Thoo, it’s time to get acquainted. Before we traded zines, I followed him on Instagram and in several of the photography groups we share, and I always found myself stopping on his images. I would scroll, stop at a great image, see that it was Bill’s, and then scroll a little more, and here’s another one I love, and it’s another of Bill’s.  I quickly became a fan. He’s known for incredible night shots on film, including stunning star trails, beautiful landscapes, and amazing travel photography.

    Bill’s zine is entitled NSW West. NSW is New South Wales, a region of Australia. The zine indicates that the images came largely from the towns of Dubbo and Parkes, a five-hour drive from Bill’s home in Sydney.

    The zine includes both color and black & white images, and gives us the details on the locations shot, the cameras and lens used, and the film stocks upon which the image was captured.

    He also devotes a page to describing how he shoots start trails on film, including how he exposes the image, the timing used, and how he processes the images. 

    Pick up your copy of this inspiring zine at MagCloud.

    Check out more of Bill’s work on Instagram:

    Film: @BillThoo

    Film & Digital: @Bill.Thoo

    Astro: @BillThoo_Astro

    Digital: @ThooBill

    Or give a listen to Episode #313 of the Negative Positives Podcast where Bill talks a bit more about himself and fields questions from the Negative Positives Facebook Group.

    Thanks, Bill, for the awesome zine!

  • London Zine

    London Zine

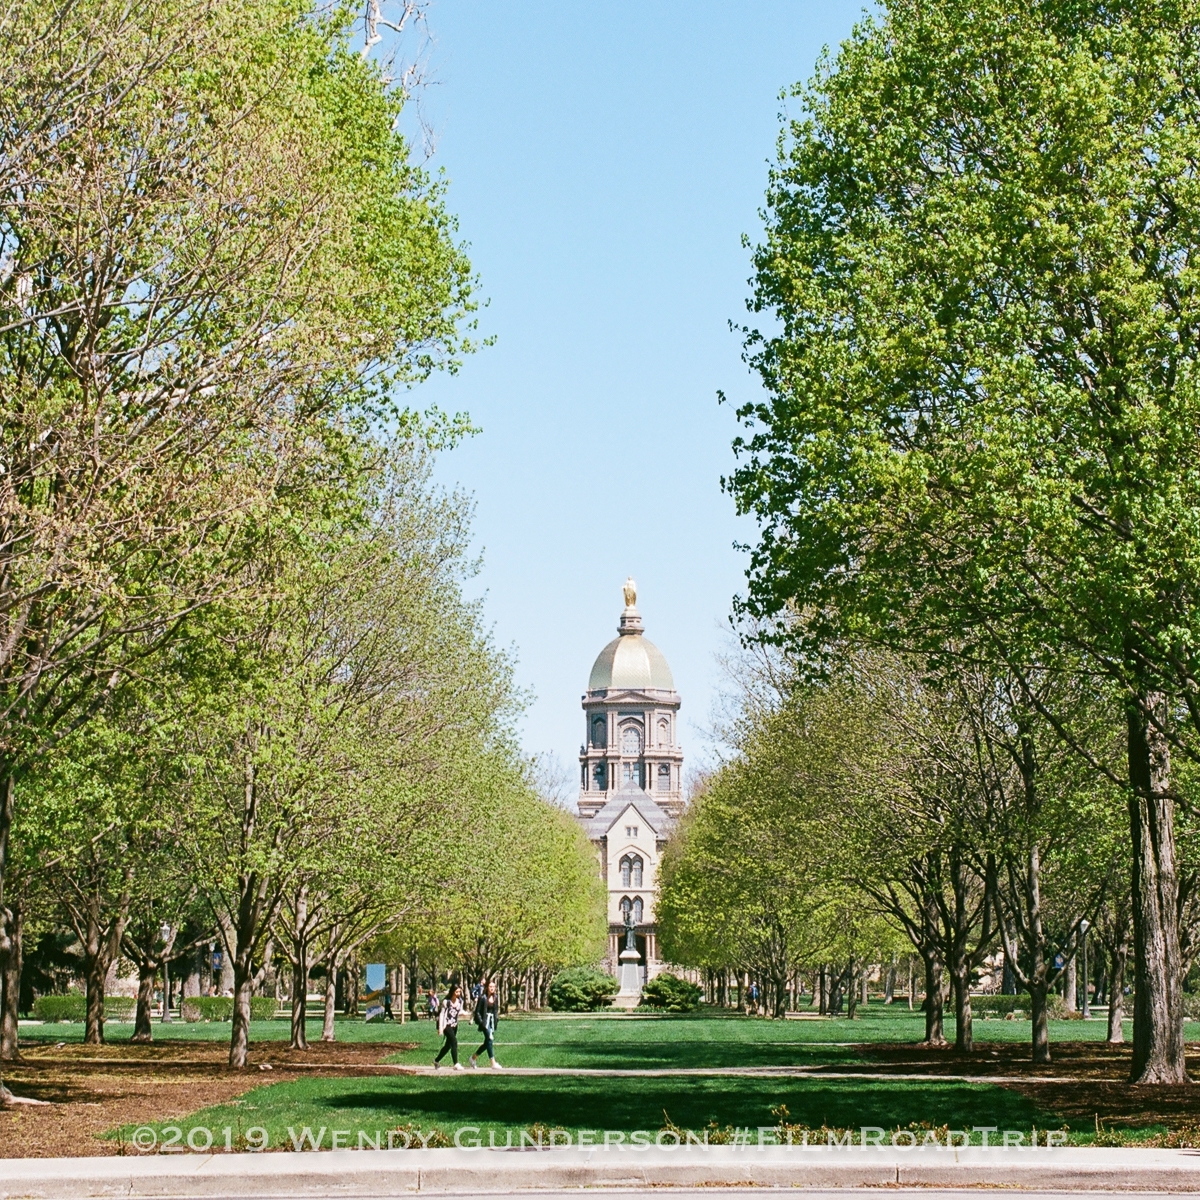
    I finally got around to creating a zine from my London images, and this time  I created it in Adobe InDesign, rather than the Lightroom Book Module as I had in the past. The Lightroom Book Module is really easy to use and you can export your completed book to .pdf, .jpg, or upload it directly to Blurb for printing. I wanted to print with Mixam this time, and given the differences in sizing, I opted to design it in InDesign to meet Mixam’s  specifications.  I taught myself how to use InDesign for a work project earlier this year, so it was time to give it a try to create a zine.  Although I made a very simple design of one image per page,  InDesign is incredibly powerful and there are so many things you can do which cannot be done using Lightroom.  

    InDesign for zine layout

    I am printing a few copies of the zine using Mixam based upon the recommendation of members of the Negative Positives Podcast Facebook group.  I selected the 8.25″ square, stapled  (perfect bound was not available with 24 sides), 100# text paper, uncoated, with a 130# satin cover, matte laminated.  I should receive those copies next week and I’ll report back on the quality compared to Blurb and MagCloud with whom I have printed in the past.

    Flip PDF Professional for Mac for online book viewing

    Here is the book for viewing online, created with Flip PDF Professional for Mac and easily uploaded here via the software’s ability to create a WordPress plugin quickly from the software’s exporting/publishing menu. You can easily add video and hyperlinks to your books, which is a really nice feature. 

    [flipbook id=”2″]

    What software have you used for creating and publishing your zines?

  • Film Photography is Alive and Thrives: Another Award Winning Film Image!

    Film Photography is Alive and Thrives: Another Award Winning Film Image!

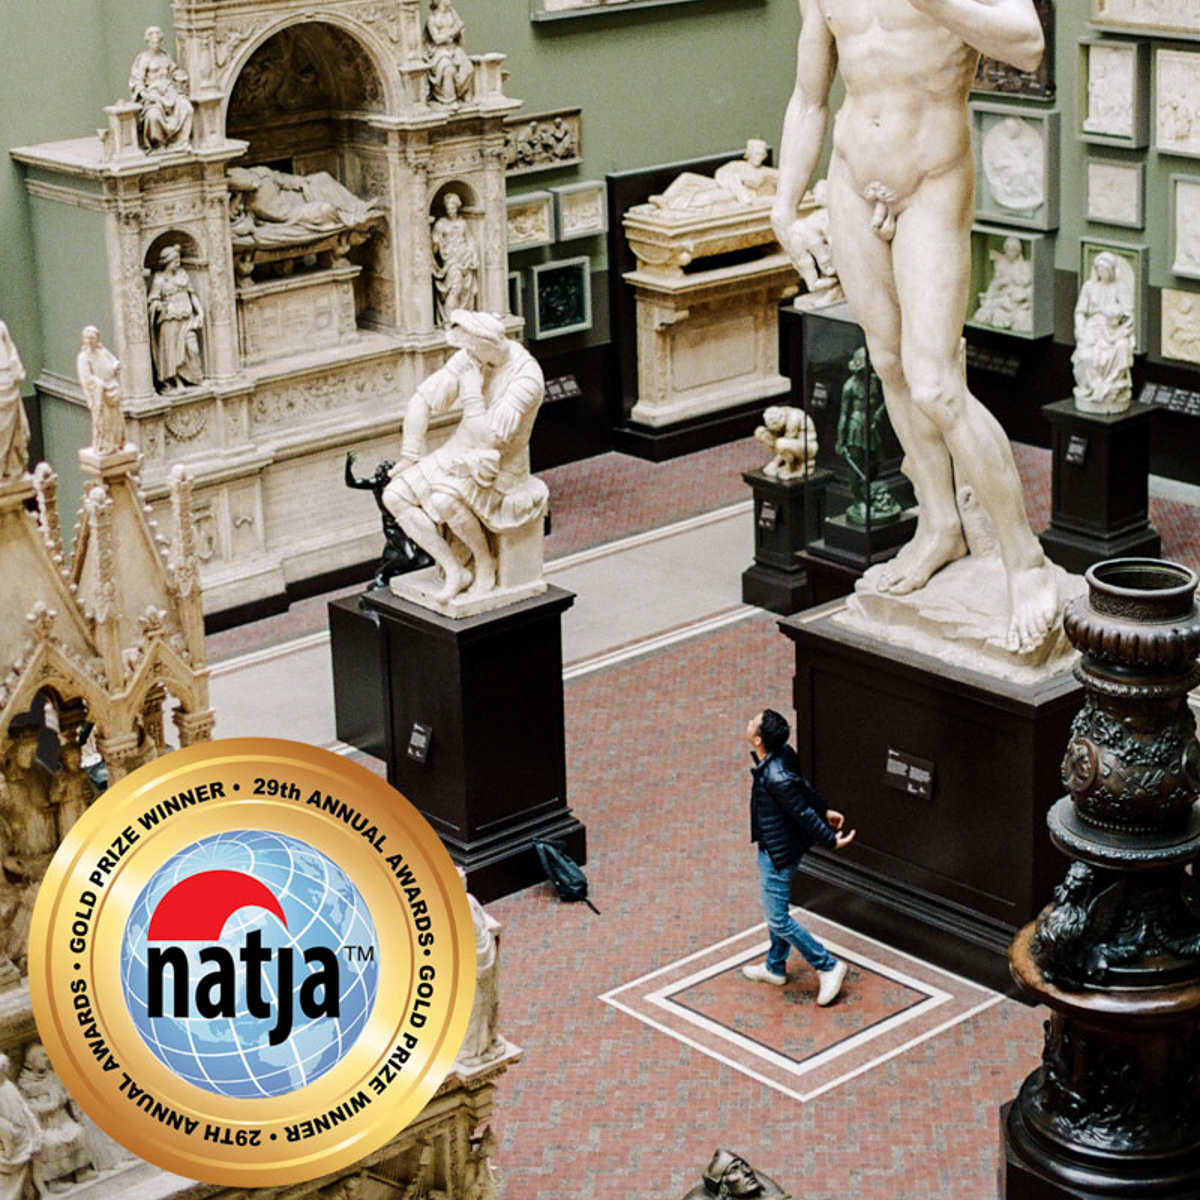
    Today the North American Travel Journalists Association (NATJA) announced the winners of its 28th Annual Awards Competition, and I am thrilled to share with you that I was awarded Gold in the category of Photography: Featured Photo, Illustration for this image from my article, “The Heart of Anguilla.” This image was shot on my Canon EOS 1v, on Fuji Provia RDP III.

    I am humbled to be recognized among so many respected professionals in the travel industry. You can read the full press release here, and please browse the wonderful work of the award winners in all the categories.

    Founded in 1991, NATJA is a travel journalism industry leader that fosters high quality journalism by supporting the professional development of its members, providing exceptional program benefits and valuable resources, honoring the excellence of journalism throughout the world, and promoting travel and leisure to the general public. NATJA also publishes TravelWorld International Magazine. For more information about NATJA, visit www.natja.org

    I have been honored to be recognized each year in the awards competition since joining NATJA in 2016. My award winners were shot on film or featured a mix of film and digital images.

    2016

    SILVER – Photography: Overall Excellence – Online Publication:  “Andros, Bahamas” 

    BRONZE – Photography: Photo Essay – Online Publication: “Understated Elegance at Kamalame Cay” (Mamiya 6, Mamiya 75mm f/3.5 lens, and Mamiya ProTL, Mamiya 80mm f/1.9 lens, Kodak Ektar 100, Kodak Portra 400, Fuji 400H)

    2017:

    FINALIST: Best Independent Travel Blog: My Irie Time

    2018:

    HONORABLE MENTION: Photography: Nature – Online Publication: “Bourbon Trail Magnolias” – Film Road Trip (Mamiya 645 Pro TL, Fuji 400H)

    2019:

    GOLD – Photography: Featured Photo, Illustration – Online Publication: “The Heart of Anguilla” (Canon EOS 1v, Fuji Provia RDP III)

    A lot of people would not bother to travel with film anymore given the convenience and ease of travel with digital cameras. If I didn’t see a difference in my images, I wouldn’t commit to my super heavy cameras and multiple film rolls over a mirrorless camera and a few slim SD cards. When I get my scans back from the lab, I see a genuine difference, something I don’t get when shooting digital. So I will continue to lift weights (my camera bags) to go for that unique look.

    Do you still pack film cameras when you travel? I would love to hear your thoughts in the comments.

    [modula id=”3278″]
  • Featured on Emulsive

    Featured on Emulsive

    It was pretty exciting seeing my story on Emulsive.org!  Check out my story, and explore this wonderful site filled with information on everything film and inspiration for all your photography: Emulsive Interview #202: I am Wendy Gunderson and This is Why I Shoot Film

  • Mamiya 6 : Medium Format Film Camera for Travel

    Mamiya 6 : Medium Format Film Camera for Travel

    I love medium format, but medium format cameras and travel are not generally a good combination.  The cameras and lenses are large and heavy.  About a year ago, I determined that I was giving up on taking my Mamiya 645 Pro TL on long trips.  The system is modular and breaks down nicely,  but each lens adds about a pound of weight.  I took it with me to San Francisco, limiting myself only to the 80mm lens, but for trips to the Caribbean where small planes and weight limitations are common, it has to be left behind.  The good thing is that I have a compact alternative for shooting medium format film that is perfect for travel, the Mamiya 6.

    Mamiya 6, Mamiya 75mm f/3.5, Ektar 100
    Nevis, St. Kitts & Nevis – Mamiya 6, Mamiya 75mm f/3.5, Ektar 100

    As a bit of warning, this is not a technical review. If you’re looking for all the itty bitty details, there are plenty of sites to obtain that information, like Film Shooters Collective. I write this from the perspective of someone who travels and likes to experiment with my cameras while traveling, but whose body is beginning to feel its age, and pretty much every extra ounce I pack. I will talk about how I use the camera and features I like.

    Mamiya 6, Mamiya 50mm f/4, Fuji Pro 400H
    San Francisco, California – Mamiya 6, Mamiya 50mm f/4, Fuji Pro 400H

    Mamiya had two cameras it called the Mamiya 6 (or Mamiya Six). The older model was a folding camera dating back to the 1940’s and 50’s.  The “new” Mamiya 6 was released in 1989.  It is not a folding camera. Instead, the lens collapses somewhat into the body making it extremely portable. You push a small button on the bottom left of the camera and pull out the lens to extend it for use. Here is the camera with the 50mm lens, retracted and extended:

    50mm lens retracted
    50mm lens extended

    And with the 75mm lens retracted and extended. The 75mm lens is the most compact.

    75mm lens retracted
    75mm lens extended

    The Mamiya 6 came with only three lenses, the standard 75mm f/3.5, the 50mm f/4, and the 150mm f/4.5.  The best of the bunch, in my opinion, is the 50mm f/4.  It was the last of the three lenses I purchased, and the most expensive, but I’m glad I kept up the search to find one. The minimum focusing distance on the 50mm and 75mm lenses is 1 meter (over 3 feet). On the 150mm lens, it’s 1.8 meters (nearly 6 feet). Filter size on the 50mm and 75mm is 58mm, and on the 150mm, it’s 67mm.

    Mamiya 6 with 50mm f/4 lens, 150mm f/4.5 lens, and 75mm f/3.5 lens

    The camera is not small, but is easy to hold in the hand. All three lenses have electronic leaf shutters, which are so quiet, when I first started shooting this camera, I wasn’t sure if it had fired.

    Mamiya 6, Mamiya 75mm f/3.5, Kodak Portra 400
    Andros, Bahamas – Mamiya 6, Mamiya 75mm f/3.5, Kodak Portra 400

    The camera uses 120 film and produces twelve 6x6cm (2-1/4″) square images. If you still have some rolls of 220 lying around, you can use those too, flipping the pressure plate inside the camera’s rear door. Film is easily loaded, similar to what you do when you load 35mm.

    Stout & Oyster Festival, St. Louis, Missouri – Mamiya 6, Mamiya 75mm f/3.5, Kodak Portra 400

    You can shoot in manual or in two aperture-priority modes, AE (automatic exposure – red dot in a circle on the dial) or AEL (AE Lock – red square in a square outline on the dial). In AE, you select the aperture by turning the lens barrel, and the camera automatically sets the shutter speed. In AEL, the camera memorizes the settings when the shutter release button is touched lightly so that even when the position of the subject or camera changes, a picture can be taken with the initial aperture setting and is not affected by changes in light. It holds the settings until the shutter is triggered or you release the button and press again. I tend to shoot in AEL mode. The light meter has not failed me yet.

    Mamiya 6, Mamiya 75mm f/3.5, Fuji Pro 400H
    Andros, Bahamas – Mamiya 6, Mamiya 75mm f/3.5, Fuji Pro 400H

    The viewfinder is nice and clear. When you put on different lenses, you see the outline of what is in the field of view. When the 150mm lens is on, the image in view is pretty small and difficult to see, particularly with my aging eyes. Luckily, you can get a diopter correction lens to pop into the viewfinder (found them on eBay) to make it much easier to see that you have secured focus.

    Mamiya 6, Mamiya 50mm f/4, Kodak Portra 800
    Tiburon, California – Mamiya 6, Mamiya 50mm f/4, Kodak Portra 800

    One feature I appreciate is the built-in darkslide, which prevents you from doing something stupid like trying to change a lens with film loaded. You will not be able to remove a lens with the darkslide, called a light shield curtain, open. There’s a release on the bottom of the camera which closes the curtain and allows you to change the lens. You then release the switch and you’re ready to shoot again.

    Northwestern Mutual Foundation Giving Gallery, Milwaukee, Wisconsin –
    Mamiya 6, 50mm f/4, Lomography CN 800

    The best feature of this camera is that it is compact, the perfect medium format camera for travel. With the 50mm or 75mm lens attached, it easily fits in the front pocket of my Billingham Large Hadley with room to spare for rolls of film. It measures 6 inches long by 4.5 inches wide, with a depth varying based upon the lens attached. With the 75mm lens attached, the depth is only 3 inches, and with the 50mm lens is just one-half inch more.

    Billingham Large Hadley
    Mamiya 6 with 50mm lens inside the front pocket of the Billingham Large Hadley

    This was my very first rangefinder, and I have to admit that when I first purchased it, I didn’t like it. I initially had a hard time focusing, and missed a lot of shots. It didn’t help that one of my very first outings with the camera was a trip to New Orleans and things move pretty fast there! Upon returning from that trip, I was convinced that I was going to sell the camera. Thankfully, I did not give up. After I got the hang of it, this soon became one of my favorite cameras, perfect for an aperture priority shooter, and a perfect medium format camera for travel.

    Mamiya 6, Mamiya 50mm f/4
    Madison, Wisconsin – Mamiya 6, Mamiya 50mm f/4, Lomography CN800

    For more images with this camera, browse this gallery, and click these links for more images shot with the 50mm lens and 75mm lens.

    OuncesGrams
    Mamiya 632.6923
    Mamiya 50mm f/411.8335
    Mamiya 75mm f/3.58.8252
    Mamiya 150mm f/4.518510
    71.22020
    The entire kit weighs less than 4.5 pounds!

    If you’re a Mamiya 6 user, I would love to hear your thoughts!